Введение
If this device were to take water damage or similar issues to the motherboard, then it might seem like it is essentially unusable and must be replaced, but if you can obtain a replacement motherboard, then you can easily replace it and continue using the phone. This allows you to reduce how much of the phone is going to waste when only part of it is damaged.
Выберете то, что вам нужно
-
-
Place phone face-down and use your nail to pry the back off the back.
-
-
-
Use a plastic spudger or your nail to lift the battery out of the device and put it to the side.
-
The battery should lift out with little effort. If it does not, do not force it.
-
-
-
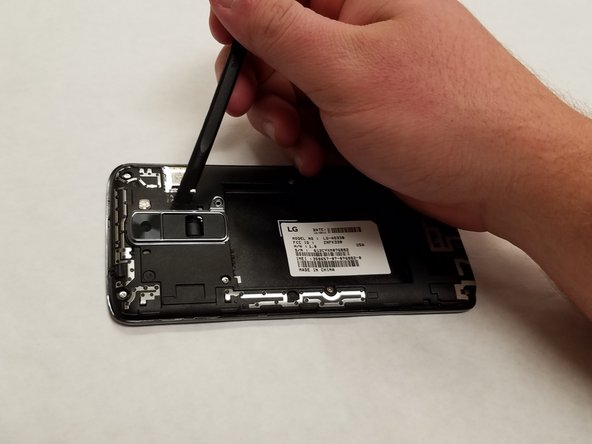
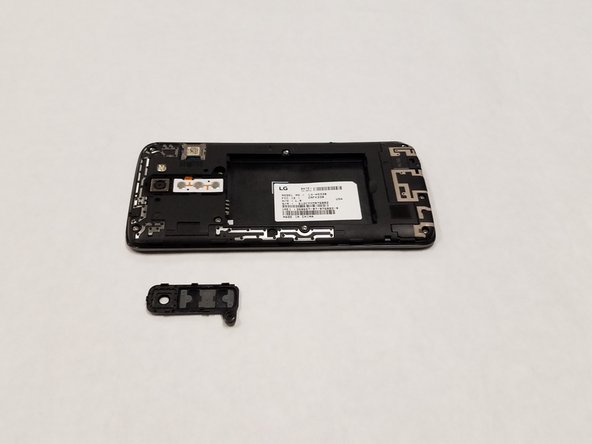
Use a Phillips #0 screwdriver to remove the single 3.5 mm screw holding the power button and volume rocker in place and lift it out and put it to the side.
-
-
-
-
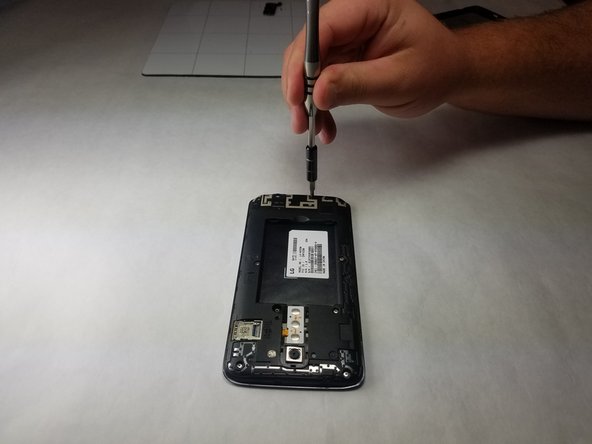
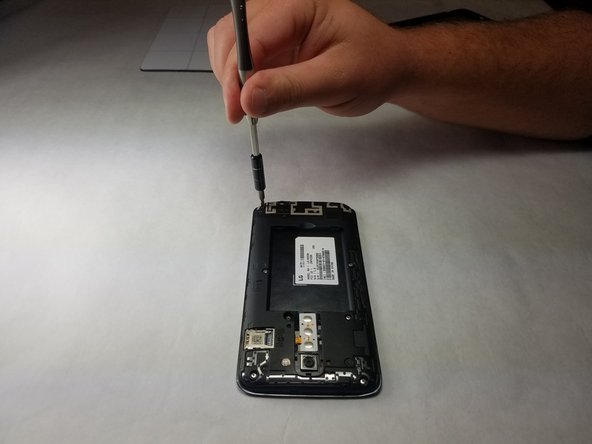
Use a Phillips #0 screwdriver to unscrew the three 3.5mm screws in the bottom portion of the phone and put them to the side.
-
-
-
Use a spudger to pry the plastic bit off. Be warned, it will snap out and might fling itself when you attempt prying it out.
-
-
-
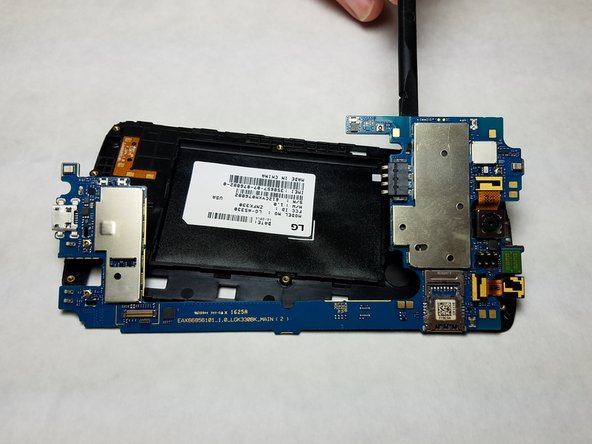
Use a Phillips #0 screwdriver to unscrew the five 3.5 mm screws holding the housing into the device and use a spudger to pop it out of the back of the device exposing the motherboard.
-
-
-
Use a plastic spudger to lift the motherboard out of the casing.
-
You must use a plastic tool for this step or you may risk shorting the logic board.
-
-
-
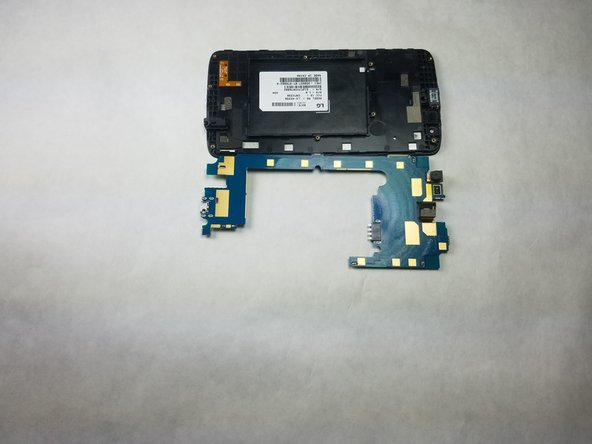
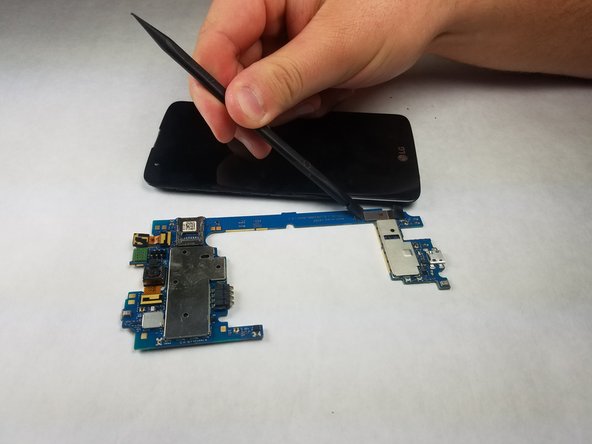
Turn the device over and locate the connector between the digitizer and the motherboard.
-
Use a plastic spudger to disconnect the connector.
-


To reassemble your device, follow these instructions in reverse order.
To reassemble your device, follow these instructions in reverse order.
Отменить: Я не выполнил это руководство.
Еще один человек закончил это руководство.
Команда

IUPUI, Team S3-G4, Harley Fall 2018 Участник IUPUI, Team S3-G4, Harley Fall 2018
IUPUI-HARLEY-F18S3G4
3 членов
Автор 4 руководств