Введение
Phone screens can easily break, but that does not mean you have to fork over the cash to get a new phone or pay somebody else to replace the screen for you. By following these instructions, you can replace your device screen on your own.
Выберете то, что вам нужно
-
-
Use a plastic spudger or your nail to lift the battery out of the device and put it aside.
-
The battery should come out with little effort. If it does not, do not force it.
-
-
-
Use a Phillips #0 screwdriver to remove the single 3.5mm screw holding the power button and volume rocker in place and lift it out and put it to the side.
-
-
-
Use a Phillips #0 screwdriver to unscrew the three 3.5mm screws in the bottom portion of the phone and put them to the side.
-
Use a spudger to pry the plastic bit off. Be warned, it will pop out and might fling itself when you attempt to pry it out.
-
-
-
-
Use a spudger to pry the plastic bit off.
-
Warning, it will snap out and might fling itself when you attempt to pry it out.
-
-
-
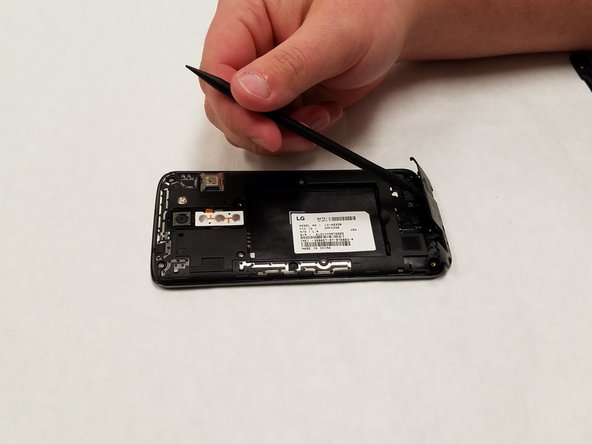
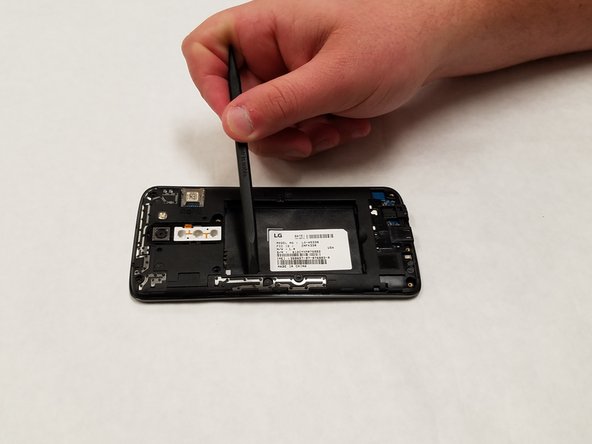
Use a Phillips #0 screwdriver to unscrew the five 3.5mm screws holding the housing into the device.
-
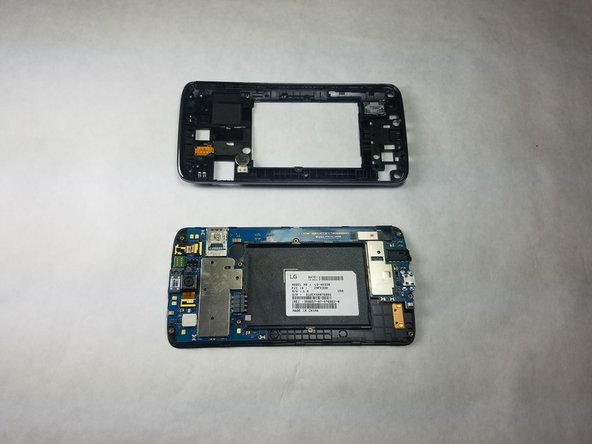
Use a spudger to pop it out of the back of the device exposing the motherboard.
-
-
-
Use a plastic spudger to lift the motherboard out of the casing.
-
You must use a plastic tool for this step or you may risk damaging the motherboard.
-
-
-
Turn the device over and locate the connector between the digitizer and the motherboard.
-
Use a plastic spudger to disconnect the connector.
-
-
-
Turn the screen housing over and use a hair dryer to heat the screen.
-
This melts the adhesive between the screen and the housing, allowing you to separate the two.
-
Be sure to evenly heat the screen and take care not to burn yourself.
-
-
-
Once the screen is heated, use a plastic spudger to attempt to peel the glass away from the housing.
-
This will take some time, so take care not to break the glass.
-
Once the spudger is under the glass, drag it around the edge and separate the glass and the housing.
-


To reassemble your device, follow these instructions in reverse order.
To reassemble your device, follow these instructions in reverse order.
Отменить: Я не выполнил это руководство.
8 участников успешно повторили данное руководство.
Команда

IUPUI, Team S3-G4, Harley Fall 2018 Участник IUPUI, Team S3-G4, Harley Fall 2018
IUPUI-HARLEY-F18S3G4
3 членов
Автор 4 руководств