Введение
This guide will show how to replace a faulty or broken speaker on a LG Optimus F60. This process is not complicated and can take 8 minutes to complete.
Выберете то, что вам нужно
-
-
Hold the phone in your hand and position the small plastic opening tool or your finger under the lip of the phone by the USB port.
-
Pry or lift up on the indent with the opening tool.
-
Remove the back panel.
-
-
-
Place the small plastic opening tool or your finger at the indentation at the base of the battery.
-
Pry upwards or lift with your finger and remove battery.
-
-
-
-
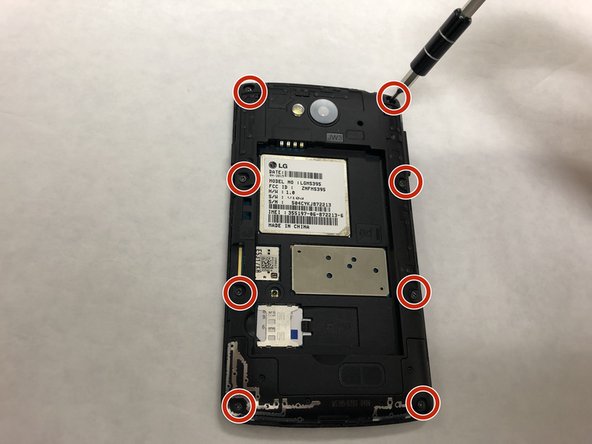
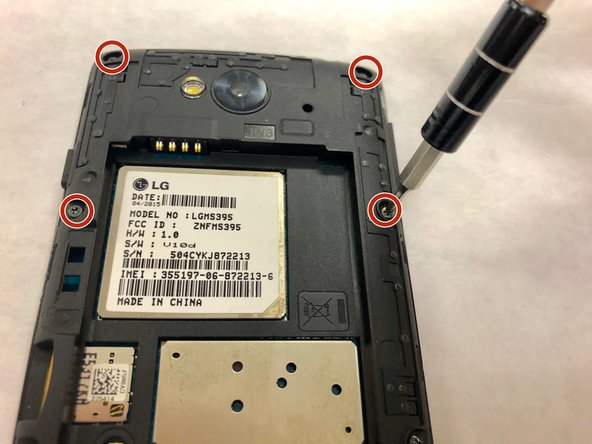
Insert the iFixit opening tool in the indentation.
-
Pry the plastic using the opening tool to remove the lower back panel.
-
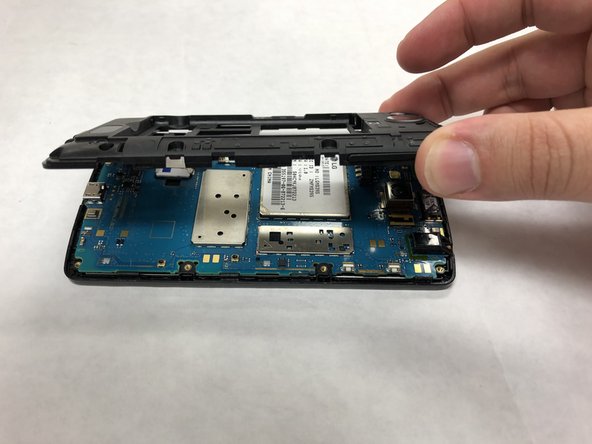
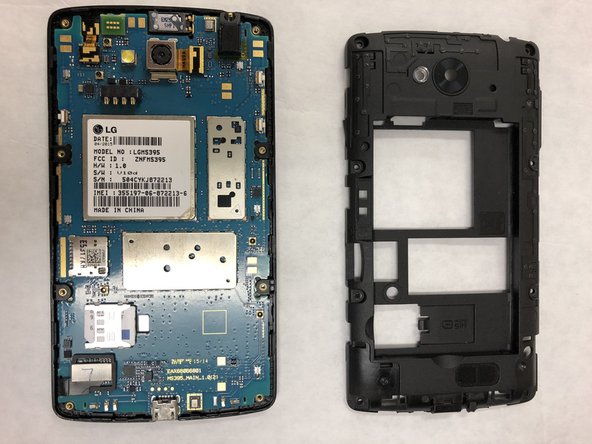
Remove the back panel from the device.
-
-
-
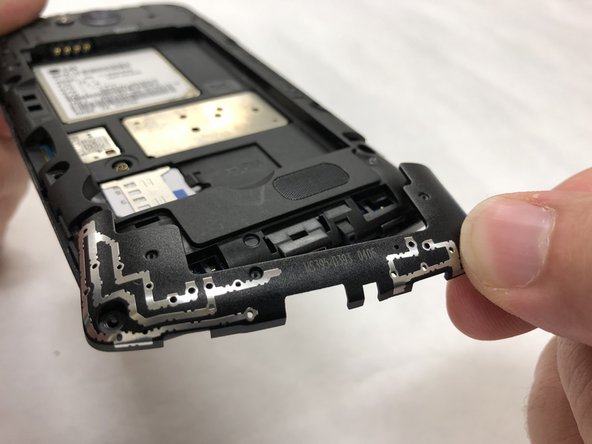
Start at the changing port, and continue to pry at the edges until loose enough to remove.
-
Remove the back panel.
-
-
-
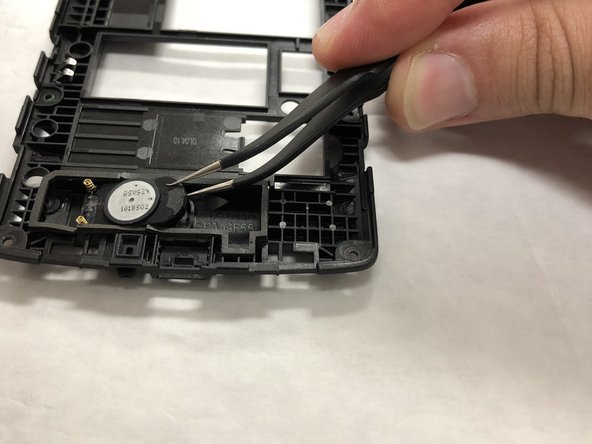
Gently pry the foam seal from around the speaker.
-
Pry out speaker using tweezers.
-
Remove and replace the speaker.
-


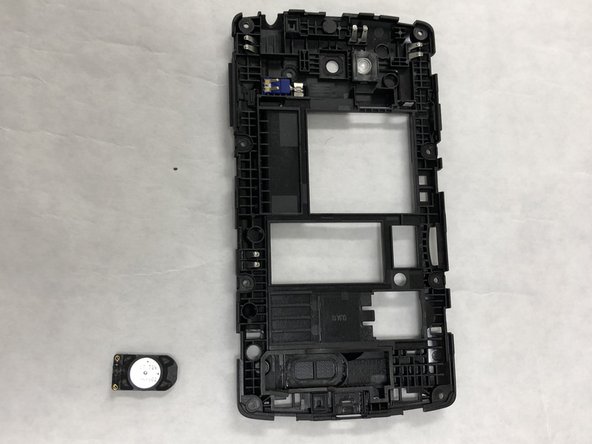
To reassemble your device, follow these instructions in reverse order.
To reassemble your device, follow these instructions in reverse order.
Отменить: Я не выполнил это руководство.
3 участников успешно повторили данное руководство.
Команда

IUPUI, Team S2-G5, Henning Spring 2019 Участник IUPUI, Team S2-G5, Henning Spring 2019
IUPUI-HENNING-S19S2G5
3 членов
Автор 3 руководств