Введение
How to replace the camera in your LG Optimus Fuel. You may want to do this if your camera has become damaged and/or has quit working properly.
Выберете то, что вам нужно
-
-
Use the opening on the right side of the phone to pull off the plastic back cover.
-
-
-
Use the curved opening at the center-bottom of the battery to carefully remove the old battery.
-
-
-
-
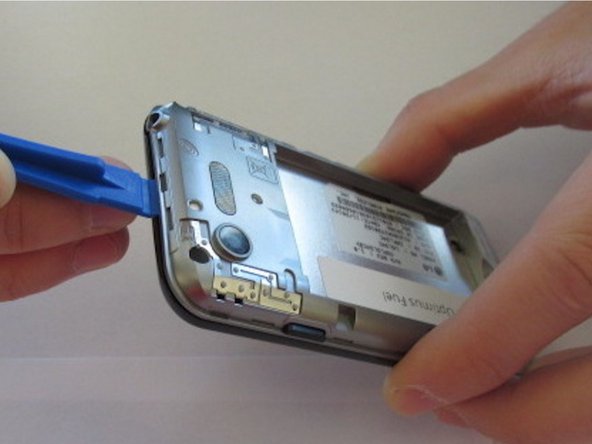
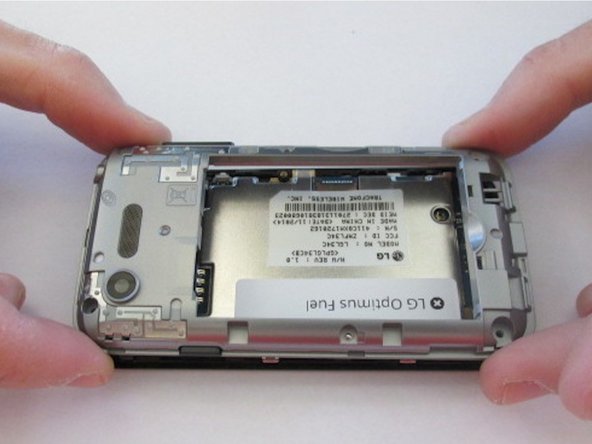
Remove the six 1.4mm screws using a Phillips head screwdriver with a size PH00 head and remove the back panel with a plastic opening tool.
-
-
-
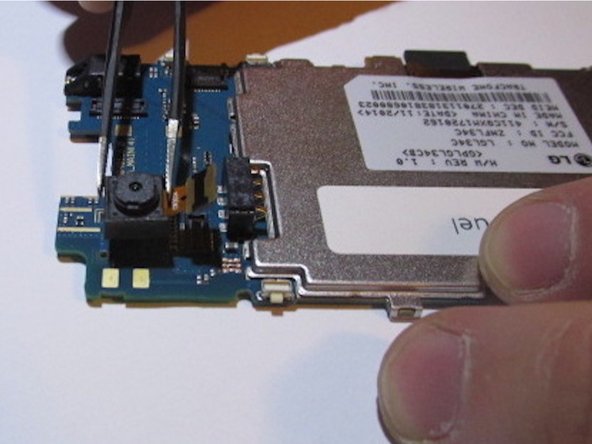
The camera has been secured to the circuit board using an adhesive. Use a plastic opening tool and precision tweezers to remove it. Don't be afraid to use a little force when pulling at the camera.
-


To reassemble your device, follow these instructions in reverse order.
To reassemble your device, follow these instructions in reverse order.
Команда

University of Kentucky Louisville, Team 1-4, Matravers Spring 2016 Участник University of Kentucky Louisville, Team 1-4, Matravers Spring 2016
LOUISVILLE-MATRAVERS-S16S1G4
4 членов
Автор 5 руководств