Перейти к основному содержанию

LG Rebel 4 LTE Disassembly

Выберете то, что вам нужно

  1. LG Rebel 4 LTE Disassembly, Remove the Cover: шаг 1, изображение 1 из 2 LG Rebel 4 LTE Disassembly, Remove the Cover: шаг 1, изображение 2 из 2
    • Locate the indent on the back left side of the phone.

    • Insert the opening tool into the indent and pry until it pops.

    • Remove the backing.

  2. LG Rebel 4 LTE Disassembly, Remove Internal Components: шаг 2, изображение 1 из 3 LG Rebel 4 LTE Disassembly, Remove Internal Components: шаг 2, изображение 2 из 3 LG Rebel 4 LTE Disassembly, Remove Internal Components: шаг 2, изображение 3 из 3
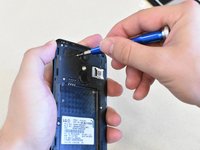
    • Use the spudger to pry the battery out.

    • If installed, pop out the SD/TF card by gently pressing in and releasing the SD card. Not pictured, Located above the Sims card (See Below).

    • Use your fingers to remove the sim card.

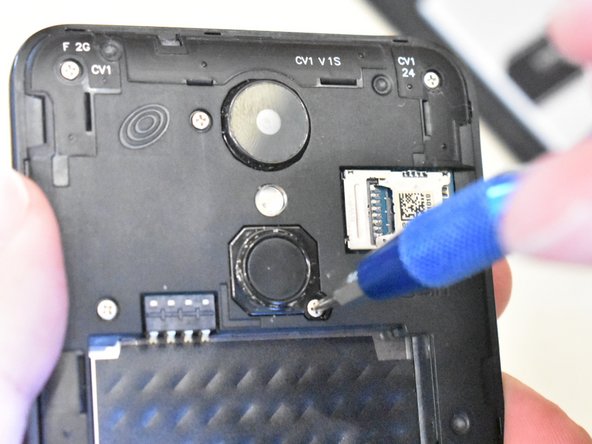
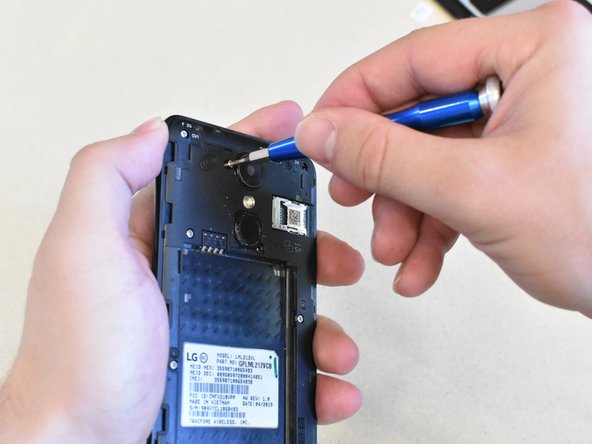
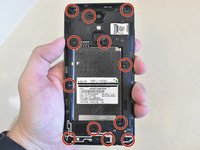
  3. LG Rebel 4 LTE Disassembly, Remove Screws: шаг 3, изображение 1 из 3 LG Rebel 4 LTE Disassembly, Remove Screws: шаг 3, изображение 2 из 3 LG Rebel 4 LTE Disassembly, Remove Screws: шаг 3, изображение 3 из 3
    • Using the #000 Phillips screwdriver, remove all the screws (as seen in the photo).

    • There should be 12 screws in total.

    • Don't lose the screws!

  4. LG Rebel 4 LTE Disassembly, Remove Charging Port Cover: шаг 4, изображение 1 из 2 LG Rebel 4 LTE Disassembly, Remove Charging Port Cover: шаг 4, изображение 2 из 2
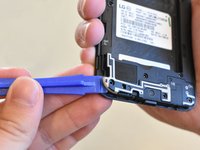
    • Use the spudger to carefully pry the cover around the charging port.

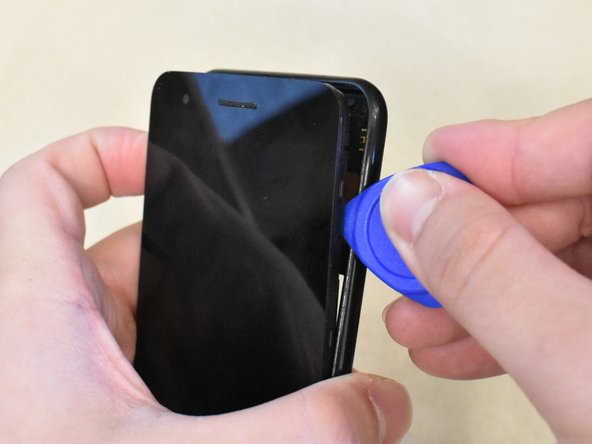
  5. LG Rebel 4 LTE Disassembly, Remove the Screen: шаг 5, изображение 1 из 3 LG Rebel 4 LTE Disassembly, Remove the Screen: шаг 5, изображение 2 из 3 LG Rebel 4 LTE Disassembly, Remove the Screen: шаг 5, изображение 3 из 3
    • Rotate the phone (view picture) to reveal the top corner of the phone.

    • Using a opening pick, pry in between the glass screen and the framing.

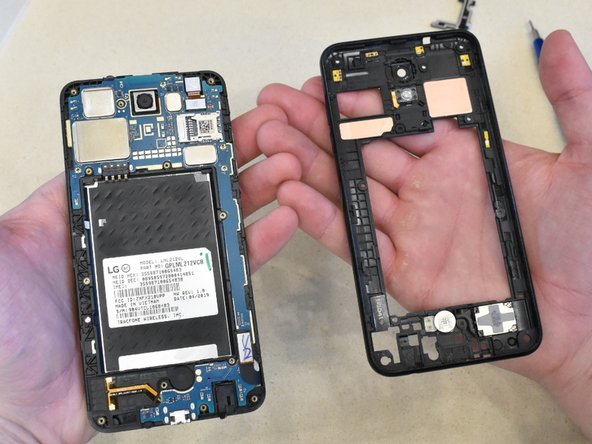
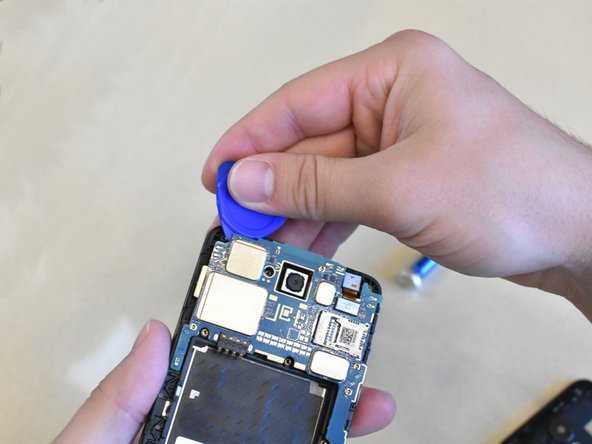
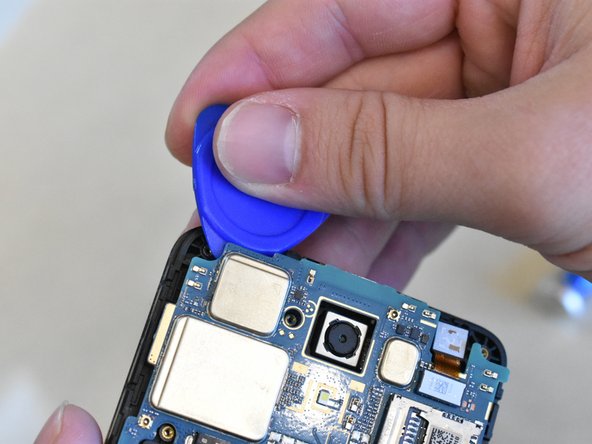
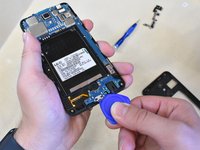
  6. LG Rebel 4 LTE Disassembly, Remove the Motherboard: шаг 6, изображение 1 из 3 LG Rebel 4 LTE Disassembly, Remove the Motherboard: шаг 6, изображение 2 из 3 LG Rebel 4 LTE Disassembly, Remove the Motherboard: шаг 6, изображение 3 из 3
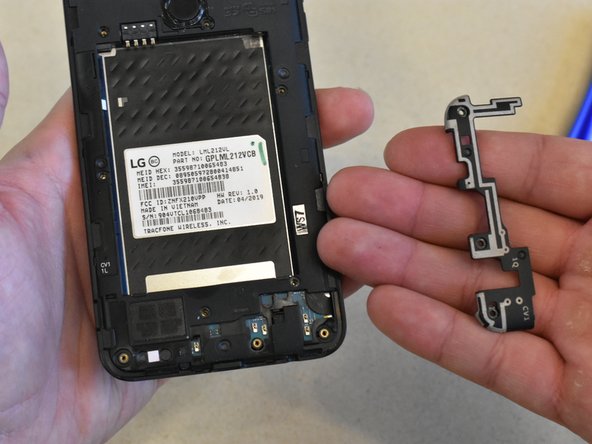
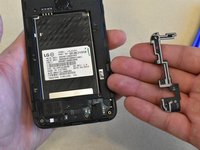
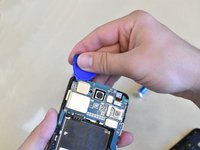
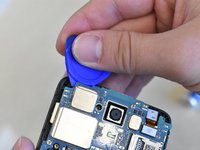
    • Pry from the top and bottom of the screen with the (refer to photo) opening pick to release the tabs holding the motherboard to the phone.

    • Do not let the main camera fall out while removing the mother board.

  7. LG Rebel 4 LTE Disassembly, Disconnect the Connector Cable: шаг 7, изображение 1 из 3 LG Rebel 4 LTE Disassembly, Disconnect the Connector Cable: шаг 7, изображение 2 из 3 LG Rebel 4 LTE Disassembly, Disconnect the Connector Cable: шаг 7, изображение 3 из 3
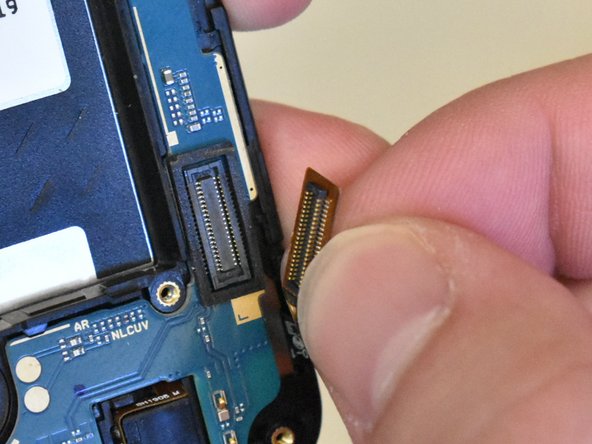
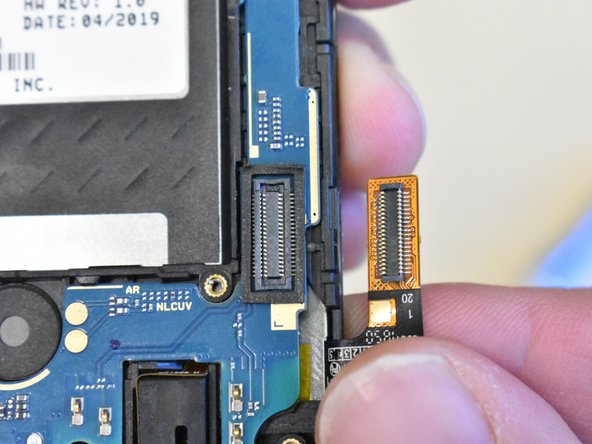
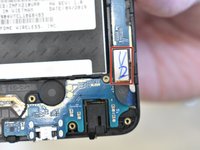
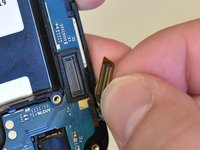
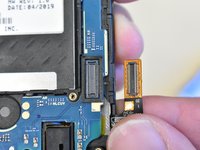
    • On the bottom right of the phone, locate a cable that holds the motherboard to the phone.

    • Disconnect the cable by gently pulling up on the component with your fingers.

    • Do not use a prying tool or screwdriver to disconnect the cable.

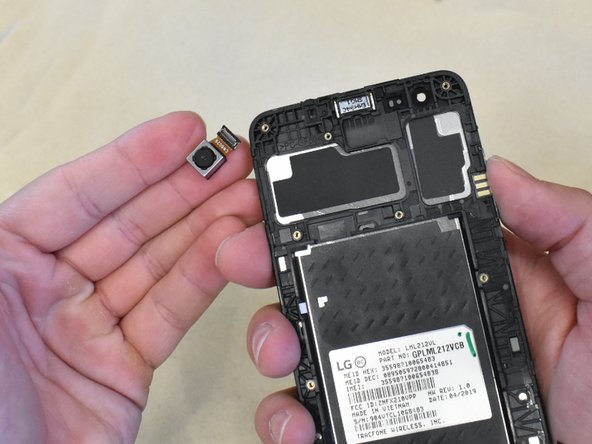
  8. LG Rebel 4 LTE Disassembly, Remove the Camera: шаг 8, изображение 1 из 3 LG Rebel 4 LTE Disassembly, Remove the Camera: шаг 8, изображение 2 из 3 LG Rebel 4 LTE Disassembly, Remove the Camera: шаг 8, изображение 3 из 3
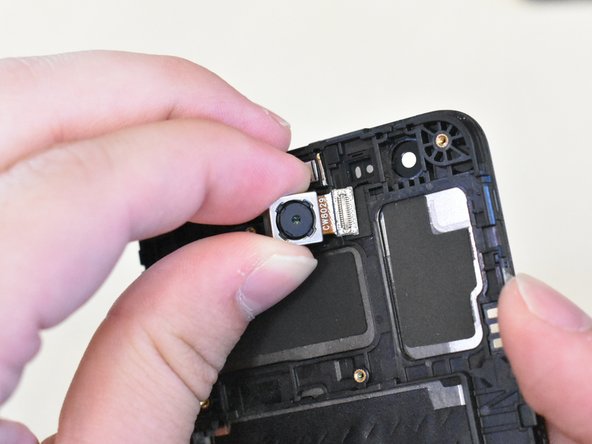
    • Separate the camera from the magnet by gently pulling up.

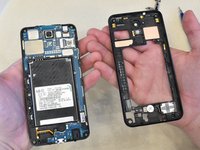
  9. LG Rebel 4 LTE Disassembly, Disassembly Complete: шаг 9, изображение 1 из 1
    • Congratulations. You've successfully disassembled your device.

    • To reassemble the device, follow these steps in reverse order. (Begin with step 8, continuining until you end on step 1.

    • When reassembling, make sure that each component snaps tightly to the phone before moving to the next step.

Заключение

To reassemble your device, follow these instructions in reverse order.

JCJR

Участник с: 06/23/23

169 Репутация

1 руководство автора

0 Комментариев

Добавить комментарий

Просмотр статистики:

За последние 24часов: 0

За последние 7 дней: 5

За последние 30 дней: 19

За всё время: 161