Перейти к основному содержанию

LG VX5200 Camera Replacement

Выберете то, что вам нужно

  1. LG VX5200 Camera Replacement, Battery: шаг 1, изображение 1 из 2 LG VX5200 Camera Replacement, Battery: шаг 1, изображение 2 из 2
    • Turn the phone on its back.

  2. LG VX5200 Camera Replacement: шаг 2, изображение 1 из 2 LG VX5200 Camera Replacement: шаг 2, изображение 2 из 2
    • Orient the phone as shown.

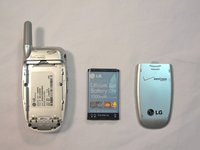
    • Remove the battery cover by pushing upward with your thumb.

  3. LG VX5200 Camera Replacement: шаг 3, изображение 1 из 2 LG VX5200 Camera Replacement: шаг 3, изображение 2 из 2
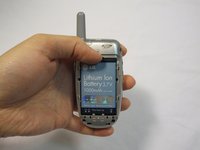
    • Place your fingernail at the top of the battery and pry the battery out towards you.

  4. LG VX5200 Camera Replacement, Face Plate: шаг 4, изображение 1 из 3 LG VX5200 Camera Replacement, Face Plate: шаг 4, изображение 2 из 3 LG VX5200 Camera Replacement, Face Plate: шаг 4, изображение 3 из 3
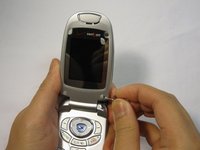
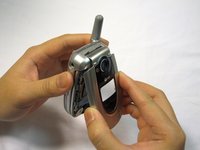
    • Flip the phone open.

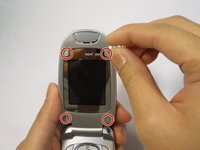
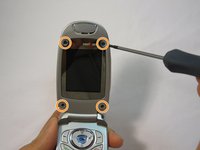
    • Remove the four rubber plugs, located at the corners of the LCD screen, with a push-pin.

    • Use a Phillips #00 screwdriver to remove the four screws located underneath the rubber plugs.

  5. LG VX5200 Camera Replacement: шаг 5, изображение 1 из 3 LG VX5200 Camera Replacement: шаг 5, изображение 2 из 3 LG VX5200 Camera Replacement: шаг 5, изображение 3 из 3
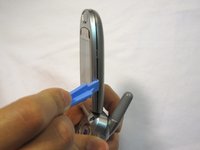
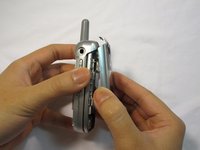
    • Insert the opening tool in the seam of the top portion of the flip phone.

    • Gently pry the seam open.

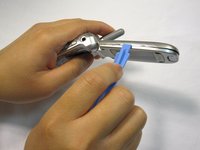
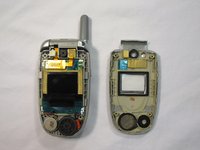
    • Move the opening tool around the perimeter of the seam and gently take the front LCD face plate out.

  6. LG VX5200 Camera Replacement: шаг 6, изображение 1 из 3 LG VX5200 Camera Replacement: шаг 6, изображение 2 из 3 LG VX5200 Camera Replacement: шаг 6, изображение 3 из 3
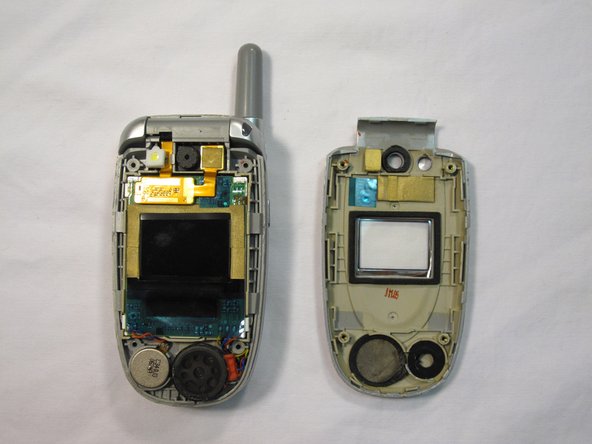
    • Close the flip phone.

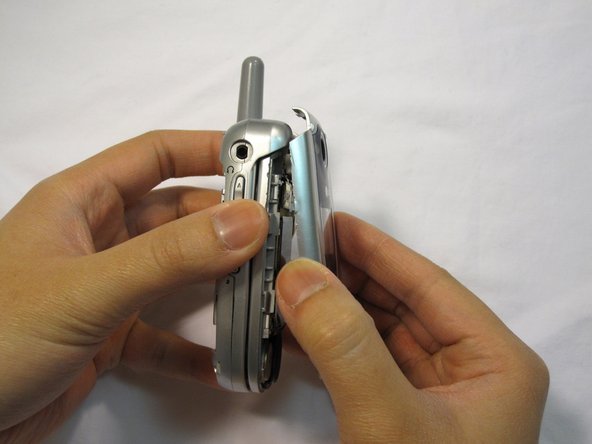
    • Hold the base of the phone and gently remove the faceplate.

    • Place the phone and the faceplate on a clean, flat surface.

  7. LG VX5200 Camera Replacement, Camera: шаг 7, изображение 1 из 3 LG VX5200 Camera Replacement, Camera: шаг 7, изображение 2 из 3 LG VX5200 Camera Replacement, Camera: шаг 7, изображение 3 из 3
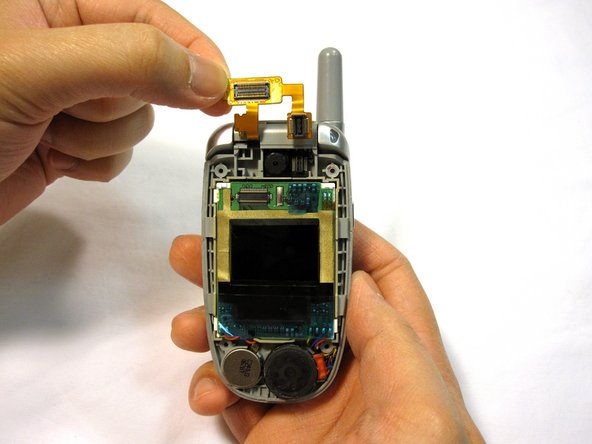
    • Locate the phone camera.

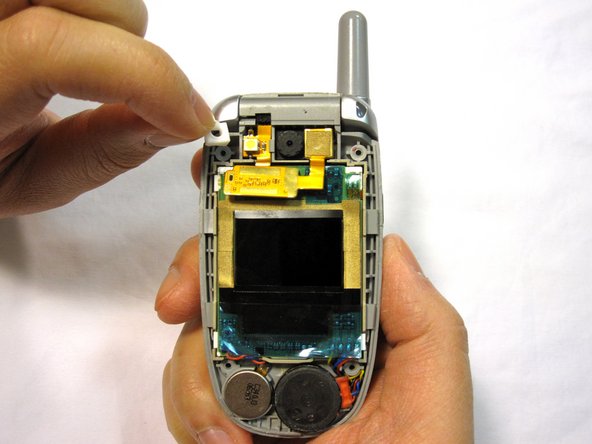
    • Locate the white rubber stopper to left of the camera.

    • Remove white rubber stopper by grabbing an edge with your fingers and gently pulling it off.

  8. LG VX5200 Camera Replacement: шаг 8, изображение 1 из 2 LG VX5200 Camera Replacement: шаг 8, изображение 2 из 2
    • Lift the copper ribbon cable up from the bottom right hand corner.

  9. LG VX5200 Camera Replacement: шаг 9, изображение 1 из 2 LG VX5200 Camera Replacement: шаг 9, изображение 2 из 2
    • While holding the copper connection out of the way, use your fingernail to pry the camera out of its socket.

Заключение

To reassemble your device, follow these instructions in reverse order.

2 участников успешно повторили данное руководство.

Douglas Blaalid

Участник с: 01/13/10

282 Репутация

Автор 8 руководств

Команда

Cal Poly, Team 4-13, Forte Winter 2010 Участник Cal Poly, Team 4-13, Forte Winter 2010

CPSU-FORTE-W10S4G13

5 членов

Автор 15 руководств

0 Комментариев

Добавить комментарий

Просмотр статистики:

За последние 24часов: 0

За последние 7 дней: 0

За последние 30 дней: 1

За всё время: 2,189