Введение
The LG VX8300 was one of Verizon’s most popular mobile phones, boasting extensive use by its users. It is no surprise that normal wear and tear may entail damaging the exterior screen. This guide demonstrates how easily it is to replace a damaged exterior screen by swapping the screen housing.
Выберете то, что вам нужно
-
-
Power off the device by holding down the red button labeled PWR.
-
Remove the battery pack cover by pushing down on the solid lines at the top end of the cover. Slide the cover down while applying the pushing force at the top to remove the cover completely.
-
-
-
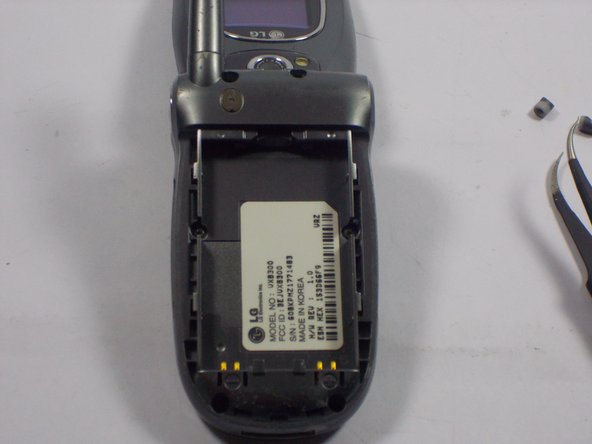
Place your finger into the semicircle gap on top of the battery.
-
Apply force downward and out, so the battery pops out of the phone.
-
-
-
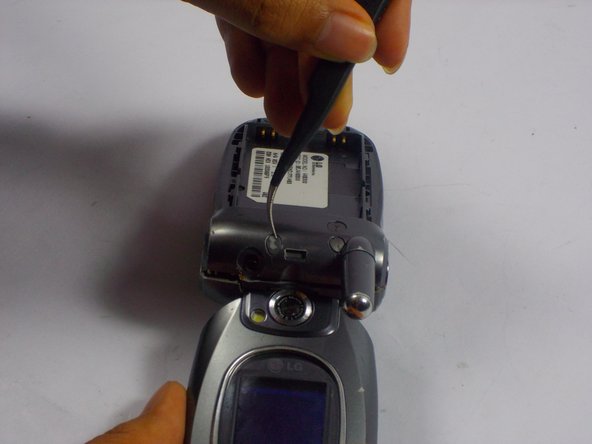
Locate the two rubber pads covering the screws at the top of the phone near the hinge.
-
Use tweezers to lift and remove the rubber pads.
-
-
-
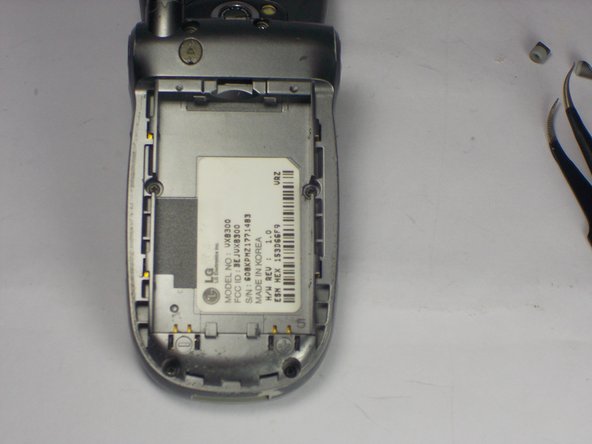
Use a Phillips #00 screwdriver to remove all four 3mm screws from the back of the phone.
-
-
-
-
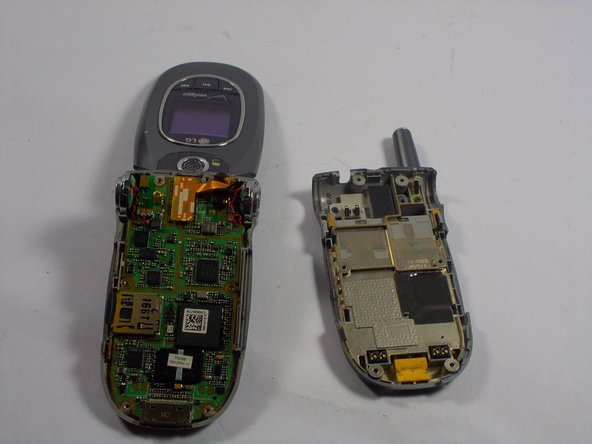
Use your fingers to gently separate the front plate from the phone. You may need to slide a plastic opening tool along the crevice between the faces to separate it more easily.
-
Remove the casing after it has been detached. The logic board is now fully accessible.
-
-
-
Use a plastic opening tool to gently lift the motherboard out of the case. The board is secured by six holes around the perimeter and will become free when pried from the supports.
-
-
-
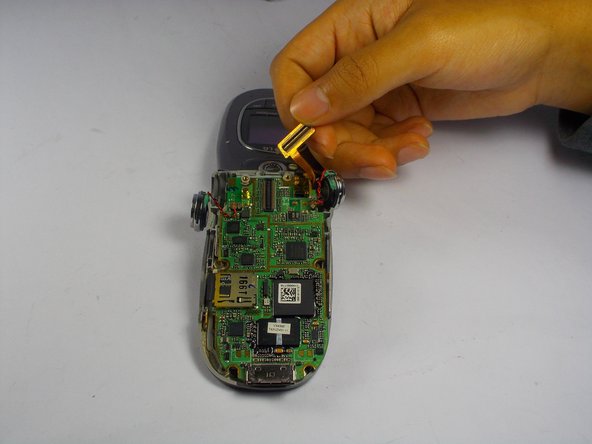
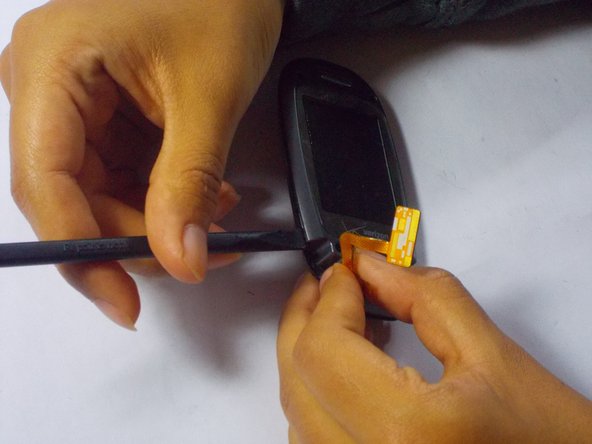
Remove the ribbon cable by lifting up the orange rectangle in the middle-top portion of the exposed device.
-
-
-
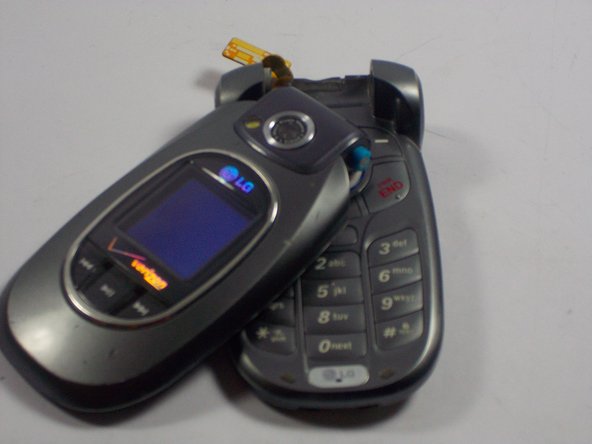
Hold the phone securely in your left hand by placing your thumb on the hinge and wrapping your fingers around the back of the device.
-
Pinch the right flange near the flip hinge with the right hand and apply pressure.
-
Continue applying pressure until the two halves separate. Pull the bottom half towards you.
-
-
-
Separate the keyboard from its housing.
-
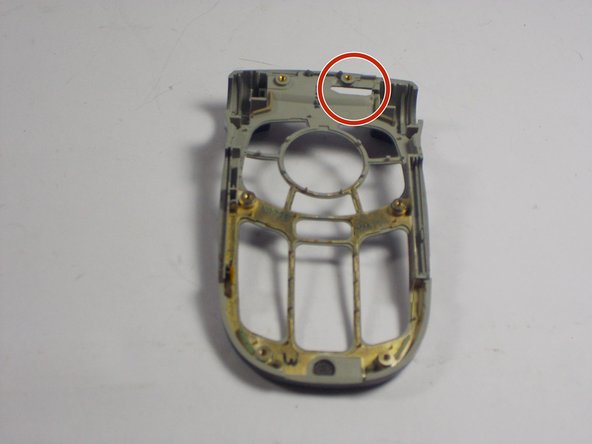
Slide the ribbon cable out through the uppermost slot in the housing.
-
-
-
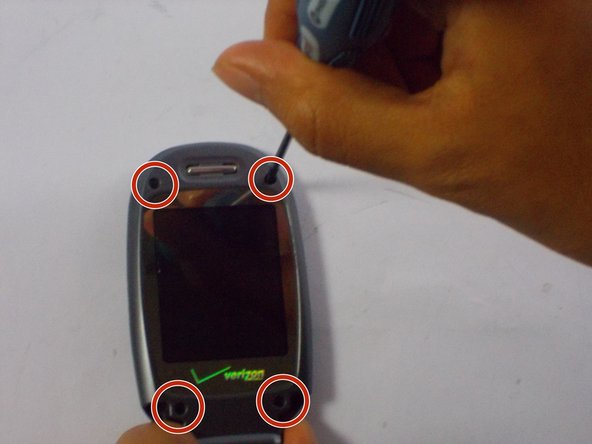
Remove the four rubber screw covers with tweezers located on the corners of the internal screen.
-
Remove all four 2 by 3 mm Phillips screws located under the rubber pads using a Phillips #00 screwdriver.
-
-
-
Guide the spudger along the seam line of the phone screen to slowly separate the two pieces.
-
-
-
Separate the external screen housing with your hands.
-
Replace the old screen housing with a new one and snap it together to complete the replacement.
-


To reassemble your device, follow these instructions in reverse order.
To reassemble your device, follow these instructions in reverse order.
Отменить: Я не выполнил это руководство.
Еще один человек закончил это руководство.
Команда

UMass Dartmouth, Team 3-7, Duarte Spring 2015 Участник UMass Dartmouth, Team 3-7, Duarte Spring 2015
UMASSD-DUARTE-S15S3G7
3 членов
Автор 10 руководств