Введение
The motherboard is the brain of the device and controls all of the functions. This guide is for those of whom that are looking to replace their LeapPad's motherboard due to damage or issues. Like always, take extra caution when handling the device when its components are exposed. It is important to follow the guide word-by-word to avoid performing the steps incorrectly so that no further damage results.
Выберете то, что вам нужно
-
-
Remove the barcode covering the two screws on the lower back of the Leap Pad.
-
-
-
Using a plastic opening tool, pry off the outer protective child proof casing, starting from the bottom.
-
-
-
Remove the 7 mm screw to the right of the cartridge dock, two 8 mm screws in the top left, and the nine 8 mm screws holding the the green shell.
-
-
-
Disconnect the battery using tweezers or your fingernails.
-
The battery is glued down, if available put some isopropyl alcohol around the edges of the battery to soften the glue.
-
Gently pry of the battery lose using a spudger or another thin prying tool.
-
-
-
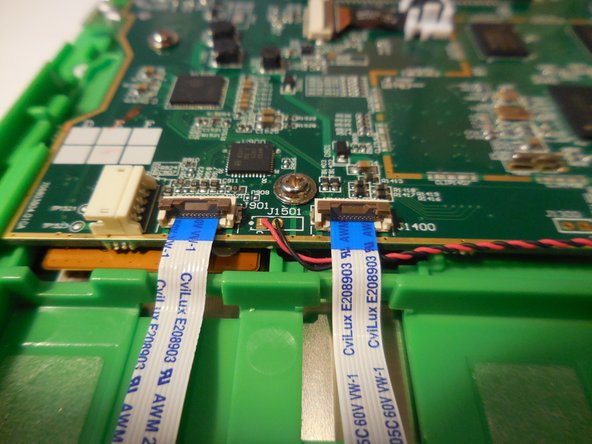
Disconnect the three wires that will be visible on top of the motherboard. The wires need to be disconnected by pulling them up vertically.
-
-
-
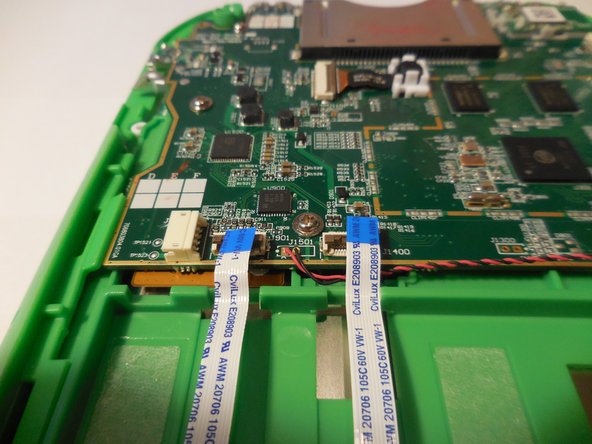
Lift the motherboard up exposing the fourth and final wire. Once you lift up the motherboard you will need to pull down on the wire to disconnect.
-


To reassemble your device, follow these instructions in reverse order.
To reassemble your device, follow these instructions in reverse order.
Команда

USF Tampa, Team 4-99, Meier Fall 2015 Участник USF Tampa, Team 4-99, Meier Fall 2015
USFT-MEIER-F15S4G99
4 членов
Автор 10 руководств