Введение
This guide demonstrates how the replace the battery for the Lenovo 100e 2nd gen (model number: 81MB). This guide will give step-by-step instructions on how to properly remove the old battery and place the new battery. The battery of the laptop serves the purpose of powering the device. Some signs that your battery needs to be replaced include computer not turning on, laptop overheating, and laptop failing to charge.
Выберете то, что вам нужно
-
-
Use the Phillips #0 screwdriver to remove the nine 1.2 mm screws on the bottom side of the laptop.
-
-
-
Use a plastic opening tool to pry the bottom cover from the laptop.
-
Pry all four sides of the bottom panel to safely remove the bottom panel from the device.
-
Carefully remove the bottom panel and place it to the side.
-
-
-
-
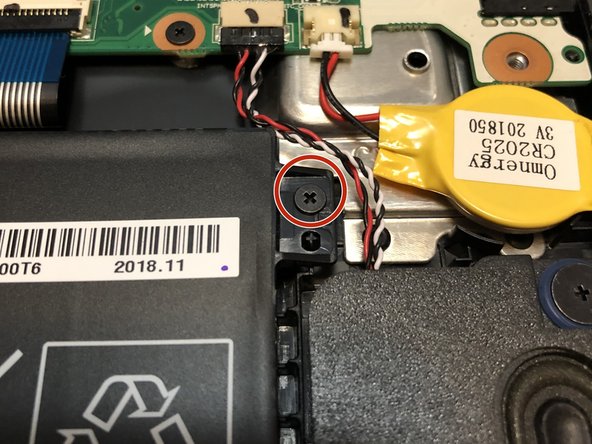
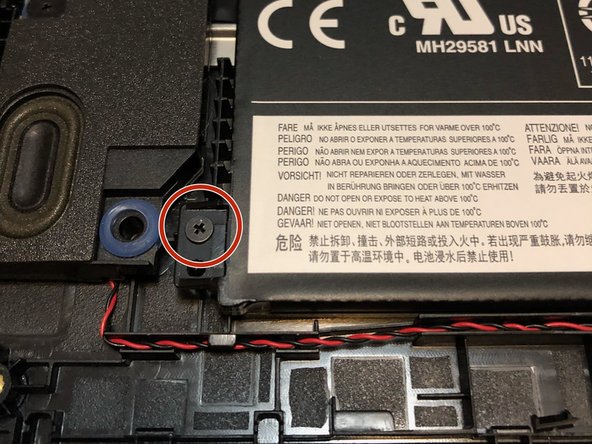
Use a Phillips #0 screwdriver to remove the four 1 mm screws that are holding the battery in place.
-
-
-
Unplug the battery from the motherboard.
-
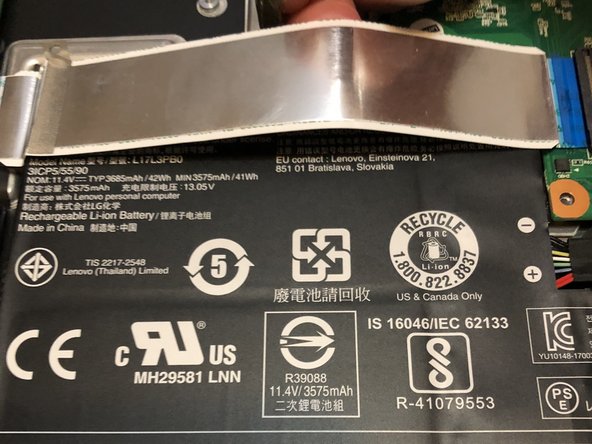
Lift the daughterboard ribbon to make it easier to remove the battery safely.
-
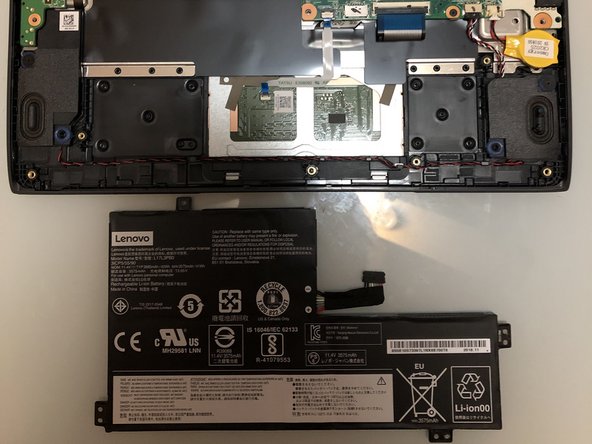
Completely remove the old battery and place it to the side.
-
-
-
Insert the new battery by connecting the battery to the motherboard.
-
Lift the daughterboard ribbon and place the new battery under the ribbon.
-


To reassemble your device, follow these instructions in reverse order.
To reassemble your device, follow these instructions in reverse order.
Отменить: Я не выполнил это руководство.
2 участников успешно повторили данное руководство.

Команда

University of Alabama, Team S3-G2, Bedsole Spring 2021 Участник University of Alabama, Team S3-G2, Bedsole Spring 2021
UA-BEDSOLE-S21S3G2
2 членов
Автор 1 руководств