Введение
Replacing the display screen for the Lenovo B575-1450 takes some time and patience due to the removal of many parts and keeping track of all the small screws. When reinstalling the display screen make sure to be careful with the connectors.
Выберете то, что вам нужно
-
-
Turn off the computer.
-
Disconnect the charger from the computer.
-
Flip the computer upside down.
-
-
-
While holding the battery, use your other hand to push the left clip to the left and pull the battery out.
-
-
-
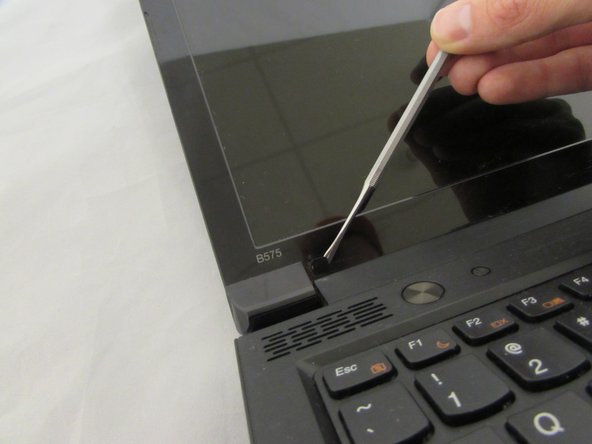
Remove both screw covers from the bottom of screen bezel using a plastic spudger. The screws underneath will now be exposed
-
-
-
-
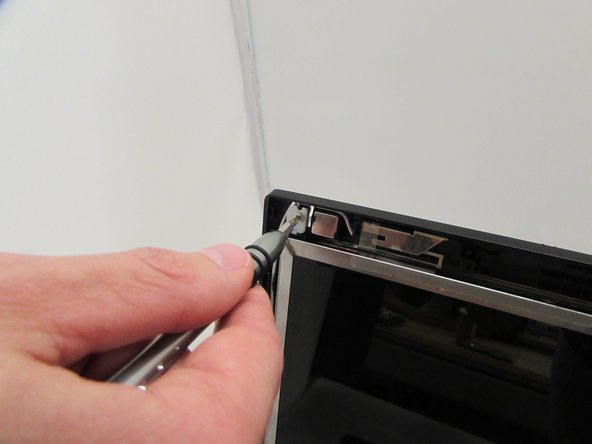
Using the Phillips #0 Screwdriver, remove the two 4.3 mm screws holding the display to the front bezel.
-
-
-
Separate the front bezel from the display panel using the plastic opening tool by gently prying around the edges and removing it.
-
-
-
Using the tweezers carefully disconnect the ZIF connector by pulling cable away from front facing camera that is attached to the back bezel.
-
-
-
Using the Phillips #0 Screwdriver, remove the six 4.3 mm screws that connect display screen to the rear bezel.
-
-
-
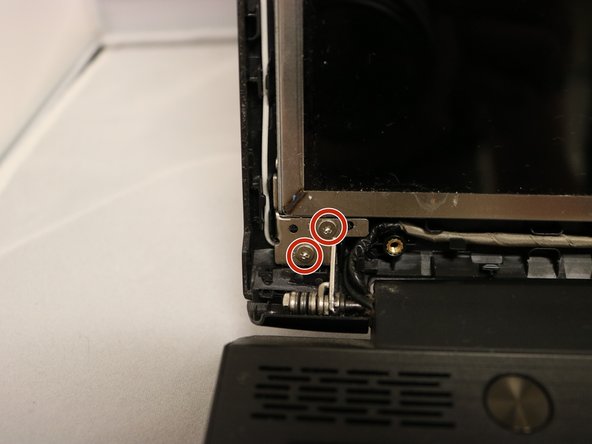
Using the Phillips #0 Screwdriver, remove the four 2.9 mm screws from each side of the bracket that holds the display panel in place.
-
-
-
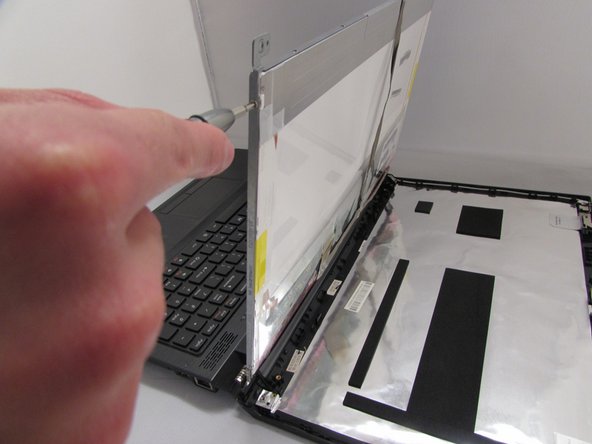
Lay display panel face down on the keyboard.
-
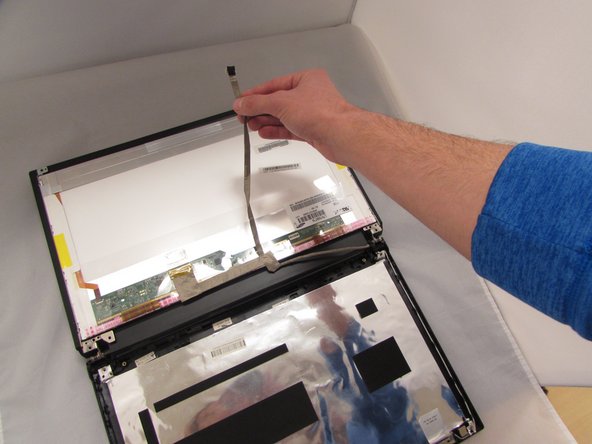
Peel back the flat wire that has the camera's ZIF connector until it is loose from the back of the display.
-
Carefully peel of the clear adhesive tape attached to the primary display ZIF connector using a plastic spudger.
-
-
-
Place the metal tweezer tips between the ZIF connector and the wire-to-board connection.
-
Carefully separate ZIF wire-to-board connection by pulling metal tweezers in a downward motion.
-
Pull up on flat wire until display is completely disconnected.
-


To reassemble your device, follow these instructions in reverse order.
To reassemble your device, follow these instructions in reverse order.
Отменить: Я не выполнил это руководство.
Еще один человек закончил это руководство.

Команда

Eastern Washington University, Team 1-4, Crane Fall 2016 Участник Eastern Washington University, Team 1-4, Crane Fall 2016
EWU-CRANE-F16S1G4
4 членов
Автор 13 руководств