Введение
Use this guide to replace a full or faulty hard drive in your Lenovo Flex 2-14 laptop.
If your Lenovo Flex 2-14 laptop (model 20404) has slowed down and is constantly freezing, you may need to replace the hard drive, especially if you have already tried other methods to fix these issues.
The hard drive stores and retrieves data in your computer. Make sure you back up your hard drive before replacing it in order to not lose any data. You may also want to upgrade your hard drive if you are running low on storage, as that can cause your laptop to slow down.
Before beginning, make sure to power off your laptop completely and disconnect from any external power source.
Выберете то, что вам нужно
-
-
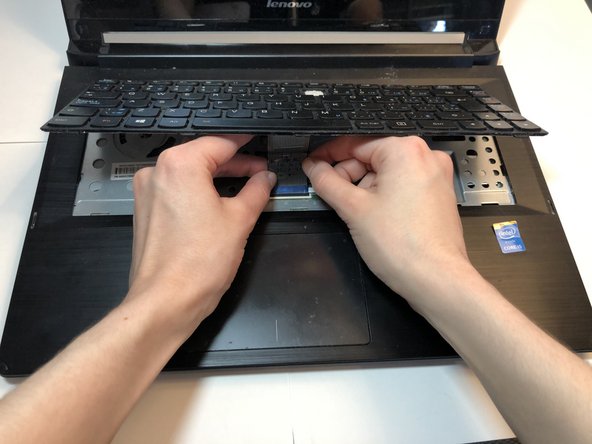
Flip the laptop over so the bottom is facing upwards.
-
Remove all nine 6mm Phillips #0 screws located along the edges and in the centre of the back panel.
-
-
-
-
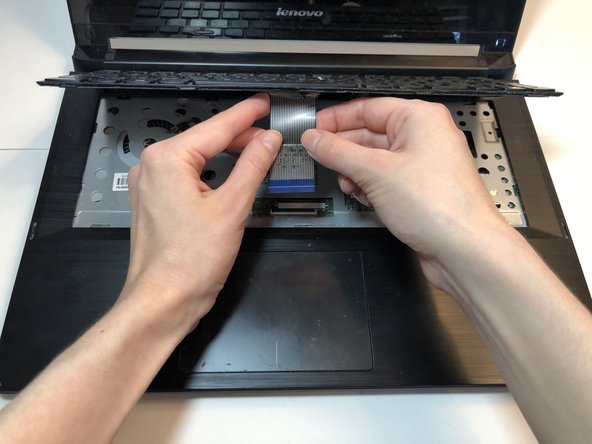
Separate the top and bottom panels of the laptop using a prying tool.
-
Slide the prying tool along the edges of the laptop until the bottom panel is completely separated.
-
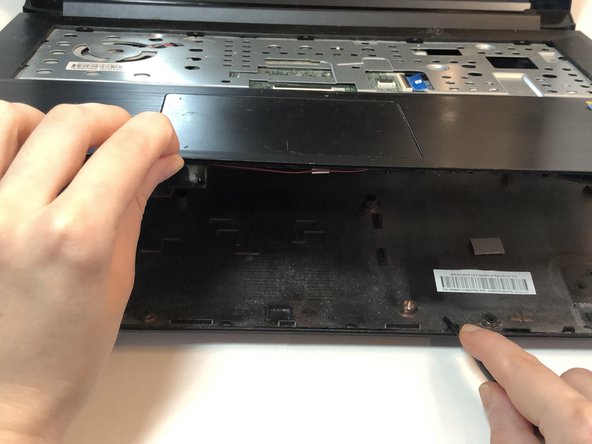
Remove the back cover of the laptop once you have finished prying it open.
-
-
-
Take out the adapter containing the hard drive from the laptop.
-
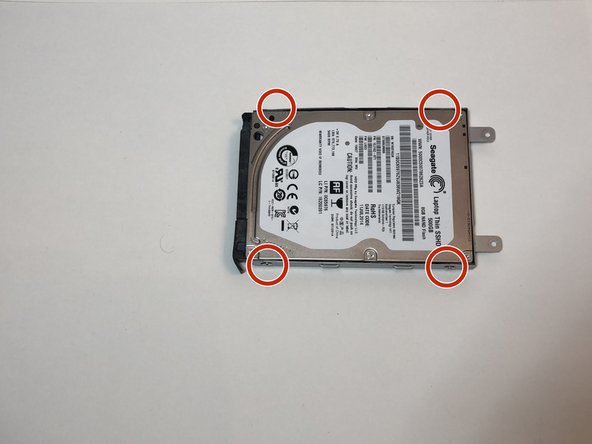
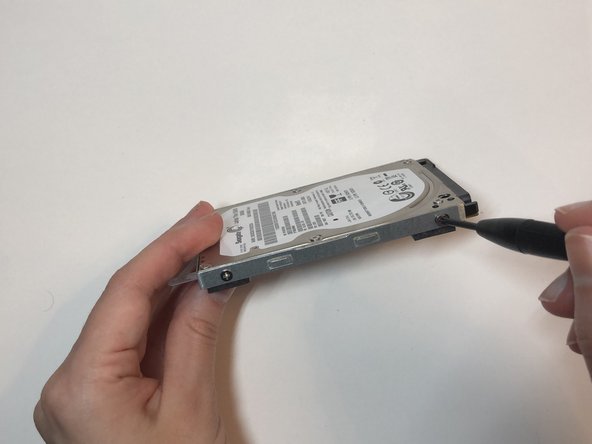
Remove all four 4mm Phillips screws from the adapter.
-
-
-
Remove the hard drive from the adapter.
-
Insert the new hard drive into the adapter.
-
-
-
Put all four 4mm Phillips screws back into the adapter with the hard drive, in order to hold it in place.
-
Put the adapter back in and reassemble the laptop.
-


To reassemble your device, follow these instructions in reverse order.
To reassemble your device, follow these instructions in reverse order.
Отменить: Я не выполнил это руководство.
2 участников успешно повторили данное руководство.
Команда

York University, Team S1-G3, O'Regan Summer 2020 Участник York University, Team S1-G3, O'Regan Summer 2020
YORK-O'REGAN-SU20S1G3
1 член
Автор 1 руководств