Введение
This guide shows how to remove the motherboard from the Lenovo Flex 6-11IGM laptop. The motherboard is necessary for the laptop's functions, as it contains the central processor. It is important to make sure the battery is unplugged to ensure that no electricity shocks you or short circuits the component.
Выберете то, что вам нужно
-
-
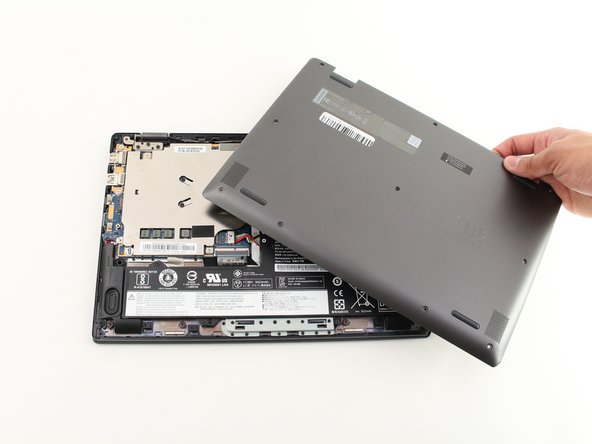
Flip the device over and lay it down with the underside facing upwards.
-
-
-
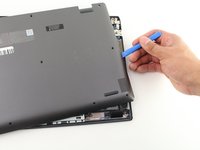
After making sure the back panel is completely free from the body, remove the back panel.
-
-
-
Шаг 5 RAM
Внимание: шаги 5-7 взяты из руководства, помеченного как незавершенное.
-
Insert a plastic opening pick in the ribbon cable housing, flip the black part up, and pull the cable out with your fingers.
-
-
-
Remove the four 3.5mm Phillips #0 screws that secure the heat sink.
-
Remove the four 3.5 mm Phillips #0 screws that secure the heat sink.
-
-
-
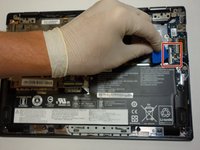
Disengage the cable located above the left speaker.
-
Disengage the ribbon cable located directly above the battery using the blue pick.
-
Disengage the battery cable directly above the ribbon cable housing.
-
Disengage the CMOS battery cable located to the right of the battery cable.
-
Remove the display cable located directly above the button battery.
-
Disengage the secondary display cable located directly to the left of the display cable.
-
-
-
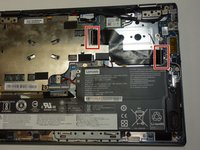
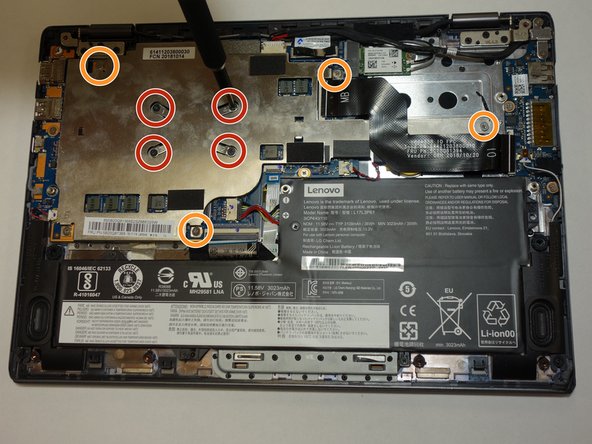
Using a Phillips #0 screwdriver, remove the five 3.5 mm screws that secure the motherboard.
-
Using a Phillips #0 screwdriver, remove the one 3.5 mm screw that secures the Wi-Fi chip, located above the button battery.
-
-
-
Remove the Wi-Fi chip located above the button battery from the motherboard.
-
Remove the motherboard from the case.
-


To reassemble your device, follow these instructions in reverse order.
To reassemble your device, follow these instructions in reverse order.
Отменить: Я не выполнил это руководство.
Еще один человек закончил это руководство.
Команду

The Citadel Military College of South Carolina, Team S2-G14, Eggleston Fall 2020 Участник The Citadel Military College of South Carolina, Team S2-G14, Eggleston Fall 2020
CMCSC-EGGLESTON-F20S2G14
3 членов
Автор 2 руководств