Введение
There is also a video guide to help supplement this step-by-step guide
Выберете то, что вам нужно
-
-
From the underside of the laptop, press the two battery tabs inward to remove the battery. Lift the battery to remove.
-
-
-
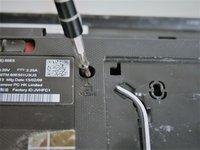
Remove the three #00x5.5mm screws from the bottom front under panel and then slide the main access panel forward and out.
-
-
-
Remove the two #00x4.5mm screws from the hard drive and then slide the drive to the side and remove the hard drive.
-
-
-
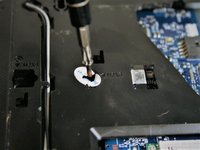
Remove the three #00x5.5mm screws from the fan unit, unplug the fan wiring connector and then remove the fan unit.
-
-
Инструмент, используемый на этом этапе:Tweezers$4.99
-
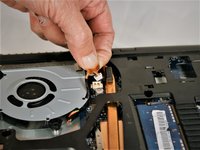
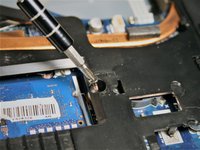
Use tweezers to carefully remove the white and black wires from the WiFi card. Thread the wires back out of it's channel and hold to the side.
-
-
-
-
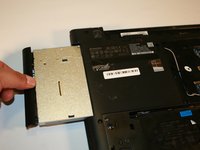
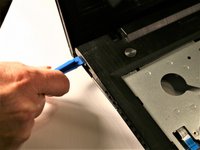
Remove the CD Drive fixing screw (#00x5.5mm) and slide the drive out from it's slot.
-
-
-
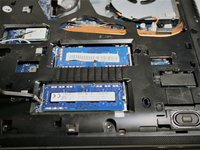
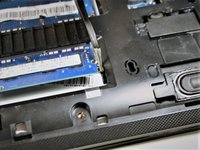
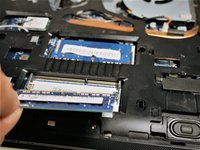
Release the RAM fixing clip from both ends of each RAM chip. Once released, slide out each RAM chip.
-
-
-
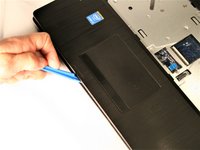
Flip the laptop over, lift the screen and with a plastic spudger begin to remove the keyboard. Start at the top left corner and work from left to right lifting the keyboard. Once the top section is free, lift the keyboard up and away from yourself. Remove the ribbon cable connection and set the keyboard aside.
-
-
-
Disconnect the two ribbon cables then using a plastic spudger, begin to separate the the palm rest from the chassis. Start along the front left edge and work left to right to separate each half. Separate the left and right sides in the same fashion.
-
-
-
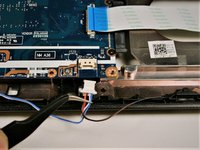
Disconnect the CD Drive ribbon cable and the auxiliary board cable. Disconnect the speaker cable and then remove the CD Drive board fixing screw (#00x4.5mm). Remove the auxiliary board fixing screw and then remove the auxiliary board.
-
-
-
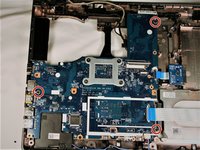
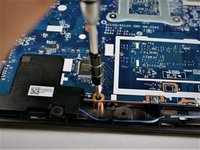
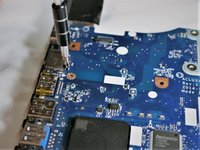
Remove the three motherboard fixing screws (#00x5.5mm) and remove the motherboard.
-


To reassemble your device, follow these instructions in reverse order.
To reassemble your device, follow these instructions in reverse order.
Отменить: Я не выполнил это руководство.
4 человек успешно провели ремонт по этому руководству.
Команду

UMass Dartmouth, Team S1-G6, Simcock Fall 2017 Участник UMass Dartmouth, Team S1-G6, Simcock Fall 2017
UMASSD-SIMCOCK-F17S1G6
4 членов
Автор 10 руководств