Введение
The Lenovo IdeaPad 110-17IKB laptop's back case can be removed using the instructions in this article. Using this guide, you can remove the device's back case to gain access to the hard drive, motherboard, or other computer parts if you need to replace them. A screw and plastic retainer clips hold the back case in place. If you handle these clips too roughly, they may break off and snap. Every step requires that the battery be disconnected, which can only be done by removing the backplate. When removing the gadget, take care not to puncture any internal components or batteries, since this could lead to problems. Use caution and the iFixit nylon or plastic opening tools to lessen these movements.
As always, before you start, turn off the device and unplug from any power sources that may be attached.
Выберете то, что вам нужно
-
-
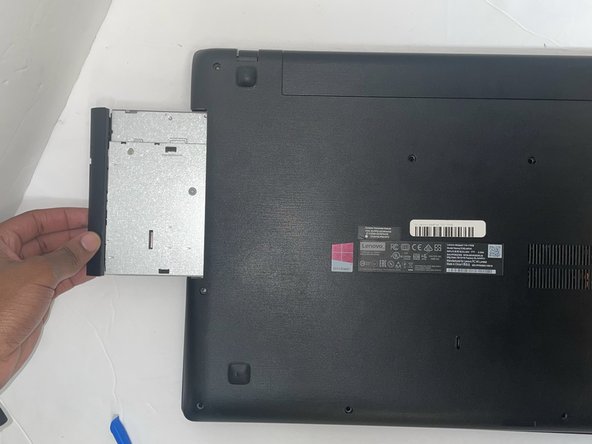
Place the the computer bottom facing up. Unscrew the eleven 6 mm screws using a Phillips #0 screwdriver.
-
-
-
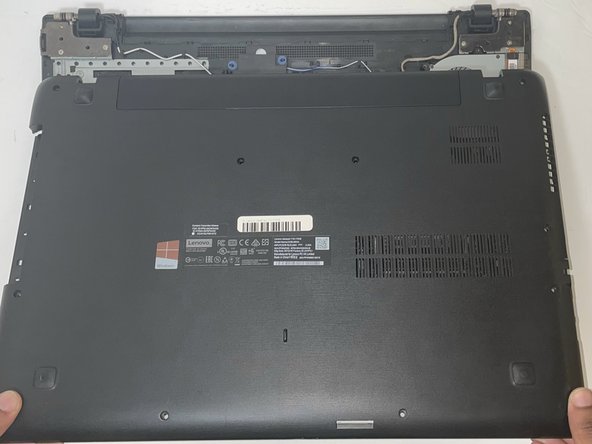
Use an opening tool to gently disconnect the clips on the side of the back panel.
-
-


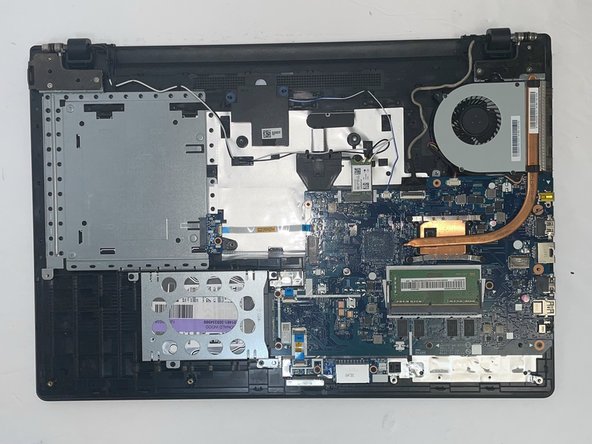
To reassemble your device, follow these instructions in reverse order.
To reassemble your device, follow these instructions in reverse order.
Отменить: Я не выполнил это руководство.
Еще один человек закончил это руководство.

Команда

Gateway, Team 1-3, Pee Fall 2023 Участник Gateway, Team 1-3, Pee Fall 2023
GCC-PEE-F23S1G3
4 членов
Автор 7 руководств