Введение
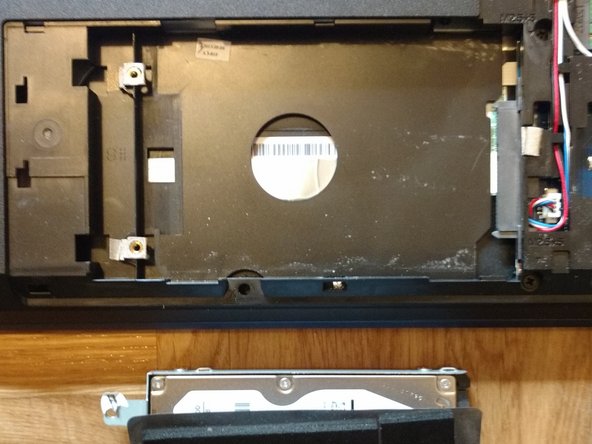
Replacing the hard drive in the Lenovo Ideapad 305 is straightforward, you will have to remove a few screw. The computer should be unplugged and the battery should always be disconnected before starting. This will protect you and your device from potential injury or damage. Follow this guide to remove and replace the hard drive in a Lenovo Ideapad 305.
Выберете то, что вам нужно


Почти готово!
To reassemble your device, follow these instructions in reverse order.
Заключение
To reassemble your device, follow these instructions in reverse order.
Отменить: Я не выполнил это руководство.
2 участников успешно повторили данное руководство.
