Введение
Is your laptop opening programs slowly or corrupting files constantly? If so, you can follow this guide to replace your laptop's solid state drive or SSD. Before beginning, ensure that the laptop is turned off completely and disconnected from its charger.
This repair guide is done specifically on the Lenovo IdeaPad 5, Model Number: 14ARE05. However, these steps may still be applicable for your laptop.
Выберете то, что вам нужно
-
-
Place your laptop with the bottom facing up.
-
Remove the three 9.3 mm screws from the upper side of the laptop using a T5 Torx screwdriver.
-
Remove four 4.5 mm screws from the lower side of the laptop using a T5 Torx screwdriver.
-
-
-
-
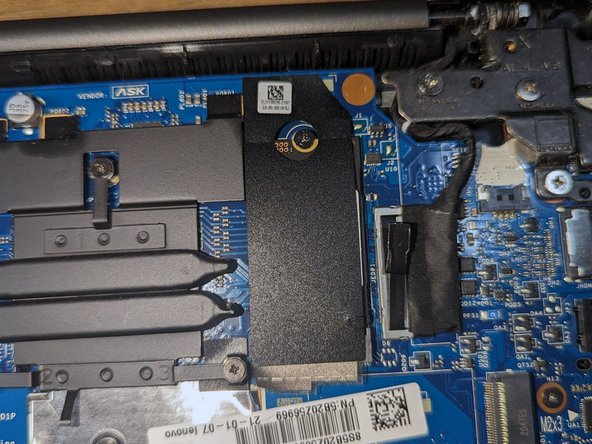
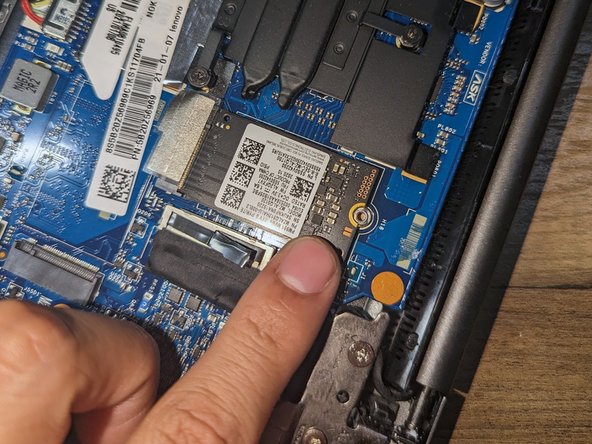
Remove the black sticker from the SSD.
-
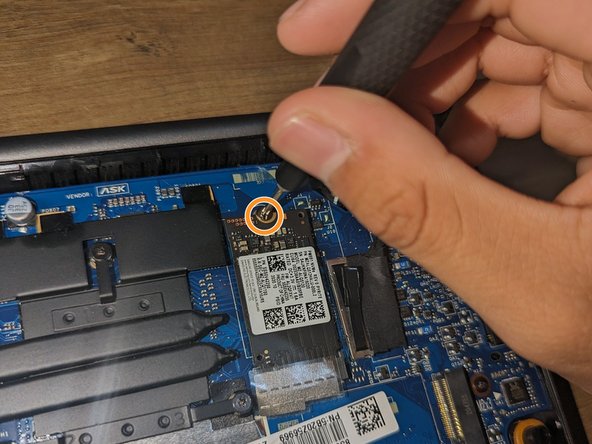
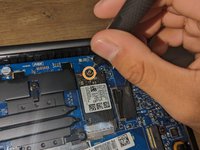
Remove the single 4 mm screw from the SSD using a Phillips #00 screwdriver.
-
-
-
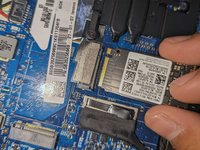
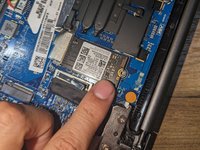
Align your new SSD with the notches on the laptop and insert it at a 45 degree angle, just as it was when you removed it.
-
To reassemble your device, follow these instructions in reverse order.
To reassemble your device, follow these instructions in reverse order.
Отменить: Я не выполнил это руководство.
Еще один человек закончил это руководство.


