Введение
Replacing the battery of the IdeaPad Flex 5 14ALC05 is very simple as no adhesive is used, only screws.
Выберете то, что вам нужно
-
-
Make sure that your laptop is turned completely off. If it is turned off, the LED on the power button should not be lit. If it is lit, press and hold on the button until it turns off.
-
Using a T5 screwdriver, remove the 5 screws at the top of the case (circled in red in the picture).
-
Remove the 4 screws at the bottom of the case (circled in orange in the picture), but make sure to separate them from the other screws. They are different lengths, so mixing them up during reassembly could mess up your laptop.
-
Using picks or your thumbnail, unclip the plastic clips holding on the bottom of the case. When it is detached, it should come off easily, so don't force it.
-
-
-
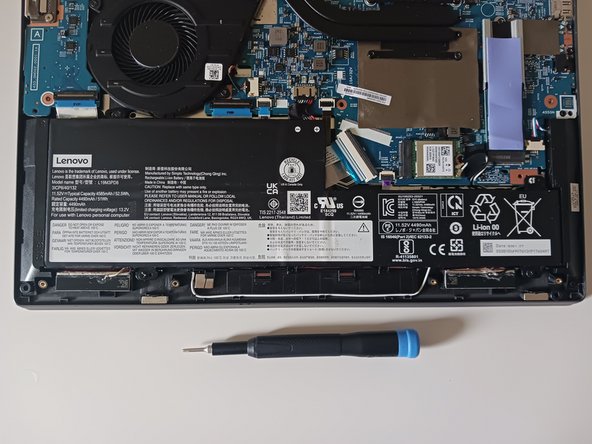
With the back panel removed, we have access to all of the internals.
-
Using your spudger or thumbnail, disconnect the battery cable from the motherboard. This will prevent any damage to the electronics or battery during the operation.
-
-
-
-
Using a 00 Philips-Head screwdriver, remove the four screws holding the battery.
-
One screw is covered by a sticker. To remove it, just apply enough downward pressure with your screwdriver to break through the sticker.
-
As there is no adhesive holding the battery in place, we can easily remove it.
-
-
-
Remove the battery completely and put in the new battery.
-


To reassemble your device, follow these instructions in reverse order.
To reassemble your device, follow these instructions in reverse order.