Перейти к основному содержанию

Lenovo IdeaPad N580 RAM Replacement

Выберете то, что вам нужно

  1. Lenovo IdeaPad N580 RAM Replacement, Battery: шаг 1, изображение 1 из 1
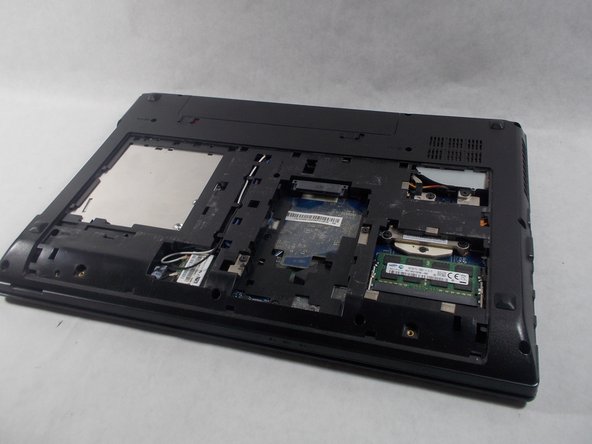
    • Turn over the device so that the bottom is facing up. Make sure the hinged side is facing you.

  2. Lenovo IdeaPad N580 RAM Replacement: шаг 2, изображение 1 из 1
    • Move the right switch towards the right until it clicks in place. You should then see the color red reveal from where the switch was originally.

  3. Lenovo IdeaPad N580 RAM Replacement: шаг 3, изображение 1 из 1
    • Now take your left hand and slide the left switch to the left.

    • This switch will not click in place like the other switch, so make sure to keep your left hand on the switch.

  4. Lenovo IdeaPad N580 RAM Replacement: шаг 4, изображение 1 из 1
    • Take your free hand and place it on the battery. Gently slide it away from its slot.

  5. Lenovo IdeaPad N580 RAM Replacement, RAM: шаг 5, изображение 1 из 1
    • Rotate the laptop so that now the hinge is facing away from you.

    • Remove the two 2.5 x 4.0 mm Phillips #0 screws from the underside of the laptop.

  6. Lenovo IdeaPad N580 RAM Replacement: шаг 6, изображение 1 из 2 Lenovo IdeaPad N580 RAM Replacement: шаг 6, изображение 2 из 2
    • Slide the bottom panel towards you until it stops, and then carefully lift it off.

  7. Lenovo IdeaPad N580 RAM Replacement: шаг 7, изображение 1 из 3 Lenovo IdeaPad N580 RAM Replacement: шаг 7, изображение 2 из 3 Lenovo IdeaPad N580 RAM Replacement: шаг 7, изображение 3 из 3
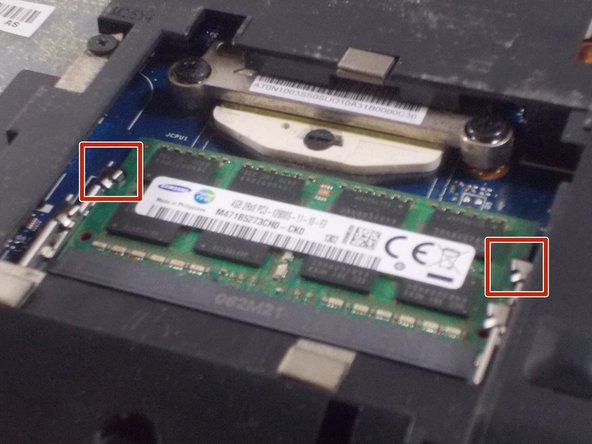
    • The RAM sticks can be found at the bottom right of the laptop.

    • Carefully press the two silver buttons on either side of the stick outwards. This will cause the RAM to “pop” up.

    • This device is capable of holding two RAM sticks, so there are two different sets of silver buttons; a top set and a bottom set. When removing the RAM stick, make sure to press either the two bottom buttons or the two top buttons.

  8. Lenovo IdeaPad N580 RAM Replacement: шаг 8, изображение 1 из 1
    • Carefully slide the RAM straight out of its socket.

Заключение

To reassemble your device, follow these instructions in reverse order.

Еще один человек закончил это руководство.

Alex Amorim

Участник с: 03/19/18

907 Репутация

Автор 5 руководств

Команда

UMass Dartmouth, Team S5-G2, Peak Spring 2018 Участник UMass Dartmouth, Team S5-G2, Peak Spring 2018

UMASSD-PEAK-S18S5G2

2 членов

Автор 5 руководств

0 Комментариев

Добавить комментарий

Просмотр статистики:

За последние 24часов: 0

За последние 7 дней: 1

За последние 30 дней: 2

За всё время: 477