Введение
This guide will show how to replace the screen for a Lenovo Ideapad 320-15IAP. The screen is usually the primary way that users and computers use to communicate. If there are any problems with the screen, the user is not able to use the computer properly. You can use this guide to change the screen if it is scratched, broken, or has LCD damage. Typically, a physical impact on the screen will cause damage to it that will result in different issues. However, you can keep using the computer after replacing the damaged screen.
Выберете то, что вам нужно
-
-
Unscrew thirteen 6.5mm screws from the back panel with the Phillips #0 screwdriver.
-
Pull the CD tray out from the computer with a plastic opening tool once all screws are removed.
-
Use the opening tool to pull the case off the laptop by prying up the back panel along the edges of the computer.
-
-
-
Remove the back protector by gently pulling up. There might be some scary sounds but it is normal.
-
Unscrew four 4.5mm screws from the display hinges using a Phillips #0 screwdriver.
-
Disconnect the display cable by gently pushing up on the black tab of the ZIF connector and pulling the cable out.
-
-
-
-
Unplug the two coaxial cables on the WiFi card by gently pulling the cables directly up.
-
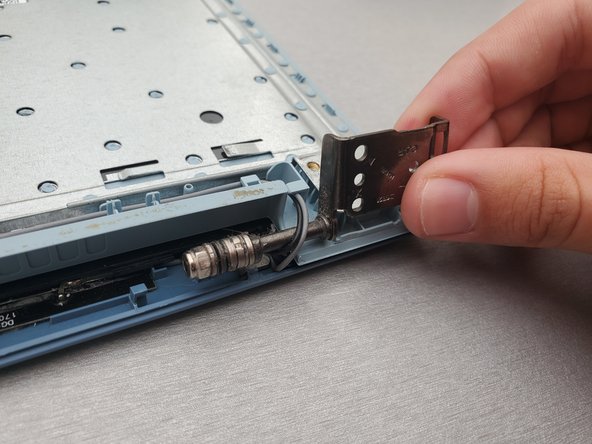
Rotate the screen brackets using the opening tool to prop them up.
-
Remove the display assembly.
-
-
-
Use the opening tool to lift the screen bezel. You may hear popping sounds as the clips disengage.
-
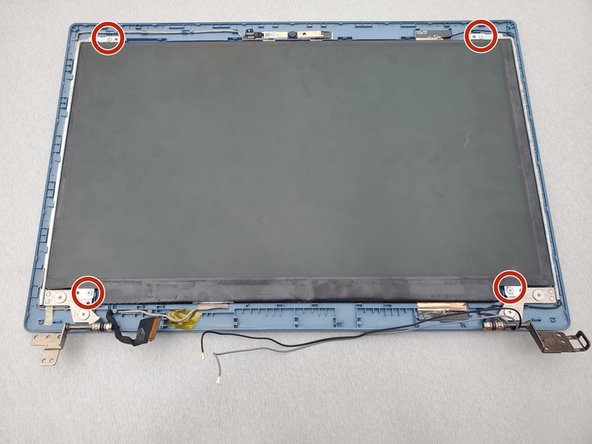
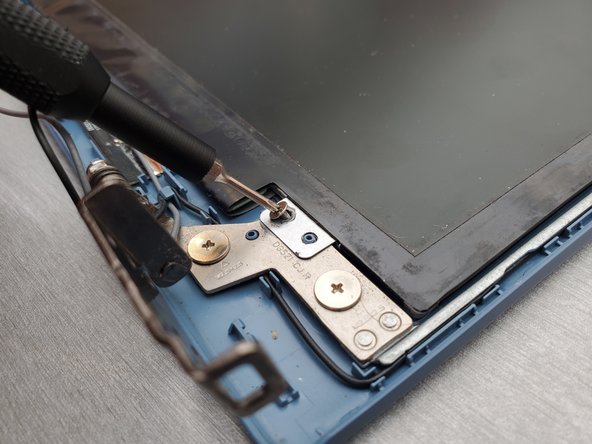
Unscrew four 3mm screws holding the screen onto the laptop case with a Phillips #0 screwdriver.
-
-
-
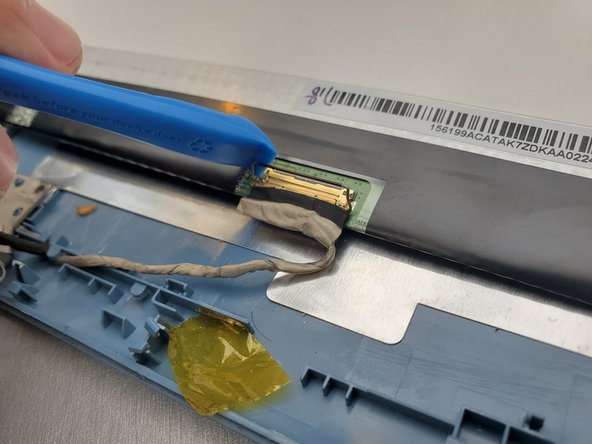
Remove the display cable on the backside of the screen by lifting the metal handle up from the connector and gently easing the cable from the connector.
-
Remove the screen from the display case.
-
To reassemble your device, follow these instructions in reverse order.
To reassemble your device, follow these instructions in reverse order.
Отменить: Я не выполнил это руководство.
Еще один человек закончил это руководство.


