Введение
This guide will show you how to locate and replace the Lenovo T431s fan. The cooling fan is what keeps your processing unit cool so the elements of your computer don’t overheat. If you are experiencing malfunction, overheat warning messages, or hot components, you might need to replace your cooling fan.
Выберете то, что вам нужно
-
-
Use a Phillips #1 screwdriver bit to remove eight 5.0 mm screws from the back panel.
-
Carefully pry off the back panel using the opening tool.
-
-
-
-
Use a Phillips #1 screwdriver bit and remove the four 3.0 mm screws from the heatsink.
-
-
-
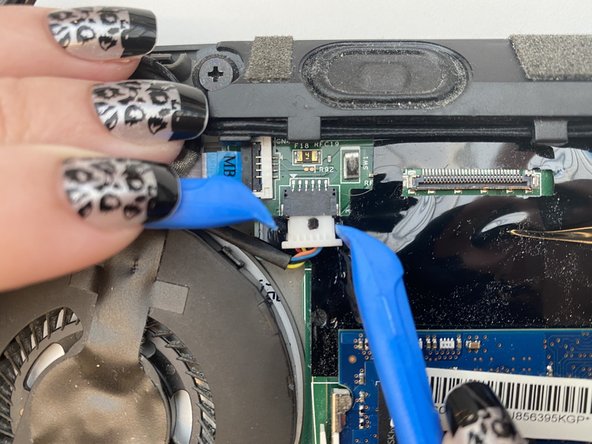
Disconnect the cable attached to the fan, pulling the connector straight down.
-
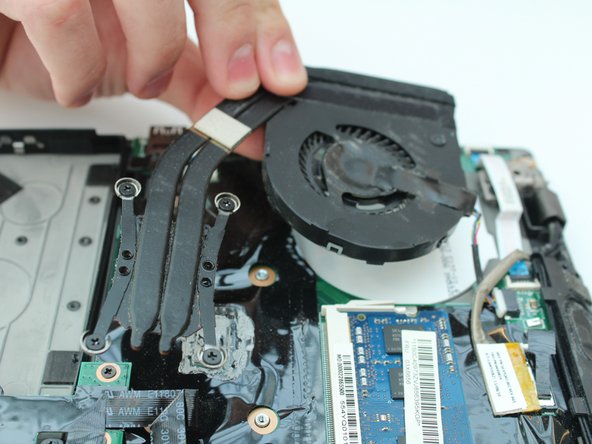
Lift and remove the fan.
-


To reassemble your device, follow these instructions in reverse order.
To reassemble your device, follow these instructions in reverse order.
Отменить: Я не выполнил это руководство.
2 участников успешно повторили данное руководство.
Команда

Embry-Riddle Aeronautical University, Team S14-G2, Lamothe Spring 2020 Участник Embry-Riddle Aeronautical University, Team S14-G2, Lamothe Spring 2020
ERAU-LAMOTHE-S20S14G2
4 членов
Автор 5 руководств