Введение
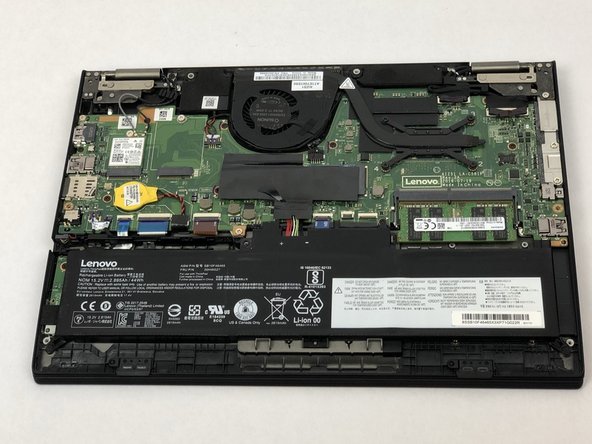
The motherboard of a device is one of the most important components. The motherboard holds the central processing unit (CPU), memory, and connectors for other vital components in the device. A faulty motherboard will show (and are not limited to) these symptoms: blue screen of death (BSoD), beeping, error codes appearing, no display, etc. For more information on troubleshooting your device, please visit the Lenovo ThinkPad Yoga 370 Troubleshooting page.
For the Lenovo ThinkPad Yoga 370 (Model Number: 20JH002AUS), if your motherboard has gone bad from physical damage or excess heat, this guide will show the steps needed to replace the motherboard.
Выберете то, что вам нужно
-
-
Using the Phillips #1 screwdriver and the J00 bit, unscrew the eight circled 4mm screws until you hear a click.
-
-
-
Using the plastic opening tool, work around the edges of the bottom cover to undo the plastic clips.
-
-
-
With your fingers, fold back the plastic cover highlighted.
-
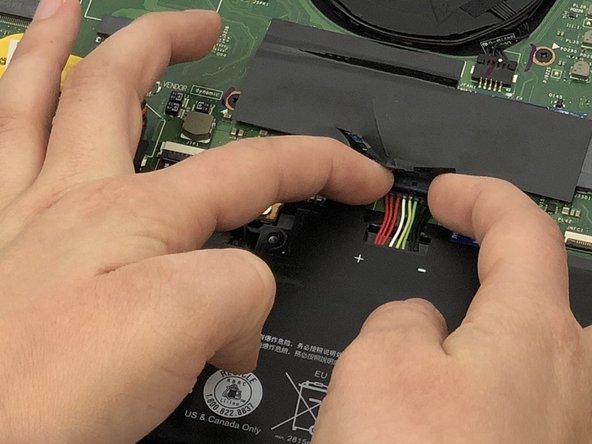
Using two fingers, gently remove the battery connectors.
-
-
-
-
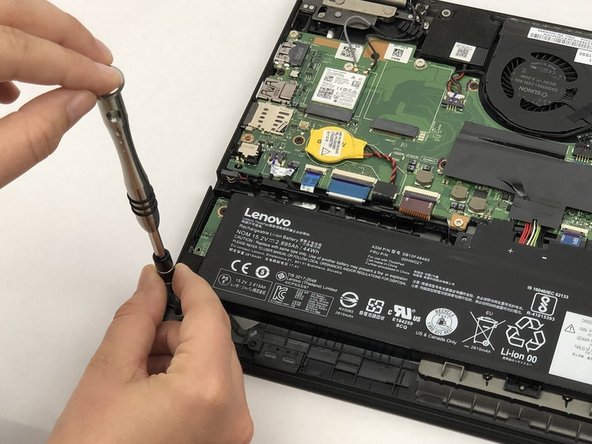
Using the Phillips #00 screwdriver, remove the two 4mm screws.
-
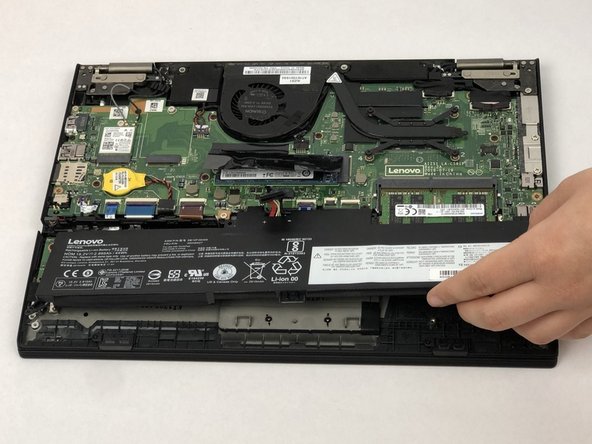
Remove the battery.
-
-
-
Gently pull back the heat shield on the hard drive without tearing it or completely removing it.
-
-
-
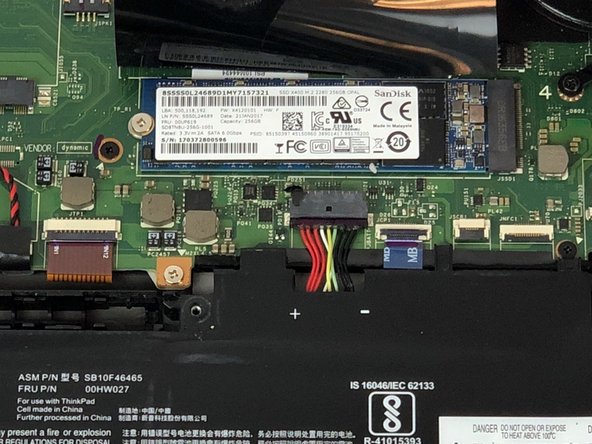
Using two fingers, gently pull the hard drive straight out of the connection to remove it from device.
-
-
-
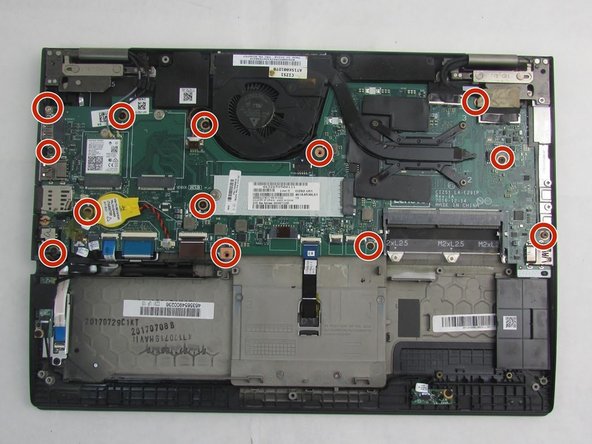
Remove the thirteen (13) 4mm screws from the motherboard using the Phillips #00 screwdriver.
-
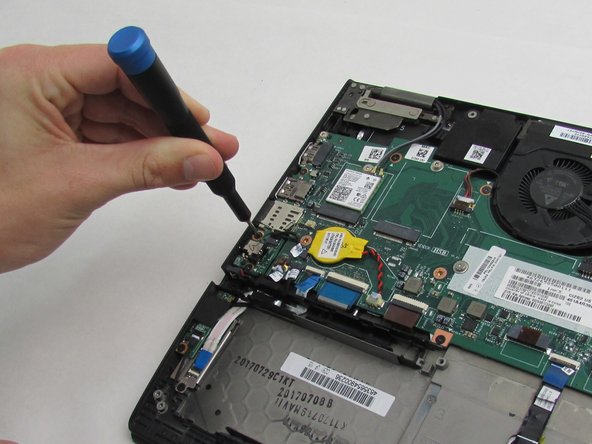
Remove the nine (9) circled 3mm screws from the fan and the outer edge of the device using the Phillips #00 screwdriver.
-
-
-
Using one hand, hold up the fan and using the other hand, carefully remove the motherboard from the device.
-


To reassemble your device, follow these instructions in reverse order.
Note: Due to the similarity of the devices, several of the pictures were used from the Lenovo ThinkPad Yoga 260 Battery Replacement Guide to show the specific components that were missing in the Yoga 370.
To reassemble your device, follow these instructions in reverse order.
Note: Due to the similarity of the devices, several of the pictures were used from the Lenovo ThinkPad Yoga 260 Battery Replacement Guide to show the specific components that were missing in the Yoga 370.

Команда

Embry-Riddle Aeronautical University, Team S12-G6, Lamothe Fall 2019 Участник Embry-Riddle Aeronautical University, Team S12-G6, Lamothe Fall 2019
ERAU-LAMOTHE-F19S12G6
3 членов
Автор 5 руководств
Один комментарий
in a guide for the Yoga 370, you used pictures from another model?? Because parts aren’t in a 370, but you wanted a picture of them anyway?
From above “Note: Due to the similarity of the devices, several of the pictures were used from the Lenovo ThinkPad Yoga 260 Battery Replacement Guide to show the ****specific components that were missing in the Yoga 370.**** “
(I added the **** to show item in question)
I came here hoping to see what the various connections internally are for. I found pics not related to the device.
Also, the correct procedure to disable the battery is missing.