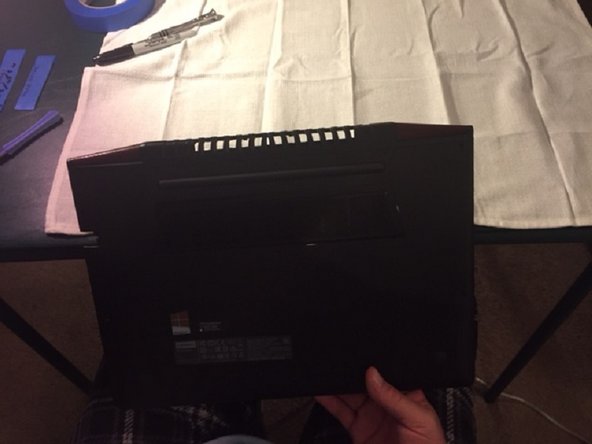
Перейти к основному содержанию

Lenovo Y700-14ISK Upgrading/Replacing RAM Replacement

Выберете то, что вам нужно

  1. Lenovo Y700-14ISK Upgrading/Replacing RAM Replacement, Remove the back Panel: шаг 1, изображение 1 из 2 Lenovo Y700-14ISK Upgrading/Replacing RAM Replacement, Remove the back Panel: шаг 1, изображение 2 из 2
    • Unscrew and take out 10, 1/5 cm screws.

    • Unscrew and take out 1, 1 inch screw.

    • I use a piece of tape sticky side up to place screws on, also I label it where they go.

  2. Lenovo Y700-14ISK Upgrading/Replacing RAM Replacement, Pry up back panel: шаг 2, изображение 1 из 3 Lenovo Y700-14ISK Upgrading/Replacing RAM Replacement, Pry up back panel: шаг 2, изображение 2 из 3 Lenovo Y700-14ISK Upgrading/Replacing RAM Replacement, Pry up back panel: шаг 2, изображение 3 из 3
    • With the vents facing away from your body I find it easiest to start at the bottom right corner first and gently pry up the corner using a plastic tool.

    • Then slide and pry the plastic tool to the left corner.

    • Then work on the sides.

  3. Lenovo Y700-14ISK Upgrading/Replacing RAM Replacement, Pulling off the back panel: шаг 3, изображение 1 из 3 Lenovo Y700-14ISK Upgrading/Replacing RAM Replacement, Pulling off the back panel: шаг 3, изображение 2 из 3 Lenovo Y700-14ISK Upgrading/Replacing RAM Replacement, Pulling off the back panel: шаг 3, изображение 3 из 3
    • Carefully lift up on the back panel.

    • The back will snap out of place but be careful and don't force it to hard.

  4. Lenovo Y700-14ISK Upgrading/Replacing RAM Replacement, Disconnect the battery: шаг 4, изображение 1 из 2 Lenovo Y700-14ISK Upgrading/Replacing RAM Replacement, Disconnect the battery: шаг 4, изображение 2 из 2
    • Pull the battery cable out of it's connector. Gripping the wires in the middle gently wiggling the wires back and forth while pulling.

    • With the battery connector out.

  5. Lenovo Y700-14ISK Upgrading/Replacing RAM Replacement, Removing the RAM: шаг 5, изображение 1 из 3 Lenovo Y700-14ISK Upgrading/Replacing RAM Replacement, Removing the RAM: шаг 5, изображение 2 из 3 Lenovo Y700-14ISK Upgrading/Replacing RAM Replacement, Removing the RAM: шаг 5, изображение 3 из 3
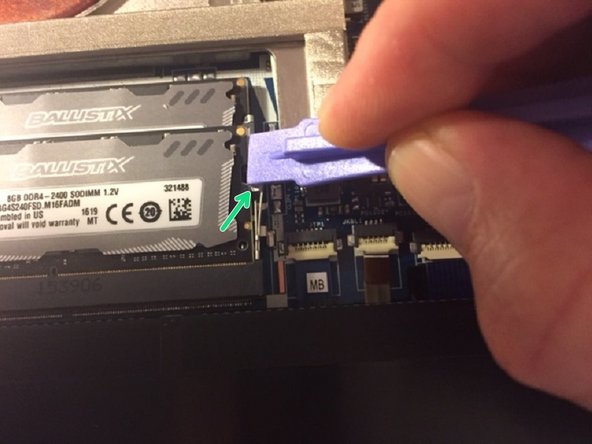
    • Note the tabs on each side of the RAM holder,

    • With your fingers or the plastic tool gently move the tabs away from the RAM, the RAM should pop up when both sides or moved.

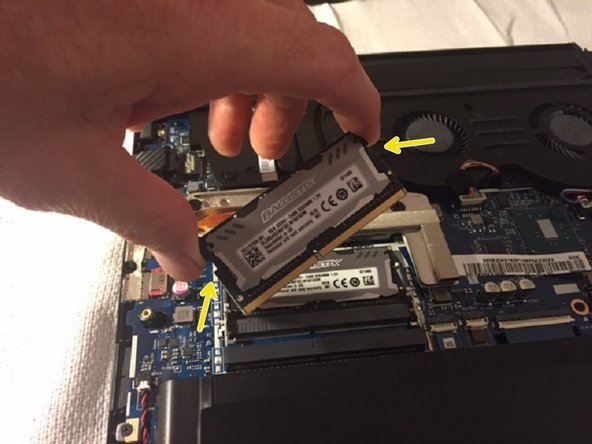
    • Grip the RAM by the sides and lift out.

Заключение

To reassemble your device, follow these instructions in reverse order.

5 участников успешно повторили данное руководство.

Corbin Schon

Участник с: 01/26/16

593 Репутация

Автор 2 руководств

Один комментарий

Thank you for the guide! It helped me to feel sure about the disassemble.

cacalo219 - Ответить

Добавить комментарий

Просмотр статистики:

За последние 24часов: 2

За последние 7 дней: 11

За последние 30 дней: 33

За всё время: 3,746