Введение
If your device is overheating or gets hot quickly, it might be time replace the cooling fan.
Выберете то, что вам нужно
-
-
Insert the plastic opening tool into the long side of the case backing and slide it the entire length of the laptop.
-
Gently lift the backing off the laptop.
-
-
-
-
Remove the two 3mm screws using the PH#0 screwdriver head.
-
Unscrew the three 4mm screws using PH#1 (the larger screws do not come off the are attached to the housing unit of the cooling fan).
-
-
-
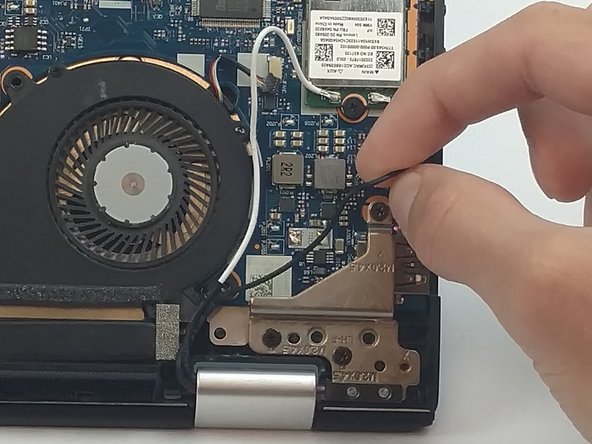
Use tweezers to disconnect the fan.
-
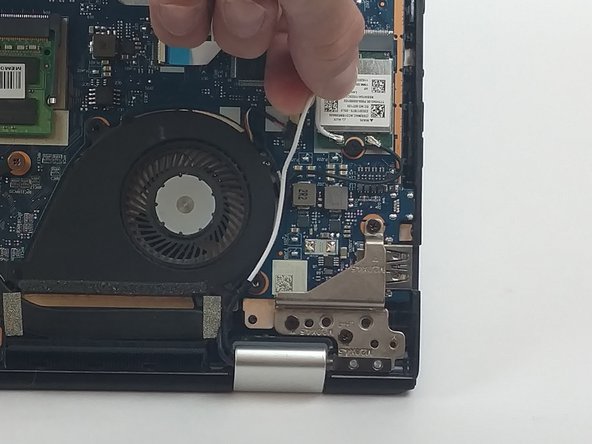
Unwrap the white and black wires from around the fan case.
-


To reassemble your device, follow these instructions in reverse order.
To reassemble your device, follow these instructions in reverse order.
Отменить: Я не выполнил это руководство.
Еще один человек закончил это руководство.
Команда

USF Tampa, Team 3-2, Passmore Fall 2016 Участник USF Tampa, Team 3-2, Passmore Fall 2016
USFT-PASSMORE-F16S3G2
4 членов
Автор 7 руководств