Введение
The Lenovo Yoga 710-11ISK’s speakers are what allows sound to come from the computer. This guide shows how to disassemble the computer in order to access the speakers and replace them.
Выберете то, что вам нужно
-
-
Remove the 11 screws located on the back panel using a T5 Torx screwdriver.
-
-
-
Insert an opening tool between the bottom panel and chassis, then pry around the entire perimeter until the five clips detach, releasing the bottom panel.
-
-
-
-
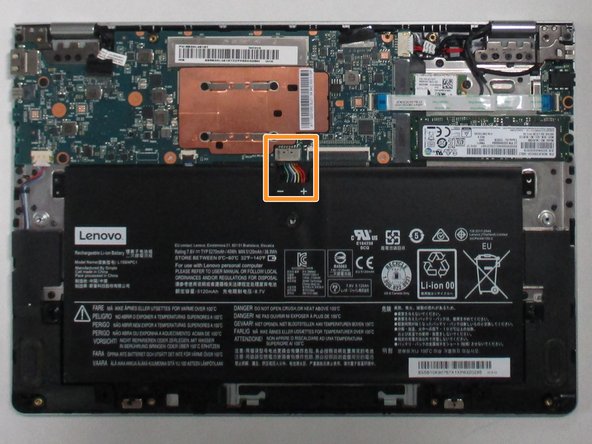
Use a Phillips #000 screwdriver to remove the four screws securing the battery.
-
Grip the battery cable connector on both sides of the plug and gently pull it directly from its port.
-
Lift the battery up and out.
-
-
-
Unplug the wire harness on the left side of the computer to disconnect the speakers from the motherboard
-
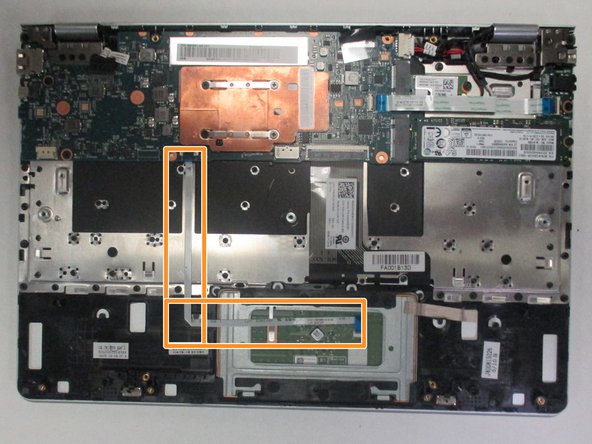
Remove the white and blue wires from the plastic brackets holding them in place.
-
-
-
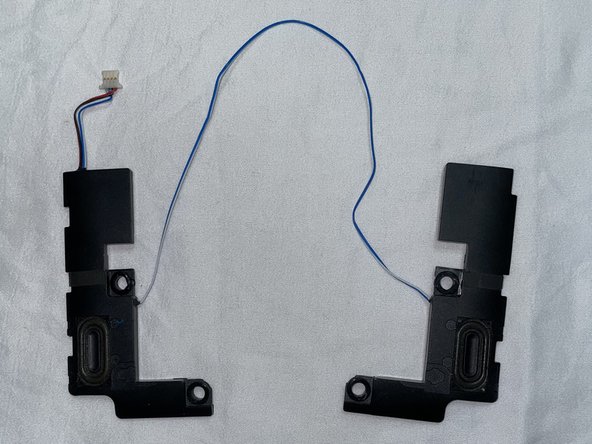
Carefully remove both speakers and rubber grommets from their mounts.
-
Slide the right speaker underneath the white ribbon wire.
-
Lift the speakers up and out.
-


To reassemble your device, follow these instructions in reverse order.
To reassemble your device, follow these instructions in reverse order.

Команда

The Citadel Military College of South Carolina, Team 1-6, Eggleston Spring 2022 Участник The Citadel Military College of South Carolina, Team 1-6, Eggleston Spring 2022
CMCSC-EGGLESTON-S22S1G6
3 членов
Автор 3 руководств