Выберете то, что вам нужно
-
-
Using a halberd spudger, gently lift up the metal bezel that lines the lower edge of the display.
-
-
-
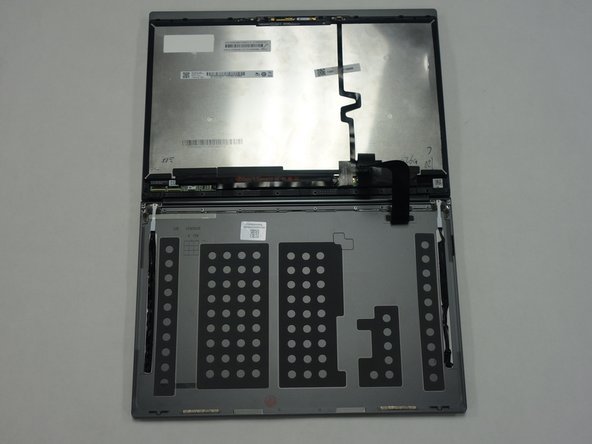
Remove the ten 3 mm screws along the bottom edge of the display with a Phillips #00 screwdriver.
-
-
-
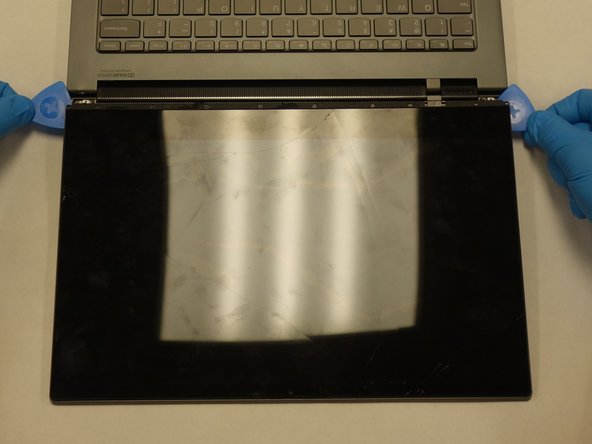
Gently wedge two opening picks underneath the display.
-
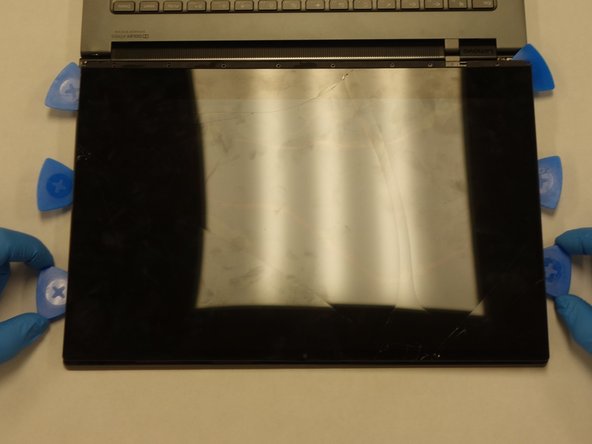
Slowly work the opening picks around the display.
-
Add opening picks as needed to keep display separated from the frame.
-
-
-
-
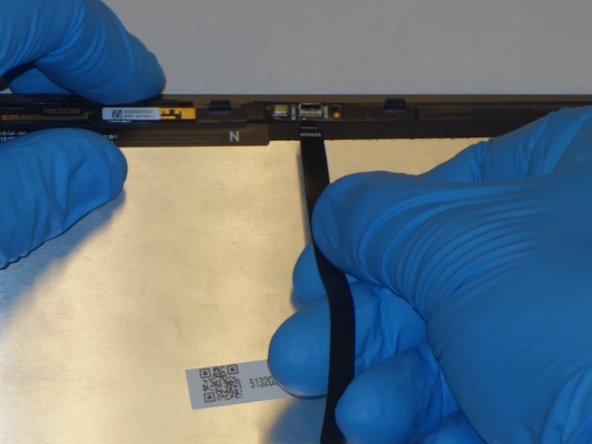
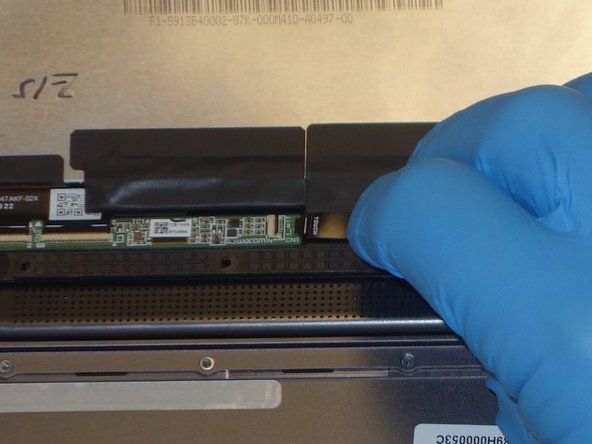
Use the halberd spudger to lift the locking tab of the ZIF connector holding the black ribbon cable that runs vertically across the display.
-
Pull out the black ribbon cable from the connector.
-
-
-
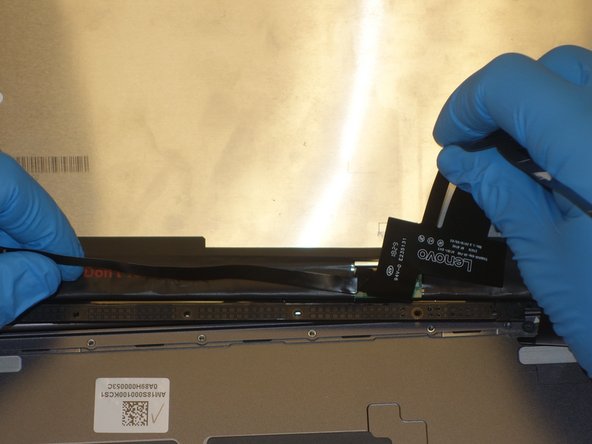
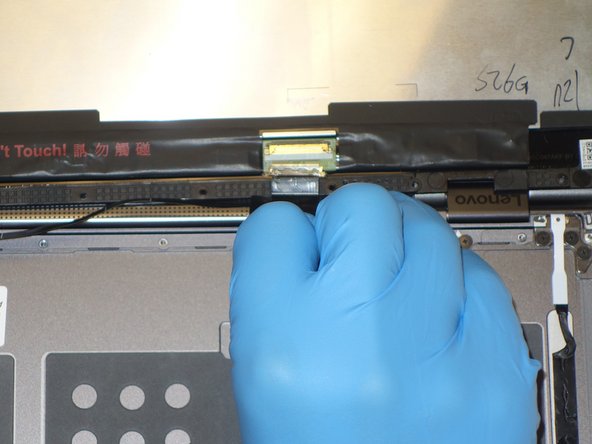
Use the halberd spudger to lift the latch on the ZIF connector of the horizontal black ribbon cable.
-
Pull out the horizontal black ribbon cable from the connector.
-
Gently pull the rest of the horizontal black ribbon cable from the back of the display.
-
-
-
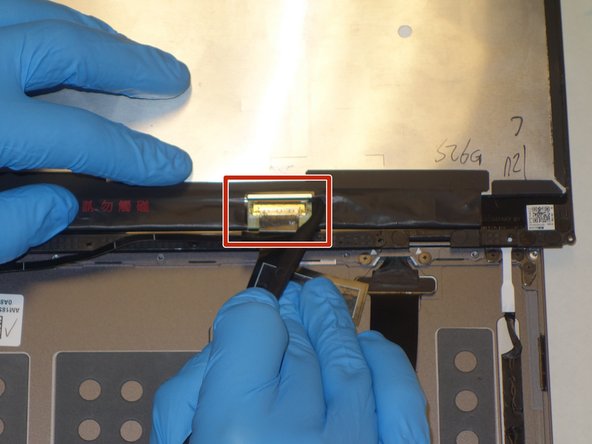
Use the halberd spudger to flip the metal latch of the display cable up.
-
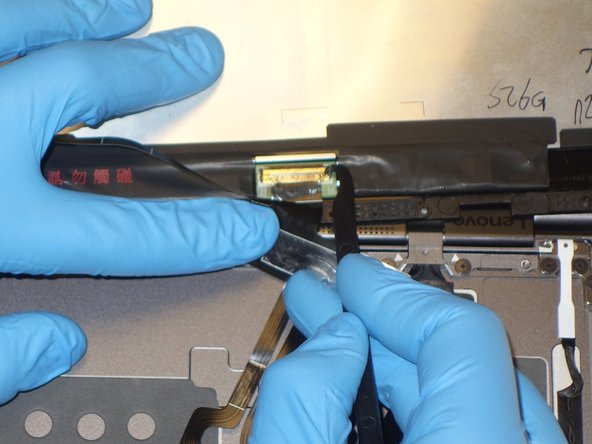
Using the halberd spudger, gently pull the connector out of the display.
-


To reassemble your device, follow these instructions in reverse order.
To reassemble your device, follow these instructions in reverse order.
Отменить: Я не выполнил это руководство.
Еще один человек закончил это руководство.

Команда

The Citadel Military College of South Carolina, Team S3-G23, Eggleston Fall 2020 Участник The Citadel Military College of South Carolina, Team S3-G23, Eggleston Fall 2020
CMCSC-EGGLESTON-F20S3G23
3 членов
Автор 3 руководств
Один комментарий
The screen is glued with iphone battery tape so you have to pull the white tabs at the bottom of the screen to release the tape as like almost all the last generation screens.