Эта версия возможно содержит некорректные исправления. Переключить на последнюю проверенную версию.
Выберете то, что вам нужно
-
Этот шаг не переведен. Помогите перевести
-
Flip the device over so that the underside is facing up.
-
Remove the six 3.5 mm T5 Torx screws.
-
-
Этот шаг не переведен. Помогите перевести
-
Pry off the back cover using the plastic opening tool.
-
Loosen the back cover in multiple spots using the opening tool, then remove the whole back.
-
-
Этот шаг не переведен. Помогите перевести
-
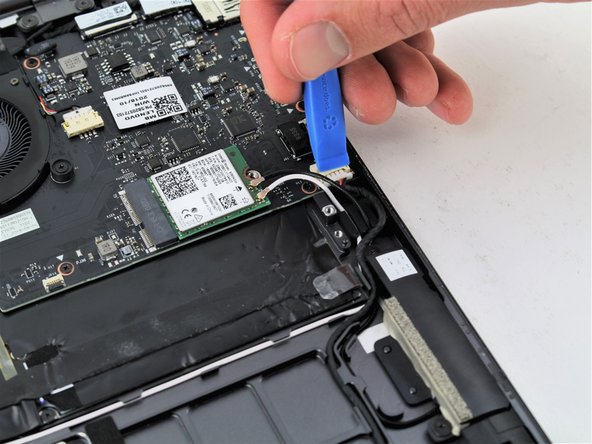
Unplug the battery from the motherboard by pinching the cables with your fingers and tugging out with force.
-
-
-
Этот шаг не переведен. Помогите перевести
-
Use your fingers to pry up the clear plastic pull-tab for one of the stretch release adhesives.
-
Grasp the pull-tab and slowly pull away from the battery at a shallow angle. The adhesive strip will stretch to many times its length and slowly release from underneath the battery.
-
Repeat the procedure for the second strip on the opposite side of the battery.
-
Remove the battery with your hands.
-
-
Этот шаг не переведен. Помогите перевести
-
Remove the four 2mm screws that attach the speakers to the laptop body using a Phillips #00 screwdriver.
-
-
Этот шаг не переведен. Помогите перевести
-
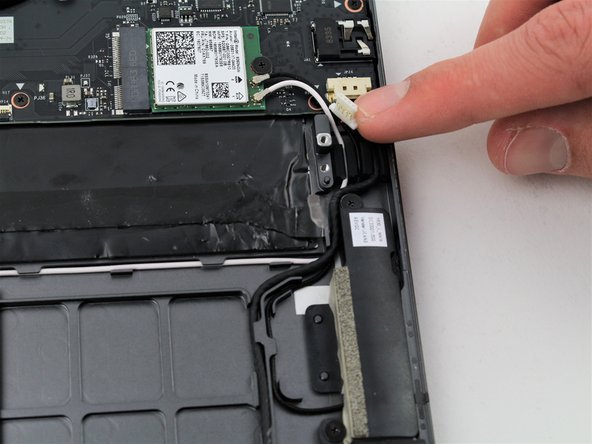
Lift the black wire that connects the speakers to the motherboard from its track using an opening tool.
-
-
Этот шаг не переведен. Помогите перевести
-
Remove the right speaker using your fingers.
-
Remove the left speaker, which is connected to the right speaker by the black and red wire.
-


Отменить: Я не выполнил это руководство.
2 участников успешно повторили данное руководство.

Команда

Cal Poly, Team S19-G5, White Winter 2020 Участник Cal Poly, Team S19-G5, White Winter 2020
CPSU-WHITE-W20S19G5
4 членов
Автор 16 руководств
Один комментарий
What would be the additional steps to replace a right hinge as the speakers are in the hinge?