Введение
Before beginning, acquire a replacement battery from a retailer of your choice and begin with the device off and a clear, static-free workspace.
Выберете то, что вам нужно
-
-
Remove two 3mm screws on the back of the device with a Phillips #00 bit.
-
Remove the single 2mm screw with a Phillips #00 bit.
-
Using the blue opening tool or spudger, gently remove the back cover to expose the interior of the tablet.
-
-
-
Remove the six 3mm screws on the back of the motherboard with the Phillips Screwdriver #00 bit.
-
Remove the three 3mm screws on the back of the secondary board with the Phillips Screwdriver #00 bit.
-
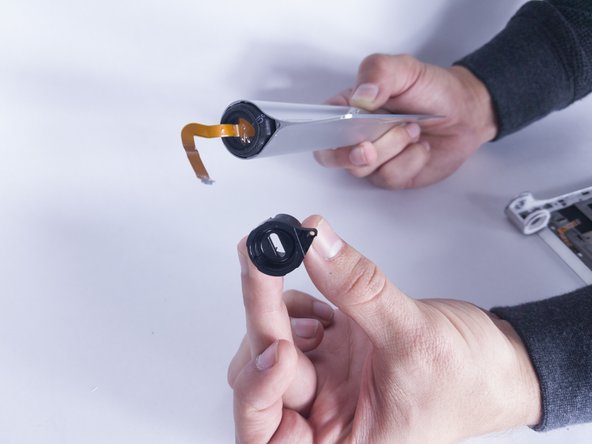
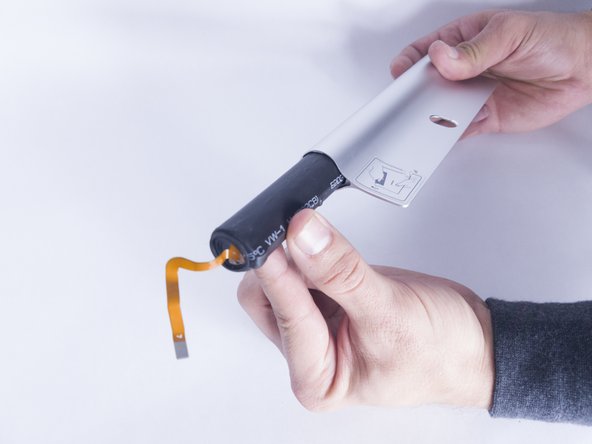
Remove the ribbon cables connecting the boards to the other electrical components
-
Remove the ZIF connectors connecting the boards to the other electrical components
According to the Hardware Maintenance Manual published by Lenovo, this step is completely unnecessary. There is no need to remove the motherboard. It can be left in place. The only ZIFs that need to be unplugged are the ones for the battery pack and the right speaker.
-
-
-
Remove the three 2mm screws on the back of the left speaker module with the Phillips Screwdriver #00 bit.
-
Remove the three 2mm screws on the back of the right speaker module with the Phillips Screwdriver #00 bit.
-
Gently remove both the left and right speaker modules.
-
-
-
-
Using the blue opening tool or spudger, pry the battery compartment off of the high located on the right hand side of the back.
-
-
-
Remove this metallic sticker with your fingernail to expose the screw underneath.
-
Remove the 3mm screw under the sticker with the Phillips Screwdriver #00 bit.
-
Using the tweezers, pull off the black clip that secures the battery compartment. This may require some force.
-
-
-
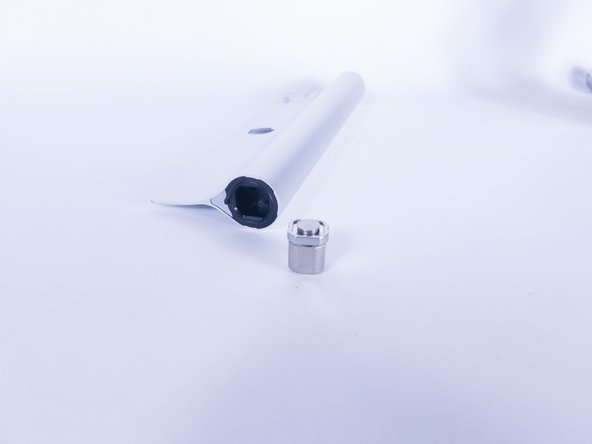
Remove the hinge clip from one side of the battery compartment. Use the spudger tool if necessary.
-
The battery should be able to slide from the compartment.
-


To reassemble your device, follow these instructions in reverse order.
To reassemble your device, follow these instructions in reverse order.
Отменить: Я не выполнил это руководство.
11 участников успешно повторили данное руководство.
Команда

USF Tampa, Team S2-G4, Nance Fall 2017 Участник USF Tampa, Team S2-G4, Nance Fall 2017
USFT-NANCE-F17S2G4
3 членов
Автор 12 руководств
6 Комментариев
hi
where i can find batter, of battery cable
Bought one off eBay: Replace Lenovo L14C3K31 L14D3K31 Battery For Yoga Tablet 2 1050F 1051F YT2-830
Sorry to tell you :
prying the battery compartment off with a spudger is the wrong disassembly move and you will very likely damage the fragile construction.
The correct way to go is to remove the speaker modules as shown and then pry / pull out the metal hinge clip on the headphone side. Once it´s out, the battery compartment can be swivelled out on that side with great ease. Assembly later works a treat. No damage done.
last comment ps. :
no need to disassemble completely with last described method !
simply remove the back cover and the headphone side speaker module, disconnect the battery ribbon on the camera side, remove / pry / pull out the metal hinge clip on the headphone side and you´re set for swapping the battery. If you´re used to soldering - simply buy two ICR18650 cells with a good amperage with u-soldering tags (can be cut with a good pair of scissors), confection to originals - and replace.