Введение
In this guide, there will be a step by step process on how to remove a broken display screen for a Lenovo Yoga Tablet 2 830-F. Each step is done in order to ensure all pieces are taken off correctly without breaking.
Выберете то, что вам нужно
-
-
Remove the three screws on the back of the device with the Phillips Screwdriver #00 bit.
-
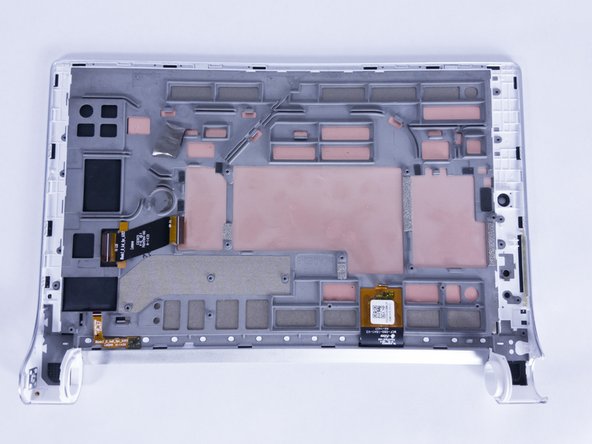
Using the blue opening tools or spudger, gently remove the back cover to expose the interior of the tablet.
-
-
-
Remove the six screws on the back of the motherboard with the Phillips Screwdriver #00 bit.
-
Remove the three screws on the back of the secondary board with the Phillips Screwdriver #00 bit.
-
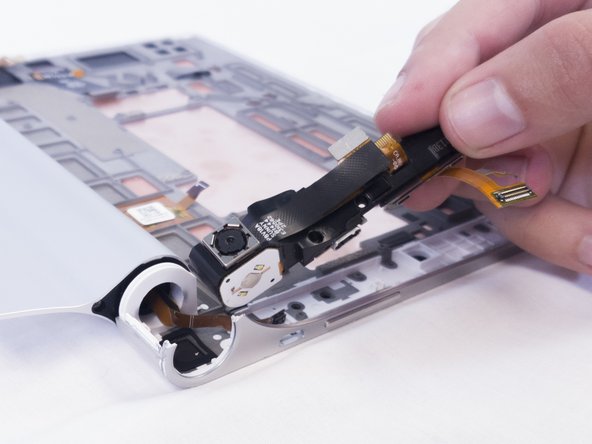
Remove the ribbon cables connecting the boards to the other electrical components
-
-
-
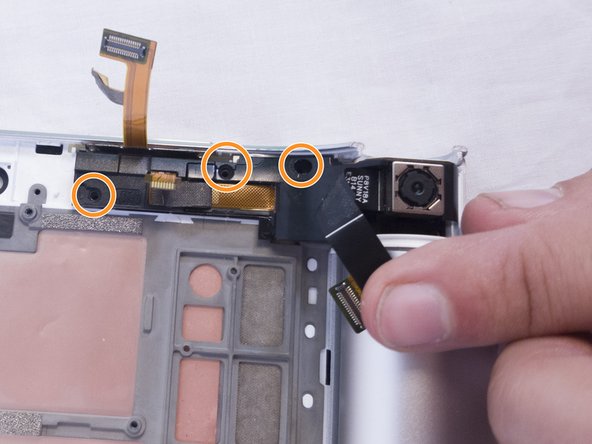
Remove the three 2mm screws on the back of the left speaker module with the Phillips Screwdriver #00 bit.
-
Remove the three 2mm screws on the back of the right speaker module.
-
-
-
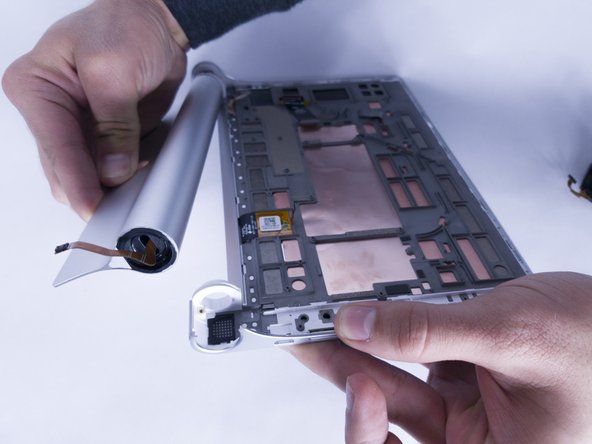
Use the opening tool to pry the battery compartment off the right hand side of the back.
-


To reassemble your device, follow these instructions in reverse order.
To reassemble your device, follow these instructions in reverse order.
Отменить: Я не выполнил это руководство.
3 участников успешно повторили данное руководство.
Команда

USF Tampa, Team S2-G4, Nance Fall 2017 Участник USF Tampa, Team S2-G4, Nance Fall 2017
USFT-NANCE-F17S2G4
3 членов
Автор 12 руководств