Введение
After extended use certain parts may require cleaning or replacement. This guide will assist you in safely disassembling the top handle portion of the joystick.
Выберете то, что вам нужно
-
-
Remove these three Phillips #1 screws:
-
Two 10mm screws.
-
One 7mm screw.
-
-
-
-
Using your fingers, lower the rubber boot to reveal two screws underneath the joystick.
-
Remove the two 10mm Phillips #1 screws.
-
-
-
Pull apart the joystick chassis by hand.
-
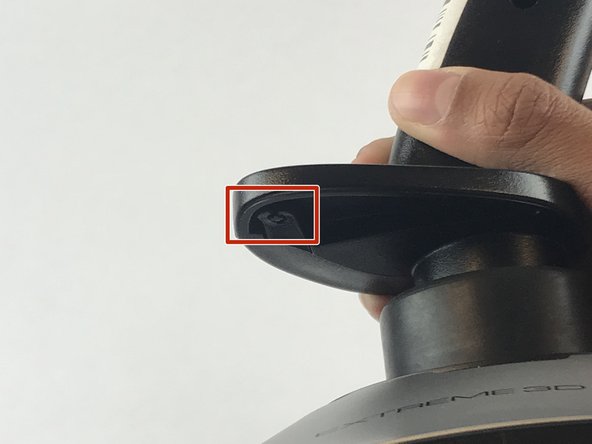
Release this clip located underneath the hand rest
-


To reassemble your device, follow these instructions in reverse order.
To reassemble your device, follow these instructions in reverse order.
Отменить: Я не выполнил это руководство.
6 участников успешно повторили данное руководство.
Команда

USF Tampa, Team S7-G1, Passmore Spring 2018 Участник USF Tampa, Team S7-G1, Passmore Spring 2018
USFT-PASSMORE-S18S7G1
4 членов
Автор 7 руководств
2 Комментариев
yeah but i got this far before looking at the site, and what i really want to see is how the cotter ring pin is set on the shaft that enables the z-rot instead of locking it down.
if you havent worked it out already, the Z-rot spring needs spread across a little 3/8 inch tab, otherwise it will lock the axis a few degrees off center