Введение
After a long use the joystick trigger might experience a lack of strength within the trigger's internal spring.
Выберете то, что вам нужно
-
-
Remove these three Phillips #1 screws:
-
Two 10mm screws.
-
One 7mm screw.
-
-
-
Using your fingers, lower the rubber boot to reveal two screws underneath the joystick.
-
Remove the two 10mm Phillips #1 screws.
-
-
-
-
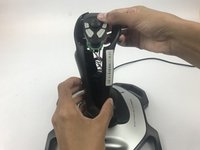
Pull apart the joystick chassis by hand.
-
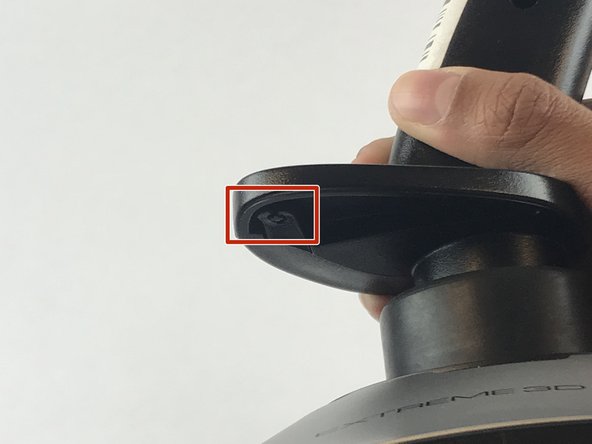
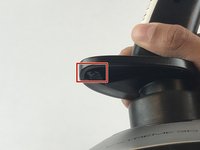
Release this clip located underneath the hand rest
-


To reassemble your device, follow these instructions in reverse order.
Отменить: Я не выполнил это руководство.
Еще один человек закончил это руководство.
Команда

USF Tampa, Team S7-G1, Passmore Spring 2018 Участник USF Tampa, Team S7-G1, Passmore Spring 2018
USFT-PASSMORE-S18S7G1
4 членов
Автор 7 руководств