Введение
Use this guide to replace the scroll wheel in a Logitech G1 optical mouse.
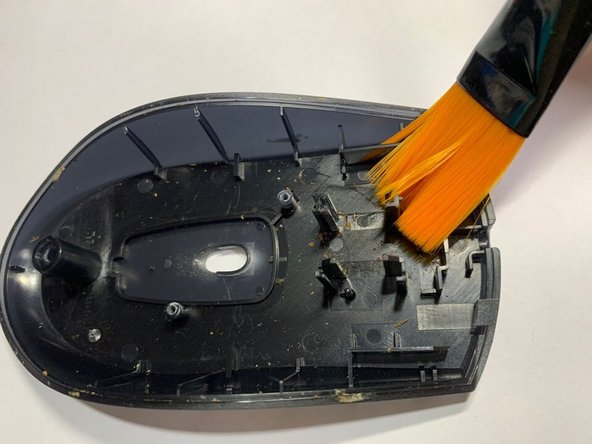
Sometimes the scroll wheel does not work when using the mouse. This guide not only shows you how to replace the mouse scroll wheel but also how to clean it.
Выберете то, что вам нужно


Почти готово!
Финишная черта
Отменить: Я не выполнил это руководство.
3 человек успешно провели ремонт по этому руководству.

Команду

York University, Team S1-G33, Woodhouse Winter 2021 Участник York University, Team S1-G33, Woodhouse Winter 2021
YORK-WOODHOUSE-W21S1G33
1 член
Автор 2 руководств