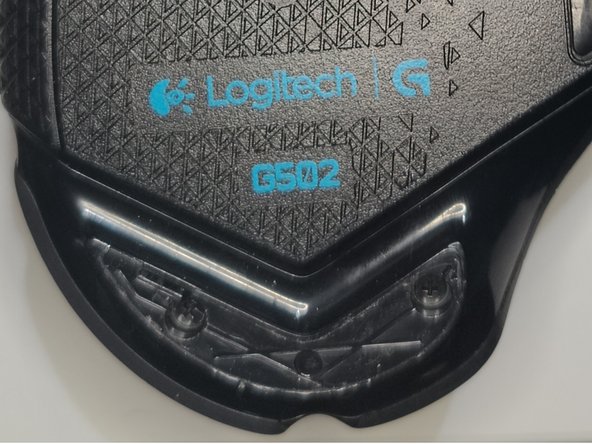
Перейти к основному содержанию

Logitech G502 Proteus Core Cable Replacement

Выберете то, что вам нужно

  1. Logitech G502 Proteus Core Cable Replacement, Cable: шаг 1, изображение 1 из 2 Logitech G502 Proteus Core Cable Replacement, Cable: шаг 1, изображение 2 из 2
    • Use a hairdryer to heat three mouse feet briefly.

    • Each mouse foot should take 7-8 seconds to heat up.

  2. Logitech G502 Proteus Core Cable Replacement: шаг 2, изображение 1 из 3 Logitech G502 Proteus Core Cable Replacement: шаг 2, изображение 2 из 3 Logitech G502 Proteus Core Cable Replacement: шаг 2, изображение 3 из 3
    • Remove the mouse feet gently.

    • Avoid bending the mouse feet.

  3. Logitech G502 Proteus Core Cable Replacement: шаг 3, изображение 1 из 2 Logitech G502 Proteus Core Cable Replacement: шаг 3, изображение 2 из 2
    • Use a screwdriver to remove the four 12.5 mm screws.

  4. Logitech G502 Proteus Core Cable Replacement: шаг 4, изображение 1 из 3 Logitech G502 Proteus Core Cable Replacement: шаг 4, изображение 2 из 3 Logitech G502 Proteus Core Cable Replacement: шаг 4, изображение 3 из 3
    • Use a spudger to pry open the bottom case.

    • A screwdriver is shown in the photo but screwdrivers shouldn't be used for prying. They might accidentally damage internal components with a slip.

  5. Logitech G502 Proteus Core Cable Replacement: шаг 5, изображение 1 из 2 Logitech G502 Proteus Core Cable Replacement: шаг 5, изображение 2 из 2
    • Raise the tabs to disconnect the ribbon.

  6. Logitech G502 Proteus Core Cable Replacement: шаг 6, изображение 1 из 2 Logitech G502 Proteus Core Cable Replacement: шаг 6, изображение 2 из 2
    • Pull out the pin and remove the scroll wheel assembly.

    • Take out the two springs under the scroll wheel assembly.

    • Be careful when lifting the scroll wheel assembly. Do not lose the two specified springs.

  7. Logitech G502 Proteus Core Cable Replacement: шаг 7, изображение 1 из 1
    • Unscrew five 12.5mm screws from the motherboard.

  8. Logitech G502 Proteus Core Cable Replacement: шаг 8, изображение 1 из 3 Logitech G502 Proteus Core Cable Replacement: шаг 8, изображение 2 из 3 Logitech G502 Proteus Core Cable Replacement: шаг 8, изображение 3 из 3
    • Open the tabs lock on each side so you can disconnect the ribbon.

    • Disconnect the PCB from the mouse cable.

  9. Logitech G502 Proteus Core Cable Replacement: шаг 9, изображение 1 из 3 Logitech G502 Proteus Core Cable Replacement: шаг 9, изображение 2 из 3 Logitech G502 Proteus Core Cable Replacement: шаг 9, изображение 3 из 3
    • Pull out the plastic piece.

    • Remove the mouse cable.

Заключение

To reassemble your device, follow these instructions in reverse order.

7 участников успешно повторили данное руководство.

Sen

Участник с: 09/19/21

358 Репутация

1 руководство автора

Команда

York University, Team E-13, Melo-Thaiss Fall 2021 Участник York University, Team E-13, Melo-Thaiss Fall 2021

YORK-MELO-THAISS-F21SEG13

1 член

Автор 2 руководств

2 Комментариев

Let's say you're trying to fix your G502 without a legit logitech cord, you can just splice a usb cable and solder the correct wires to the pins. I did this twice and it works flawlessly

Black.Technician - Ответить

If you are careful enough, you don't need to remove the side button ribbon.

Yueh Tse Chen - Ответить

Добавить комментарий

Просмотр статистики:

За последние 24часов: 12

За последние 7 дней: 64

За последние 30 дней: 244

За всё время: 6,534