Введение
Make sure the power is off and the battery removed before attempting this replacement.
Выберете то, что вам нужно
-
-
The battery compartment cover is located on the top of the mouse. The seam running horizontally across the mouse is the top of the cover.
-
There is a button to pop off the cover. It is located on the bottom of the mouse. you may need to press hard on this button to pop the cover.
-
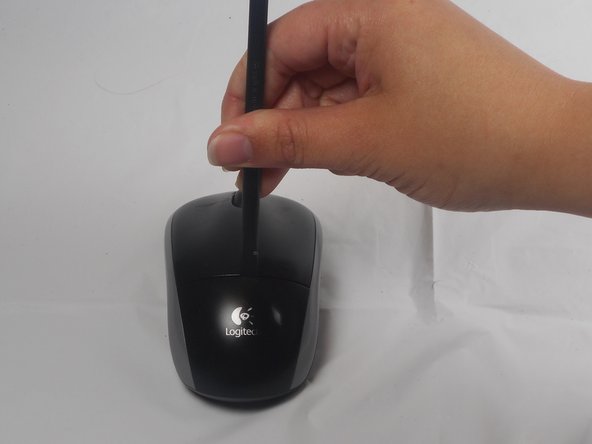
If the button does not work, you will need to pry off the cover. You can use your fingernails or a prying tool in order to do this, as seen in the third image.
-
-
-
Remember to insert the new battery in the same orientation as the old one. The positive (plus) end should be facing away from the buttons.
After replacing battery light goes on then off. I tried it twice. Do I need a new part.
After replacing battery the remote green light goes on then off. I tried it twice
What do u mean reverse order?
The laser light did not go on
Thank you this worked nicely
Thanks for this!
-
-
-
-
Use your fingernail to carefully remove the two skid stickers from the fat (non-button) end of the bottom of the mouse to reveal two Philips head screws. Remove these, then unclip the bottom cover. Don't get the sticky dusty. Now remove buttons; they're both attached by one 0.5mm Phillips head screw. It is located in the center of the top cover.
-
-
-
The button are now only attached by a small overhang near the front. You will need to use the pry tool to push the button plate off of this overhang as shown.
-
The button plate should be able to be completely removed at this point.
-
-
-
Use the prying tool to remove the scroll wheel. The wheel is held in place by two pegs which stick into the plastic holder.
-


To reassemble your device, follow these instructions in reverse order.
To reassemble your device, follow these instructions in reverse order.
Отменить: Я не выполнил это руководство.
9 участников успешно повторили данное руководство.

Команда

USF Tampa, Team 1-1, Watkins Winter 2015 Участник USF Tampa, Team 1-1, Watkins Winter 2015
USFT-WATKINS-W15S1G1
4 членов
Автор 28 руководств
6 Комментариев
glad I was able to find this info on disassembly. Gave it a good cleaning and works better than it did before. Had the Phillips screwdriver. and used another small screwdriver and a small pocket knife to pry with. Be gentle - doesn’t look like it would take much force to break those plastic bits.
Thanks! Mouse wheel windows were blocked by lint.
Very useful. Cleaned coffee out of mouse wheel spokes/windows and off of chipboard. Works better than before. Thanks!
Probably the BROWN stuff wasn’t coffee, I too cleaned the spokes/windows. the brown stuff is oil from out hands which lands on scroll wheel, then by heat gets transferred to the spokes. touch a finger on the mirror, the fingerprint on the mirror is because of OIL on hands. it is the same oil in that mouse wheel spokes.
There is a spring here connected to the wheel. Seems to be the thing to give tactical feedback when scrolling. It fell out when I took out the wheel not 100% how to put it back
If the 2 main (left/right) microswitches are failing - 1) re-melt the solder joints adding a tiny bit of fresh lead solder - this will get rid of dry solder joints and 2) clean the microswitches (logitech brand). You disasemble them by gently prying the latches on the long sides - small carpet knife is useful. There is a tiny white/semi-translucent bit of plastic - the push button , don’t lose it. Once the mechanism, spring and tiny ball contact are exposed, you can clean the contacts (rear of the microswitch) - I recommend spraying a bit with contact spray first (not the WD40 lubricant type!), then cut a 3-4mm wide and 3-4cm long stripe of sand paper (1000 grit) and clean both sides of ball contact, then spray the contact spray again. You can also take the spring/blade off and clean the recess where the blade is mounted against and touches the top switch pin. Careful with assembly of the blade - the top and middle pins have recesses where the blade and the blade spring should sit. Fiddly but easily doable.
The battery lid lifts up from the back. It does not slide back.
Bob Peters - Ответить
U need to keep clean…& battery compartment needs gently pried off. Make sure to put back lid cover, pushing down on black prong..OR will not make contact.
cconradmoore - Ответить
Thanks to u, i succeeded
aresa0519 - Ответить