Эта версия возможно содержит некорректные исправления. Переключить на последнюю проверенную версию.
Выберете то, что вам нужно
-
Этот шаг не переведен. Помогите перевести
-
The bottom cover is clipped onto three screw posts.
-
Pry near, but not right on the screw posts.
-
-
Этот шаг не переведен. Помогите перевести
-
Use the plastic opening tool to pry the bottom cover up off of the Mac mini.
-
-
Этот шаг не переведен. Помогите перевести
-
Remove the following TR6 screws from the antenna plate:
-
Three 4.1 mm screws
-
Three 1.9 mm screws
-
-
Этот шаг не переведен. Помогите перевести
-
With the I/O ports facing you, flip the antenna plate to the right to allow access to the antenna cable connector.
-
-
-
Этот шаг не переведен. Помогите перевести
-
Remove the single 3.4 mm T6 screw and washer from the antenna cable.
-
-
Этот шаг не переведен. Помогите перевести
-
Use the point of a spudger to lift the antenna connector straight up off its socket on the airport card.
-
-
Этот шаг не переведен. Помогите перевести
-
Carefully pull the antenna cable out from the gap between the power supply and case.
-
-
Этот шаг не переведен. Помогите перевести
-
Remove the single 3.4 mm T6 screw and washer from the antenna cable.
-
-
Этот шаг не переведен. Помогите перевести
-
Use the point of a spudger to lift the antenna connectors up off their sockets.
-
-
Этот шаг не переведен. Помогите перевести
-
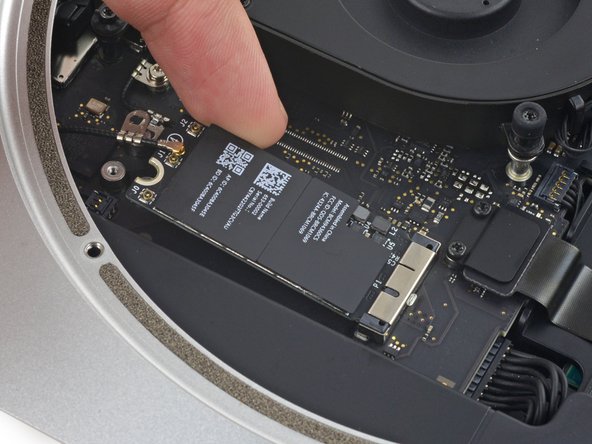
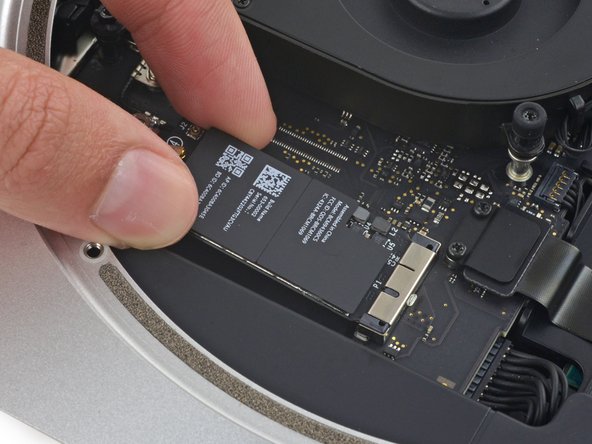
Lift the free end of the AirPort card enough to grasp it by the edges.
-
-
Этот шаг не переведен. Помогите перевести
-
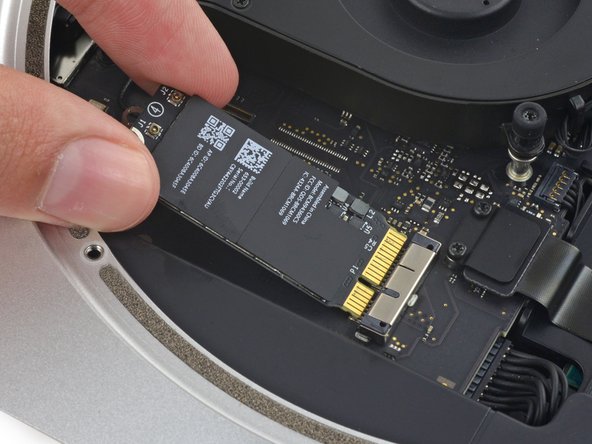
Pull the AirPort card straight out of its socket on the logic board and remove it from the Mac mini.
-


Отменить: Я не выполнил это руководство.
16 участников успешно повторили данное руководство.


4 Комментариев
Thanks. Took all of 20 minutes start to finish to upgrade my broken NIC.
Hmm, look like an M.2 interface, could an M.2 SSD be installed instead?
Can confirm that the airport card for the 2015 Macbook Pro fits and functions perfectly as a replacement if you can’t find the mac mini one.
If something wrong with my bluetooth, is it also replace this logic board ?