Перейти к основному содержанию

Mac mini Model A1176 Top Housing Replacement

Абсолютно необходимое руководство
Это руководство предназначено только для использования в качестве обязательного условия для других руководств. Оно не полностью само по себе.

Выберете то, что вам нужно

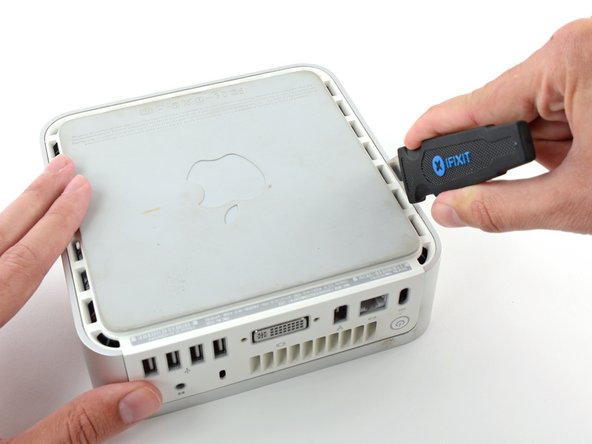
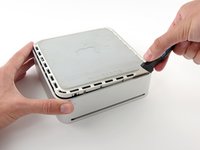
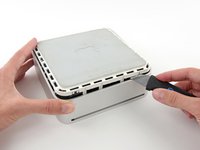
  1. Mac mini Model A1176 Top Housing Replacement, Top Housing: шаг 1, изображение 1 из 2 Mac mini Model A1176 Top Housing Replacement, Top Housing: шаг 1, изображение 2 из 2
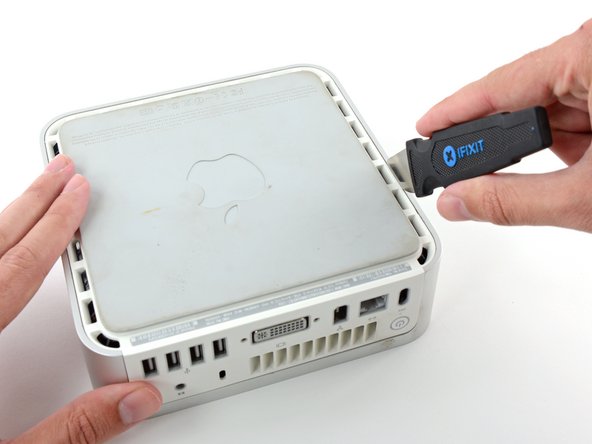
    • Power down your Mac mini, disconnect all of the cables, and flip it over.

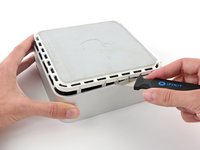
    • Insert the Jimmy into the crack between the aluminum top housing and the plastic lower housing.

    • The Jimmy should reach a stop about 3/8" down.

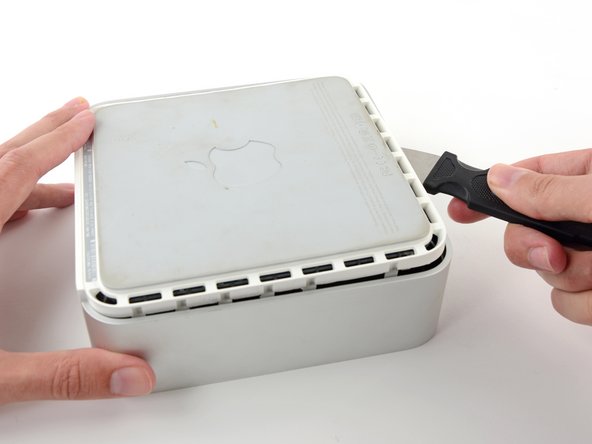
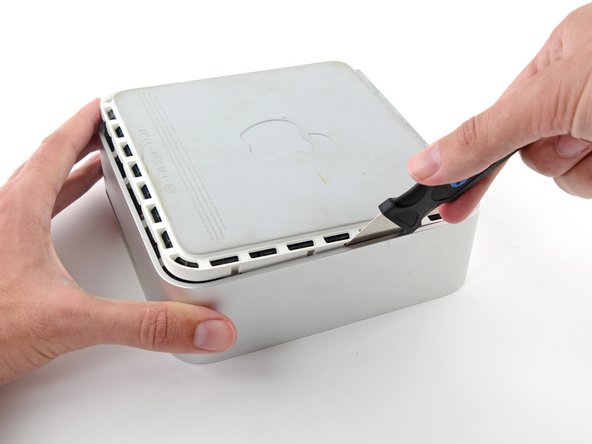
  2. Mac mini Model A1176 Top Housing Replacement: шаг 2, изображение 1 из 3 Mac mini Model A1176 Top Housing Replacement: шаг 2, изображение 2 из 3 Mac mini Model A1176 Top Housing Replacement: шаг 2, изображение 3 из 3
    • Gently bend the Jimmy outwards to pry the crack open a little larger and lift the lower housing up a small amount.

    • There are several plastic clips on the lower housing that fit into a channel in the aluminum top housing. Your goal is to use the Jimmy to push these clips inward enough to free them from the channel, while gently pulling up on the lower housing.

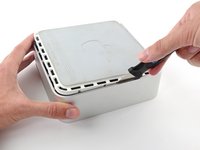
  3. Mac mini Model A1176 Top Housing Replacement: шаг 3, изображение 1 из 2 Mac mini Model A1176 Top Housing Replacement: шаг 3, изображение 2 из 2
    • Once you have the first side free, rotate the Mac mini and start prying up on the front edge.

    • Use the same prying motion to both bend the clips inward and lift the lower housing up out of the top housing.

  4. Mac mini Model A1176 Top Housing Replacement: шаг 4, изображение 1 из 2 Mac mini Model A1176 Top Housing Replacement: шаг 4, изображение 2 из 2
    • You may need to move the Jimmy along the edge to pry up all of the clips. Be patient and do a little bit at a time.

  5. Mac mini Model A1176 Top Housing Replacement: шаг 5, изображение 1 из 2 Mac mini Model A1176 Top Housing Replacement: шаг 5, изображение 2 из 2
    • Keep working around the perimeter, freeing the clips along the final edge.

  6. Mac mini Model A1176 Top Housing Replacement: шаг 6, изображение 1 из 2 Mac mini Model A1176 Top Housing Replacement: шаг 6, изображение 2 из 2
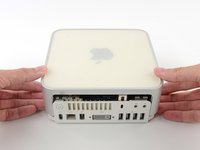
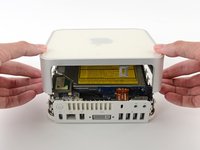
    • Flip the Mac mini back over and lift the top housing off of the lower housing.

Заключение

To reassemble your device, follow these instructions in reverse order.
Andrew Optimus Goldheart

Участник с: 10/17/09

502 109 Репутация

Автор 407 руководств

Команда

iFixit Участник iFixit

Staff

135 членов

Автор 16 476 руководств

0 Комментариев

Добавить комментарий

Просмотр статистики:

За последние 24часов: 0

За последние 7 дней: 0

За последние 30 дней: 0

За всё время: 157