Эта версия возможно содержит некорректные исправления. Переключить на последнюю проверенную версию.
Выберете то, что вам нужно
-
Этот шаг не переведен. Помогите перевести
-
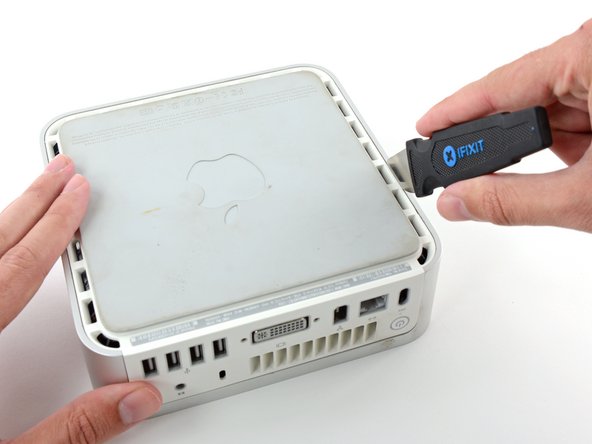
Power down your Mac mini, disconnect all of the cables, and flip it over.
-
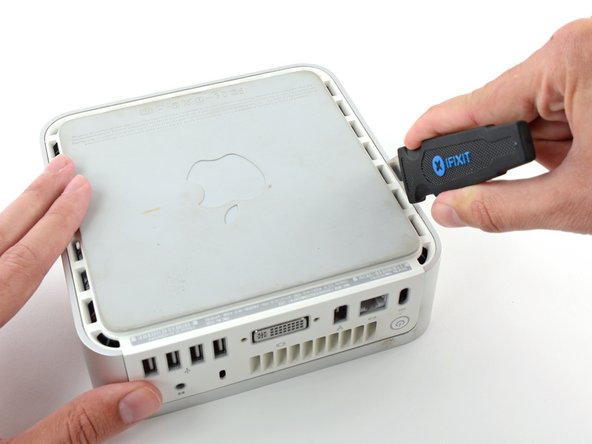
Insert the Jimmy into the crack between the aluminum top housing and the plastic lower housing.
-
The Jimmy should reach a stop about 3/8" down.
-
-
Этот шаг не переведен. Помогите перевести
-
Gently bend the Jimmy outwards to pry the crack open a little larger and lift the lower housing up a small amount.
-
-
Этот шаг не переведен. Помогите перевести
-
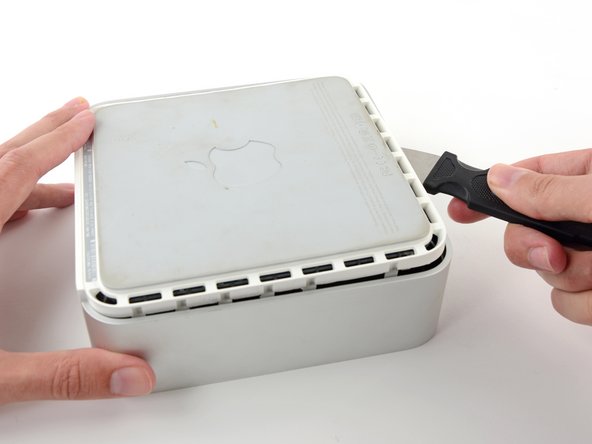
Once you have the first side free, rotate the Mac mini and start prying up on the front edge.
-
Use the same prying motion to both bend the clips inward and lift the lower housing up out of the top housing.
-
-
-
Этот шаг не переведен. Помогите перевести
-
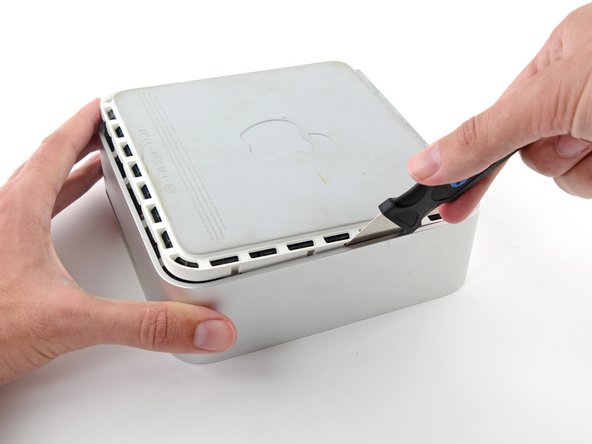
You may need to move the Jimmy along the edge to pry up all of the clips. Be patient and do a little bit at a time.
-
-
Этот шаг не переведен. Помогите перевести
-
Keep working around the perimeter, freeing the clips along the final edge.
-
-
Этот шаг не переведен. Помогите перевести
-
Flip the Mac mini back over and lift the top housing off of the lower housing.
-
-
Этот шаг не переведен. Помогите перевести
-
Remove the single Phillips screw between the headphone and microphone jacks on the audio board.
-
-
Этот шаг не переведен. Помогите перевести
-
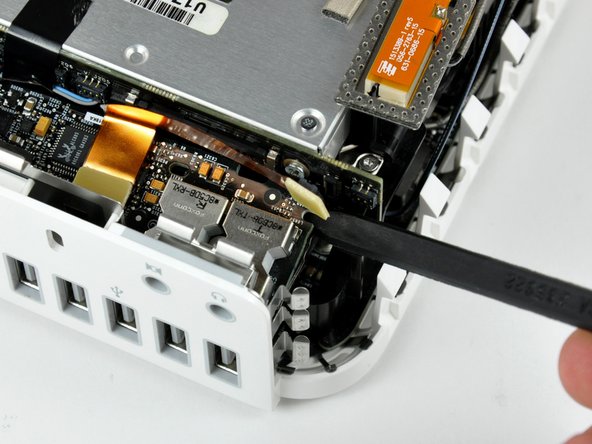
Use the flat end of a spudger to pry the audio ribbon cable connector off the interconnect board.
-
-
Этот шаг не переведен. Помогите перевести
-
Use the tip of a spudger to depress the audio board retaining clip (shown in red) to release the audio board from the bottom housing.
-
Lift the audio board from its free end and remove it from the mini.
-
Отменить: Я не выполнил это руководство.
4 участников успешно повторили данное руководство.
