Введение
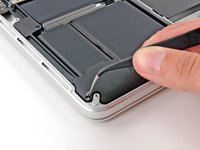
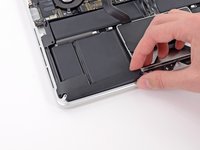
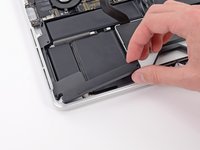
Use this guide to replace the right speaker.
Выберете то, что вам нужно
-
Инструмент, используемый на этом этапе:Magnetic Project Mat$19.95
-
Remove the following ten screws securing the lower case to the upper case:
-
Two 2.3 mm P5 Pentalobe screws
-
Eight 3.0 mm P5 Pentalobe screws
-
-
-
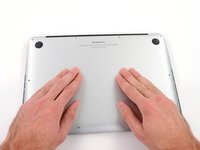
Wedge your fingers between the upper case and the lower case.
-
Gently pull the lower case away from the upper case.
-
Remove the lower case and set it aside.
-
-
-
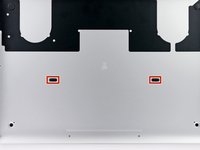
The lower case is connected to the upper case at the center, with two plastic clips.
-
-
-
Remove the plastic cover adhered to the battery contact board.
-
-
-
Remove the following screws securing the battery connector board to the logic board:
-
Two 2.8 mm T6 Torx screws
-
One 7.0 mm T6 Torx shouldered screw
-
-
Инструмент, используемый на этом этапе:Tweezers$4.99
-
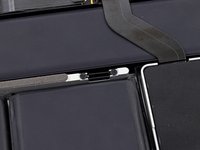
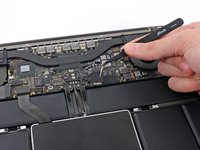
Use tweezers to remove the small plastic cover located near the bottom right of the battery connector board.
-
-
-
-
Remove the wide head 6.4 mm T6 Torx screw securing the battery connector to the logic board assembly.
-
-
-
Carefully lift the battery connector board up off the logic board.
-
It is recommended to bend the battery cables just slightly, to keep the board suspended up above the logic board and out of the way.
-
-
Инструмент, используемый на этом этапе:Tweezers$4.99
-
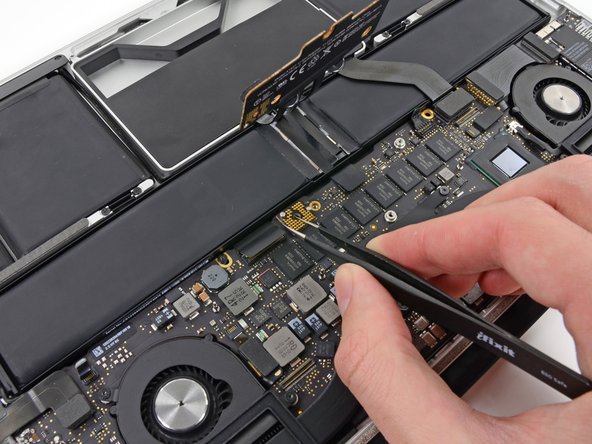
Grasp the Interposer with tweezers.
-
Lift the Interposer off the logic board and remove it.
-
-
-
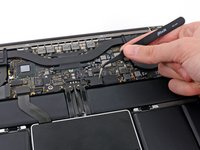
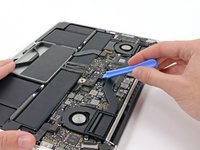
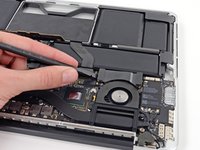
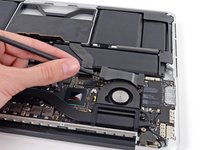
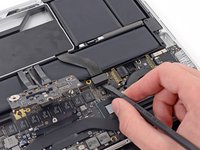
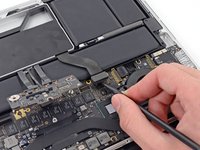
Use the flat end of a spudger to pry the right side of the I/O board data cable connector up off its socket on the I/O board.
-
-
-
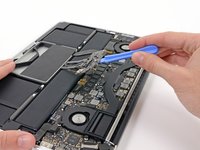
Wedge the flat end of a spudger beneath the left side of the I/O board data cable connector.
-
Gently twist the spudger to disconnect the I/O board data cable connector from its socket on the logic board.
-
-
-
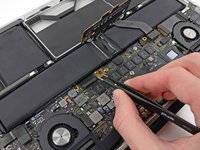
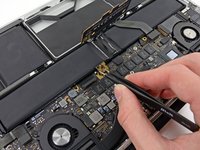
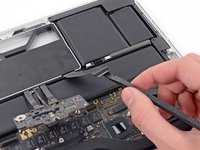
Use the flat end of a spudger to pry the SSD cable connector up from its socket on the logic board.
-
Move the SSD cable connector out of the way.
-
-
-
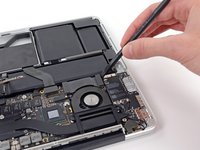
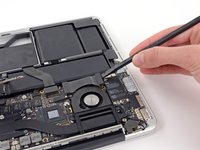
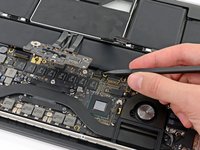
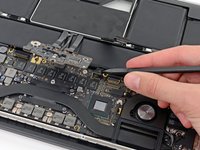
Wedge the pointed end of a spudger beneath the right speaker cable connector.
-
Gently pry the right speaker cable connector up off from its socket on the logic board.
-
-
Инструмент, используемый на этом этапе:Tweezers$4.99
-
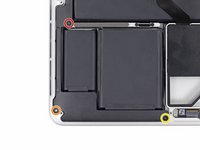
Use a T5 Torx driver to remove the following screws securing the right speaker to the upper case:
-
One black 6.8 mm screw
-
One silver 6.3 mm screw
-
One black 4.9 mm screw
-
To reassemble your device, follow these instructions in reverse order.
To reassemble your device, follow these instructions in reverse order.
Отменить: Я не выполнил это руководство.
36 человек успешно провели ремонт по этому руководству.
6 Комментариев
Thanks for the steps, it worked. But now I am getting Wi-Fi- No hardware installed and Bluetooth Not available error
it worked but the cam is not working now :(
I was able to fix the right speaker using the solvent used to remove the battery provided by iFixit.
Thank you very much for the walkthrough. No problems to follow at all. Everything worked as a charm.
Thanks very much for the walkthrough. No problems at all. Everything working fine afterwards.


