Эта версия возможно содержит некорректные исправления. Переключить на последнюю проверенную версию.
Выберете то, что вам нужно
-
Этот шаг не переведен. Помогите перевести
-
Remove the two pieces of kapton tape covering the display data cable.
-
Remove the strip of tape securing the iSight cable to the LCD.
-
Peel the three antenna straps off the lower edge of the LCD.
-
-
Этот шаг не переведен. Помогите перевести
-
Disconnect the display data cable by pulling its connector toward the bottom edge of the display, away from the socket on the LCD.
-
-
Этот шаг не переведен. Помогите перевести
-
Remove the two Phillips screws securing the ground straps for the display data cable and LED driver board cable to the clutch cover.
-
-
-
Этот шаг не переведен. Помогите перевести
-
Remove the Phillips screw hidden behind the display data cable.
-
-
Этот шаг не переведен. Помогите перевести
-
Remove the three Phillips screws behind antenna straps along the bottom edge of the display.
-
-
Этот шаг не переведен. Помогите перевести
-
To remove the clutch assembly, first insert the flat end of a spudger into the gap between the clutch hinge and the clutch cover where the cables exit.
-
While prying the clutch assembly away from the clutch hinge with your spudger, use a plastic opening tool to increase the gap between the clutch cover and the front display bezel.
-
Work your way along the length of the clutch cover to fully separate the adhesive.
-
-
Этот шаг не переведен. Помогите перевести
-
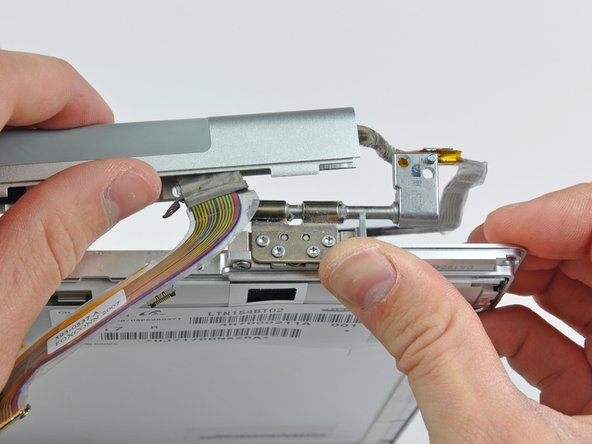
Push the clutch assembly off each of the clutch hinges and remove it from the display.
-
Отменить: Я не выполнил это руководство.
Еще один человек закончил это руководство.


