Введение
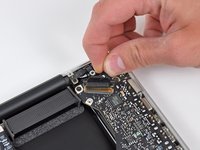
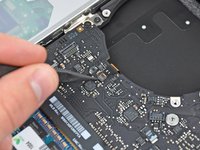
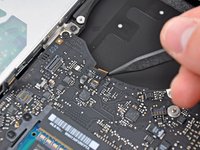
Use this guide to replace a broken left speaker. Replacing the left speaker requires removal of the logic board.
Выберете то, что вам нужно
-
-
Remove the following ten screws securing the lower case to the upper case:
-
Three 13.5 mm (14.1 mm) Phillips screws.
-
Seven 3 mm Phillips screws.
-
-
-
Using both hands, lift the lower case near the vent to pop it off two clips securing it to the upper case.
-
Remove the lower case and set it aside.
-
-
-
Remove the two 7.4 mm Tri-point screws securing the battery to the upper case.
-
Note: For certain repairs (e.g. hard drive), removing the battery is not necessary but it prevents any accidental shorting of electronics on the motherboard. If you do not remove the battery, please be careful as parts of the motherboard might be electrified.
-
-
-
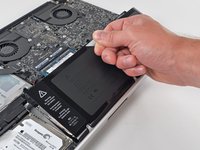
Use the tip of your finger to carefully peel back the corner of the warning label to reveal a hidden Tri-point screw.
-
Remove the last 7.4 mm Tri-point screw securing the battery to the upper case.
-
-
-
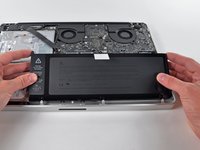
Lift the battery by its plastic pull tab and slide it away from the long edge of the upper case.
-
-
-
Tilt the battery away from the logic board enough to access the battery cable connector.
-
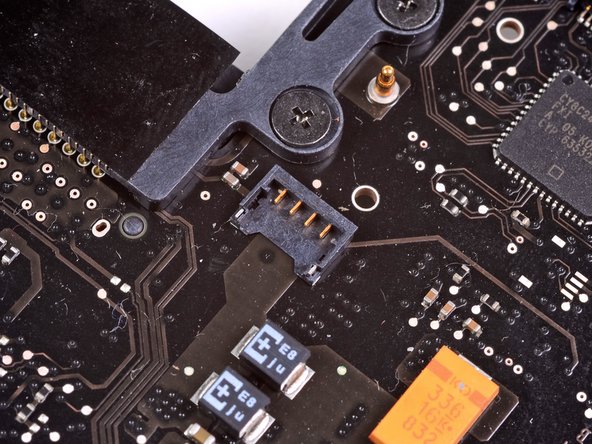
Pull the battery cable connector away from its socket on the logic board and remove the battery from the upper case.
-
Charge it to 100%, and then keep charging it for at least 2 more hours. Next, unplug and use it normally to drain the battery. When you see the low battery warning, save your work, and keep your laptop on until it goes to sleep due to low battery. Wait at least 5 hours, then charge your laptop uninterrupted to 100%.
-
If you notice any unusual behavior or problems after installing your new battery, you may need to reset your MacBook's SMC.
-
-
-
Remove the three 3.4 mm T6 Torx screws securing the left fan to the logic board.
-
-
-
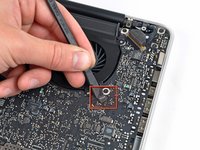
Use the flat end of a spudger to disconnect the left fan connector from the logic board.
-
-
-
Remove the three T6 Torx screws securing the right fan to the upper case.
-
-
-
-
Use the flat end of a spudger to pry the right fan connector up out of its socket on the logic board.
-
Remove the right fan from the upper case.
-
-
-
Use the flat end of a spudger to pry the AirPort / Bluetooth ribbon cable up off its socket on the logic board.
-
-
-
Disconnect the iSight cable by pulling its connector toward the optical drive opening.
-
-
-
Use the flat end of a spudger to pry the optical drive cable connector up from the logic board.
-
-
-
Carefully pull the subwoofer/right speaker cable up to lift its connector out of its socket on the logic board.
-
-
-
Use the flat end of a spudger to pry the hard drive cable connector up out of its socket on the logic board.
-
-
-
Remove the two short Phillips screws securing the small EMI shield to the logic board.
-
Remove the EMI shield from the logic board.
-
-
-
Use the flat end of a spudger to pry the trackpad cable connector up out of its socket on the logic board.
-
-
-
Use your fingernail to carefully flip up the keyboard ribbon cable retaining flap.
-
Use the tip of a spudger to pull the keyboard ribbon cable straight out of its socket.
-
-
-
Use the flat end of a spudger to pry the battery indicator cable connector up out of its socket on the logic board.
-
-
-
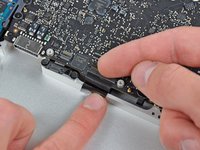
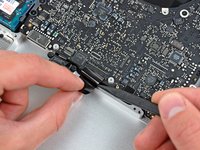
Grab the plastic pull tab secured to the display data cable lock and rotate it toward the DC-In side of the computer.
-
Pull the display data cable straight out of its socket.
-
-
-
Use the tip of a spudger or your fingernail to flip up the retaining flap on the keyboard backlight ribbon cable socket.
-
Pull the keyboard ribbon cable straight out of its socket.
-
-
-
Remove the following screws:
-
Seven 3.3 mm T6 Torx screws securing the logic board to the upper case.
-
Two 8 mm T6 Torx screws securing the DC-In board to the upper case.
-
-
-
Carefully lift the logic board assembly from the left side and work it out of the upper case, minding the port side that may get caught during removal.
-
-
-
Lift the logic board enough to gain clearance and use a spudger to pry the microphone up off the upper case.
-
-
-
Slide the logic board away from the port openings and lift the assembly out of the upper case.
-
-
-
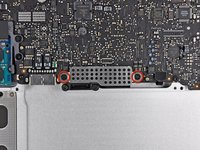
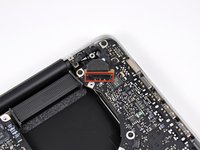
Remove the two 5 mm Phillips screws securing the left speaker to the logic board.
-
-
-
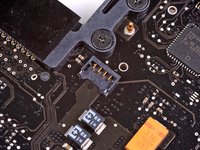
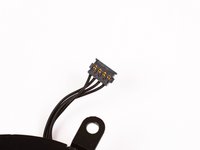
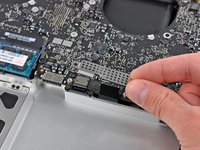
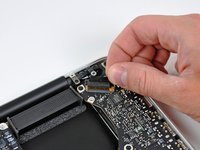
Carefully pull the left speaker wires upward to lift the left speaker connector out of its socket on the logic board.
-
To reassemble your device, follow these instructions in reverse order.
To reassemble your device, follow these instructions in reverse order.
Отменить: Я не выполнил это руководство.
15 человек успешно провели ремонт по этому руководству.
4Комментарии к руководству
I changed the left speaker with another one got on ebay. but still it has refused to work. what other methods can i try?
Stellar guide, easier than it looks at first, new left speaker from China, perfect sound once again in this 11-year old MBP.
I did this disassembly and reassembly in 2018 when I thought my GPU had another breakdown. Should have replaced the left speaker back then. In the end it was the RAM and replacing 4GB with 8GB did the job. Still have to do this again to replace the speaker, if I can get one on ebay. I brought it to a repair shop to fix the capacitor of the GPU board in 2019. Hopefully I will never again have to pay Apple 350€ again, to fix a problem they caused with areplacment of a faulty part with a NEW faulty part! Real Geniuses those people .. when it comes to making money. The company was better when Steve Jobs was still alive and shareholders got nothing for their shares!
Todays Macs are a nightmare to repair. What a difference my old Quicksilver PowerMac G4 is! You press one button and the whole chassis opens up for repair, maintenance or upgrades without removing one screw!
Great guide! Reversing Step 19 was most definitely the most challenging part. Everything else is golden!
I have had this old computer since the summer of 2010 and it has been used as my test bed for so many things.
Thank you.


