Введение
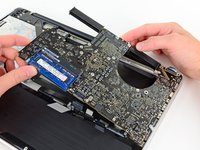
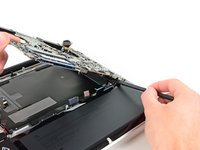
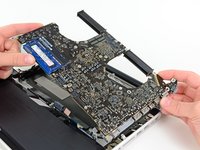
Replacing the MagSafe DC-In board requires removal of the logic board.
Выберете то, что вам нужно
-
-
Remove the following ten screws securing the lower case to the upper case:
-
Three 13.5 mm (14.1 mm) Phillips screws.
-
Seven 3 mm Phillips screws.
-
-
-
Using both hands, lift the lower case near the vent to pop it off two clips securing it to the upper case.
-
Remove the lower case and set it aside.
-
-
-
Use the edge of a spudger to pry the battery connector upwards from its socket on the logic board.
-
-
-
Bend the battery cable slightly away from its socket on the logic board so it does not accidentally connect itself while you work.
-
-
-
Remove the following three screws securing the left fan to the logic board:
-
Two 3.5 mm T6 Torx screws.
-
One 4.2 mm T6 Torx screw.
-
-
-
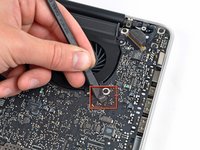
Use the flat end of a spudger to disconnect the left fan connector from the logic board.
-
-
-
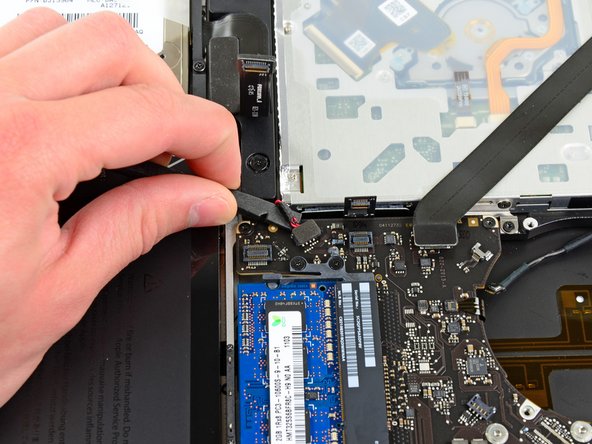
Use the flat end of a spudger to lift the right fan connector out of its socket on the logic board.
-
-
-
-
Remove the three 3.4 mm (3.1 mm) T6 Torx screws securing the right fan to the logic board.
-
Lift the right fan out of its opening in the logic board.
-
-
-
Use the flat end of a spudger to pry the AirPort/Bluetooth connector up from its socket on the logic board.
-
-
-
Use the flat end of a spudger to lift the optical drive connector out of its socket on the logic board.
-
-
-
Disconnect the hard drive/IR sensor cable from its socket on the logic board by lifting up from beneath its connector.
-
-
-
Use the flat end of a spudger to lift the subwoofer/right speaker connector out of its socket on the logic board.
-
-
-
Remove the two 1.5 mm ( 1.2 mm ) Phillips screws securing the keyboard/trackpad cable cover to the logic board.
-
Lift the cover off the logic board and set it aside.
-
-
-
Use the flat end of a spudger to pry the trackpad connector up and out of its socket on the logic board.
-
-
-
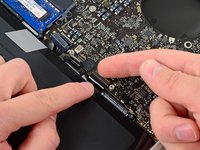
Use your fingernail to flip up the retaining flap on the keyboard ribbon cable ZIF socket.
-
Use the tip of a spudger to pull the keyboard ribbon cable out of its socket.
-
-
-
Use the flat end of a spudger to lift the battery indicator connector up and out of its socket on the logic board.
-
-
-
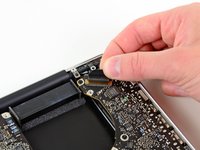
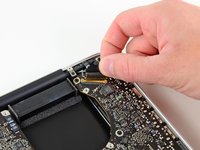
Grab the plastic pull tab secured to the display data cable lock and rotate it toward the DC-In side of the computer.
-
Pull the display data cable straight out of its socket on the logic board.
-
-
-
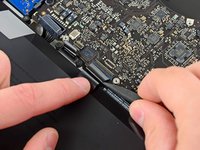
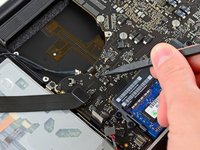
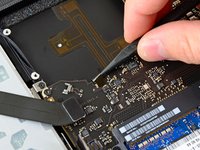
Use the tip of a spudger to flip up the retaining flap on the keyboard backlight ribbon cable ZIF socket.
-
Pull the keyboard backlight ribbon cable out of its socket.
-
-
-
Remove the following nine screws:
-
Seven 3.4 mm ( 3.1 mm) T6 Torx screws on the logic board
-
Two 8 mm T6 Torx screws on the DC-In board
-
-
-
Carefully lift the logic board assembly from its left side and work it out of the upper case, minding the optical drive cable and the I/O ports that may get caught during removal.
-
If necessary, use the flat end of a spudger to separate the microphone from the upper case.
-
Pull the I/O port side of the logic board away from the side of the upper case and remove the logic board assembly.
-
-
-
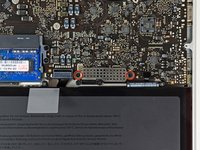
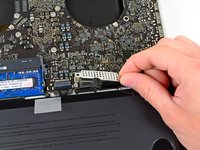
Disconnect the DC-In board by pulling its cable toward the heat sink.
-
To reassemble your device, follow these instructions in reverse order.
To reassemble your device, follow these instructions in reverse order.
Отменить: Я не выполнил это руководство.
42 человек успешно провели ремонт по этому руководству.
6Комментарии к руководству
Dont want to double post so please refer to the guide for the display to see my issue, but folwed teh guide to the T. The only anomaly i found ater reseting everything again is darkish tint ont he display cable, the rest of hte story is on my post on guides for displa. any help guys will be greatly appreciated. I'll defintelyl guys you guys business from here on how, And yes i know i work or apple but his machine ha my bitcoins.and pgp keys. and i still love her.
Good tutorial. New DC board installed and Macbook now charges without getting hot at all.
Thank you, followed this and fixed my macbook. My only difficulty was with removing the display cable until I realized that there’s a hinged wire clip in front of the socket that must be lifted up and over the socket before removal. Very helpful guide..
Thanks for this tutorial ,New DC Board installed but my macbook a1286 charged 60% and he doesn’t work.
how can i see to check what going wrong i know this channel ,https://www.youtube.com/channel/UCl2mFZo...,
But i dont know if should check data sense line or which step and material i need (multimeter)
thanks for any reply
sorry for my english im “French” :)


