Введение
Use this guide to replace your camera board.
Выберете то, что вам нужно
-
-
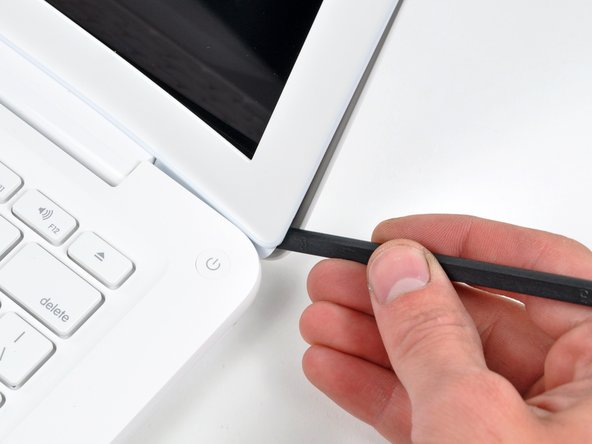
Insert the flat end of a spudger between the thin rubber strip surrounding the front display bezel and the rear display bezel.
-
Use the flat end of your spudger to carefully pry the front display bezel away from the adhesive securing it to the rear display bezel.
-
Continue prying until the front display bezel is free along the right side of the display and behind the right clutch hinge.
-
-
-
Use the flat end of a spudger to pry the front display bezel off the top edge of the display assembly.
-
Continue separating until the top edge of the front display bezel is free from the display assembly.
-
-
-
-
Use your spudger to pry the left side of the front display bezel away from the display assembly.
-
-
-
Carefully pry up the front display bezel where it is stuck to the display assembly near the clutch hinges.
-
-
-
Slowly work your way across the lower edge of the front display bezel until it is free from the display assembly.
-
When you get about half way across, pry up from the other side of the front display bezel's lower edge to ease the process.
-
Remove the front display bezel from the display assembly.
-
-
-
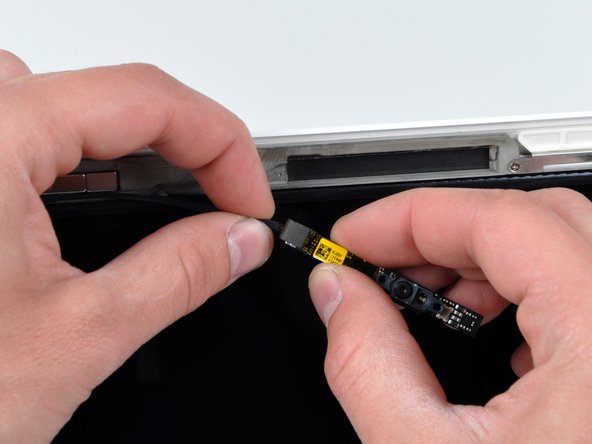
Use the pointed tip of a spudger to pry the camera board off the display assembly.
-
Disconnect the camera cable by pulling its connector away from the socket on the camera board.
-


To reassemble your device, follow these instructions in reverse order.
To reassemble your device, follow these instructions in reverse order.
Отменить: Я не выполнил это руководство.
8 участников успешно повторили данное руководство.
