Введение
This guide will walk you through the step-by-step instructions on how to remove and replace a Magellan RoadMate 5250T-LM display.
Выберете то, что вам нужно
-
-
Holding the device in place, remove all four 5 mm screws from the back of the device using a Philips Head #000 screwdriver.
-
Place screws aside. Make sure they are easily accessible for reassembling the device.
-
-
-
-
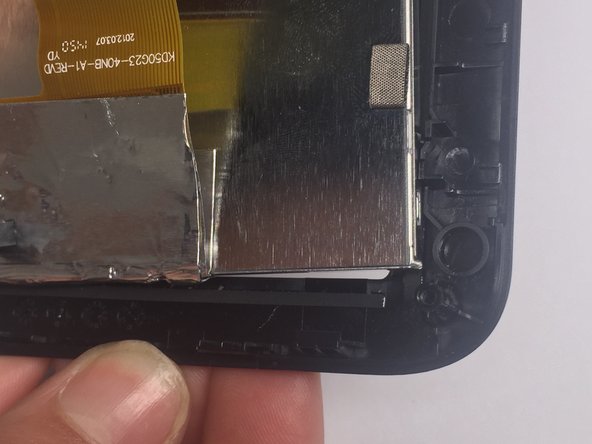
Peel back the tape securing the display connector to the motherboard.
-
Use a nylon spudger to flip up the black tab on the ZIF connector.
-
Pull the ribbon cable out with tweezers.
-
-
-
Undo the four clamps holding down the display.
-
Remove the display from the front cover.
-


To reassemble your device, follow these instructions in reverse order.
To reassemble your device, follow these instructions in reverse order.
Команда

University of Alabama, Team 1-7, Sydow campbell Spring 2016 Участник University of Alabama, Team 1-7, Sydow campbell Spring 2016
UA-SYDOW CAMPBELL-S16S1G7
4 членов
Автор 3 руководств