Введение
If the casing on your GPS is cracked or broken, follow this guide to replace the existing case with a new one.
Выберете то, что вам нужно
-
-
Place the device on a flat surface with the screen facing down.
-
Remove the screws on the four corners of the device with a phillips head, size 0 screwdriver.
-
-
-
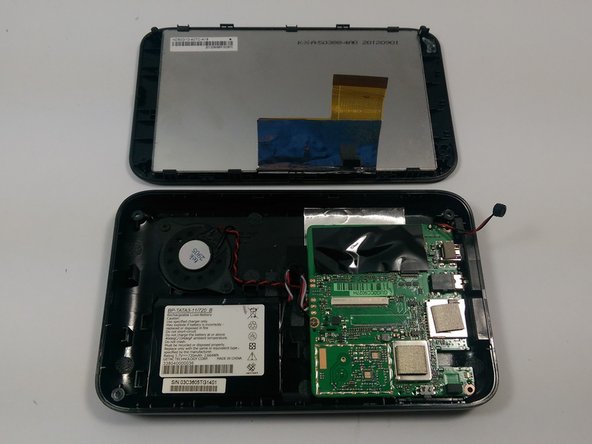
Using the plastic opening tool, gently pry apart the front and back casing panels around the edges of the device. While doing this the clips will gently be pried apart allowing you to separate the front and back casings.
-
There is a ribbon cable that will still connect the front panel to the motherboard.
-
-
-
-
The ribbon cable is attached to the motherboard by a ZIF (Zero Insertion Force) connector.
-
Using the nylon or metal spudger, gently pop up the ZIF connector tab and remove the ribbon cable. This will allow you to separate the front panel from the motherboard.
-
Gently pull the front panel away and set it on your workstation.
-
-
-
Make sure the back panel is lying on a flat surface with the open side showing up.
-
Using a plastic opening tool, gently lift the battery to break the adhesive which binds it to the back panel.
-
-
-
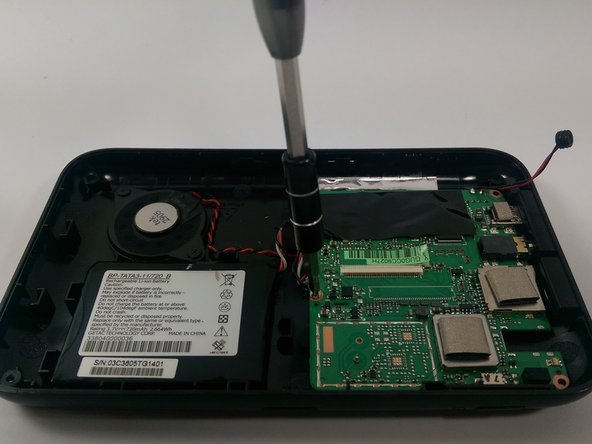
Unscrew the three screws holding the motherboard and speakers in place. Use a size 0 phillips head screwdriver.
-
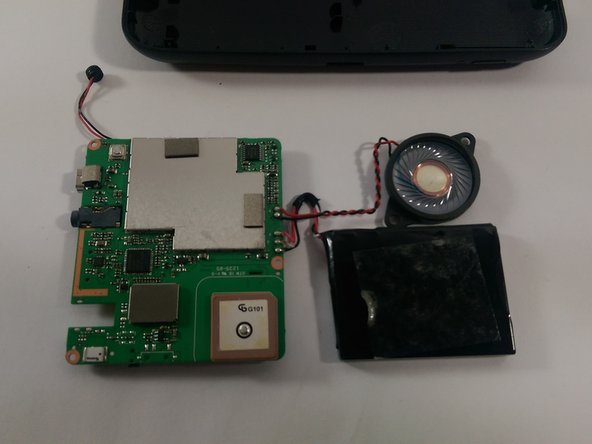
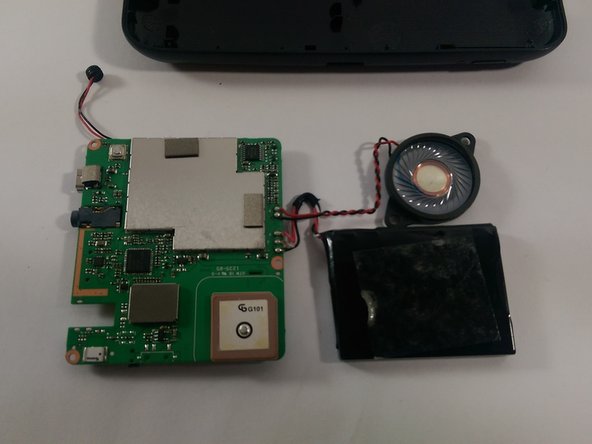
Now you may remove the motherboard, speaker, and battery as one unit from the back panel itself.
-
Flip over these components and gently place them down on your workstation, so that the back of the motherboard is revealed.
-
To reassemble your device, follow these instructions in reverse order.
To reassemble your device, follow these instructions in reverse order.


