Введение
If your 2003 Mattel Barbie CD Cassette Radio Boombox Portable BE-466 isn't playing when switched to radio, it could be a faulty antenna issue. After some time, these extendable antennas can break from heavy use. As a result, the radio becomes static and loses range. If the problem is the antenna, follow this guide to replace the antenna for your Mattel Barbie Boombox BE-466.
This guide demonstrates how to remove and replace the radio antenna for a Barbie Boombox model #BE-466. This guide aims to help you maintain the functionality of your radio, so you can keep using this vintage technology.
Note: The radio used in the guide is missing the lid for the battery compartment and power cord. Before you begin the repair, make sure your device is off and unplugged from the power adapter.
Выберете то, что вам нужно
-
-
-
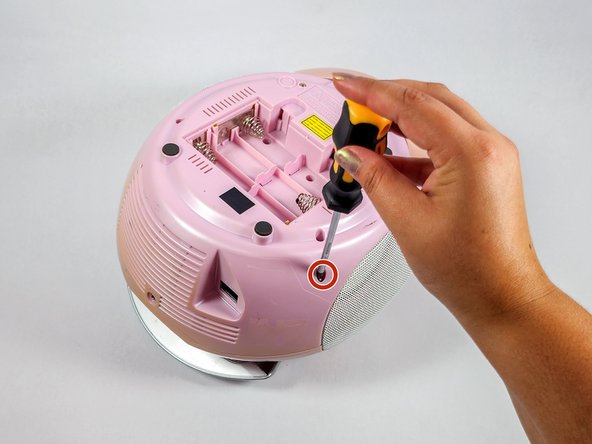
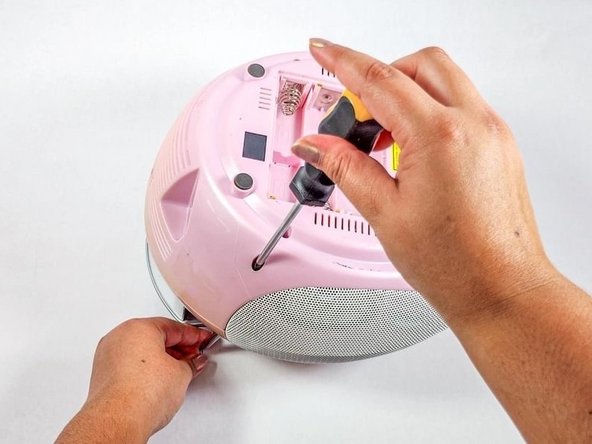
Flip the radio over so the bottom of the radio is facing up.
-
Insert the Philips #2 screwdriver into the antenna screw hole.
-
-
-
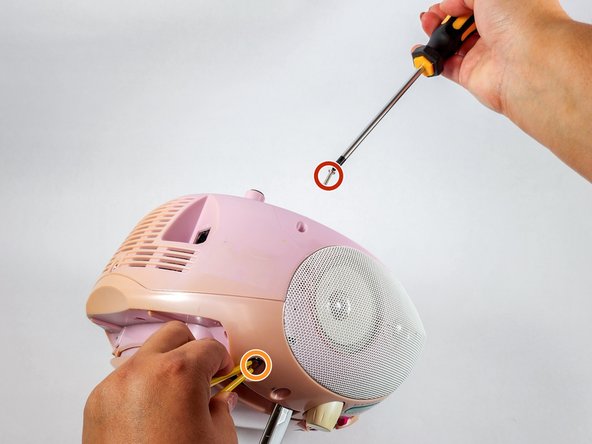
Use a Phillips #2 screwdriver to remove the screw securing the antenna.
-
Remove the antenna.
-
-
-
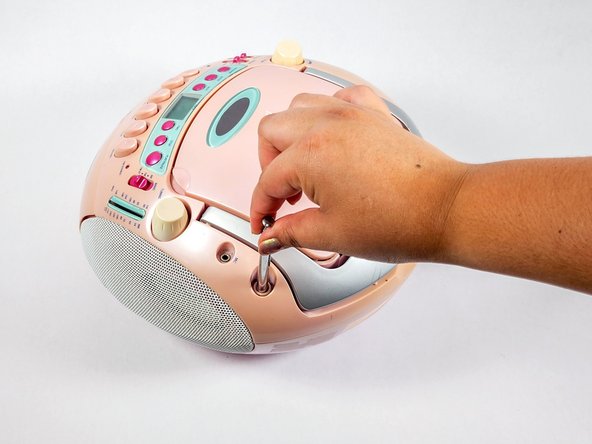
Hold the antenna and insert the screw into the antenna screw hole.
-
Use the Phillips #2 screwdriver to secure the screw.
-


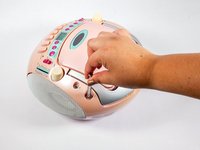


To reassemble your device, follow steps 1 and 2 in reverse order.

Команда

UC Davis, Team 4-4, Whithaus Spring 2024 Участник UC Davis, Team 4-4, Whithaus Spring 2024
UCD-WHITHAUS-S24S4G4
3 членов
Автор 1 руководств