Перейти к основному содержанию

Motorola Moto E4 Plus Charging Port Replacement

Архивированное руководство
Это руководство сохранено для исторических целей. Используйте его обновлённую версию, чтобы выполнить ремонт.

Выберете то, что вам нужно

  1. Motorola Moto E4 Plus Charging Port Replacement, Back Plate and Battery: шаг 1, изображение 1 из 2 Motorola Moto E4 Plus Charging Port Replacement, Back Plate and Battery: шаг 1, изображение 2 из 2
    • Insert the spudger into the notch on the corner of the phone and lift up to remove the back case.

  2. Motorola Moto E4 Plus Charging Port Replacement: шаг 2, изображение 1 из 1
    • Use the T4 Torx Screwdriver to remove the 17 3.2 mm screws in the back panel covering the battery.

  3. Motorola Moto E4 Plus Charging Port Replacement: шаг 3, изображение 1 из 3 Motorola Moto E4 Plus Charging Port Replacement: шаг 3, изображение 2 из 3 Motorola Moto E4 Plus Charging Port Replacement: шаг 3, изображение 3 из 3
    • Lift up and remove the back panel.

  4. Motorola Moto E4 Plus Charging Port Replacement: шаг 4, изображение 1 из 2 Motorola Moto E4 Plus Charging Port Replacement: шаг 4, изображение 2 из 2
    • After removing the back panel, use the spudger to lift and detach the Battery Flux Cable from the Motherboard.

  5. Motorola Moto E4 Plus Charging Port Replacement: шаг 5, изображение 1 из 3 Motorola Moto E4 Plus Charging Port Replacement: шаг 5, изображение 2 из 3 Motorola Moto E4 Plus Charging Port Replacement: шаг 5, изображение 3 из 3
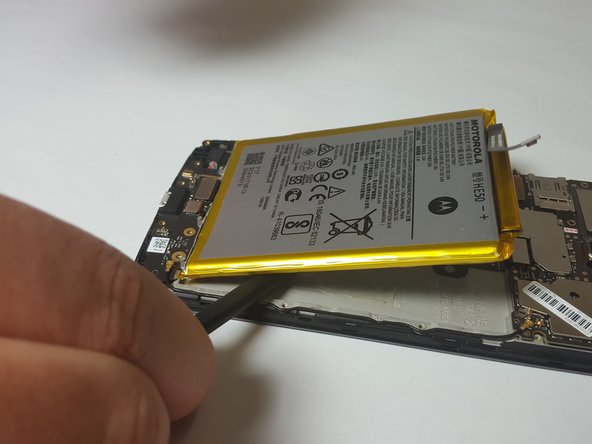
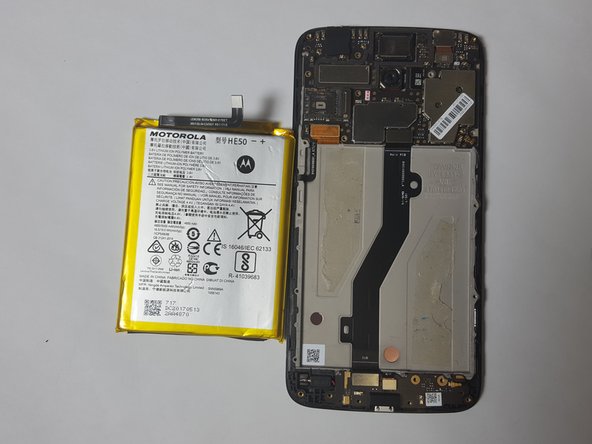
    • Wedge the spudger between the battery and the phone to lift the battery up and remove the battery. There will be slight resistance to this but the battery will not be damaged by this. It is just the adhesive tape.

  6. Motorola Moto E4 Plus Charging Port Replacement, Charging Port: шаг 6, изображение 1 из 2 Motorola Moto E4 Plus Charging Port Replacement, Charging Port: шаг 6, изображение 2 из 2
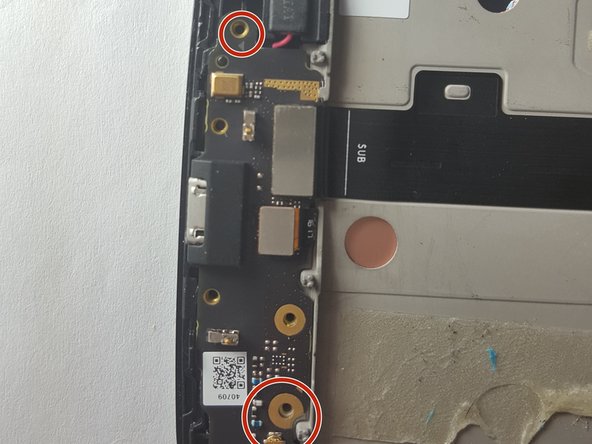
    • Use the T4 Torx Screwdriver to remove the two 3.2 mm screws circled.

  7. Motorola Moto E4 Plus Charging Port Replacement: шаг 7, изображение 1 из 3 Motorola Moto E4 Plus Charging Port Replacement: шаг 7, изображение 2 из 3 Motorola Moto E4 Plus Charging Port Replacement: шаг 7, изображение 3 из 3
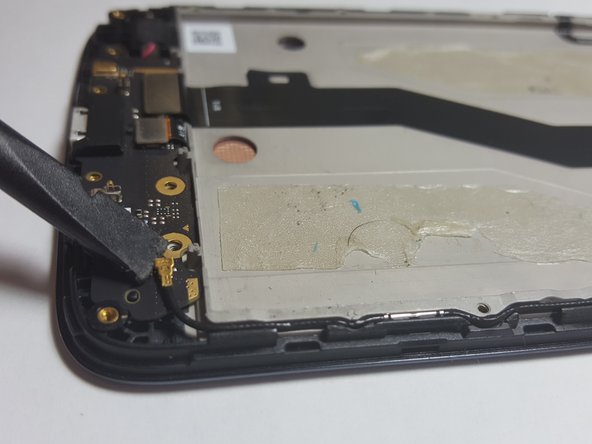
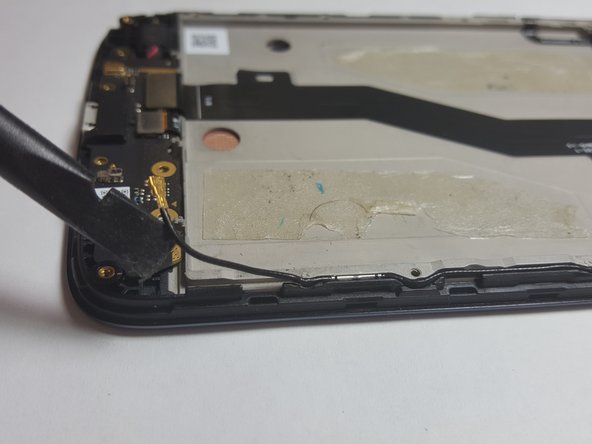
    • Use the Spudger to lift up and remove the Signal Flux Cable, circled in picture, from the Cable Port. The Signal Flux Cable should still be connected to the side of the phone, but detached from the charging port.

  8. Motorola Moto E4 Plus Charging Port Replacement: шаг 8, изображение 1 из 3 Motorola Moto E4 Plus Charging Port Replacement: шаг 8, изображение 2 из 3 Motorola Moto E4 Plus Charging Port Replacement: шаг 8, изображение 3 из 3
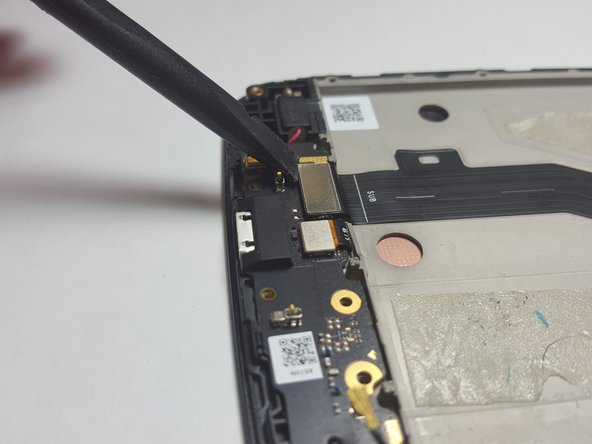
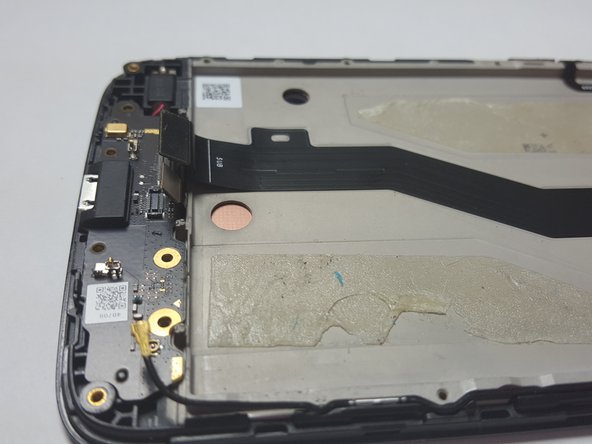
    • Use the Spudger to lift up and detach the Main Flex Cable from the Cable Port.

  9. Motorola Moto E4 Plus Charging Port Replacement: шаг 9, изображение 1 из 3 Motorola Moto E4 Plus Charging Port Replacement: шаг 9, изображение 2 из 3 Motorola Moto E4 Plus Charging Port Replacement: шаг 9, изображение 3 из 3
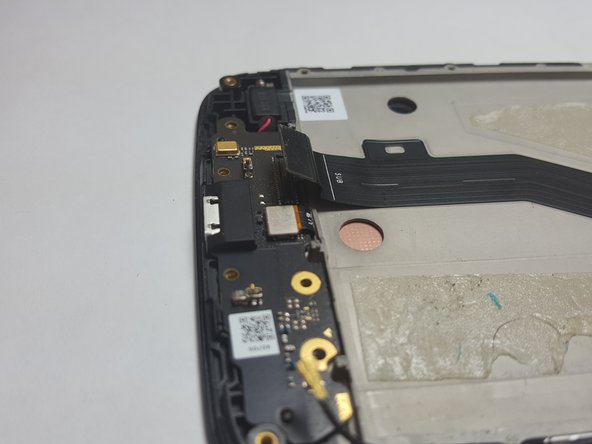
    • Use the Spudger to lift up and detach the Fingerprint Scanner Flux Cable from the Cable Port.

  10. Motorola Moto E4 Plus Charging Port Replacement: шаг 10, изображение 1 из 2 Motorola Moto E4 Plus Charging Port Replacement: шаг 10, изображение 2 из 2
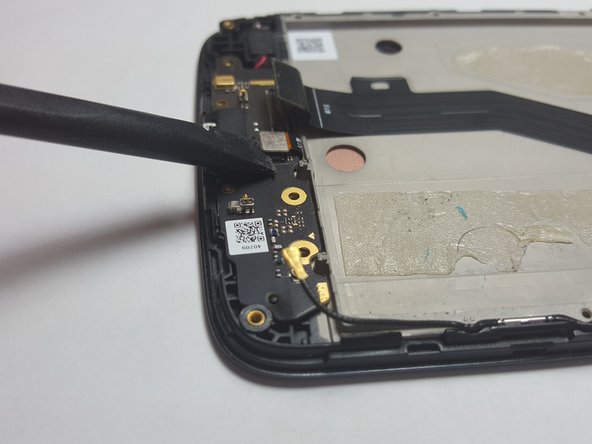
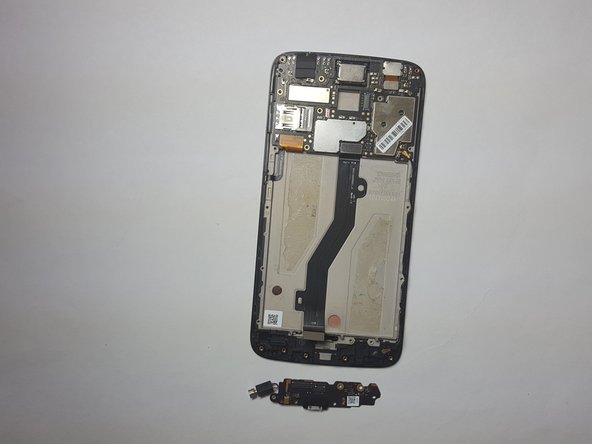
    • Use the Spudger to lift up and remove the Charging Port from the phone. The black box connected to the charging port will lift up with it. Remove the whole piece.

Заключение

To reassemble your device, follow these instructions in reverse order.

6 участников успешно повторили данное руководство.

Jack Haseman

Участник с: 03/19/18

1 396 Репутация

Автор 6 руководств

Команда

Baylor, Team S3-G2, Williams Spring 2018 Участник Baylor, Team S3-G2, Williams Spring 2018

BU-WILLIAMS-S18S3G2

4 членов

Автор 13 руководств

0 Комментариев

Добавить комментарий

Просмотр статистики:

За последние 24часов: 1

За последние 7 дней: 1

За последние 30 дней: 3

За всё время: 6,272