Введение
Full Device Name: Motorola Moto G Stylus 4G (2023)
Model Number: XT2317-2.
Alternate Name: Moto Stylus 4G (2023).
Objective: This guide aims to provide detailed instructions for replacing the screen on the Motorola Moto G Stylus 4G (2023).
About the Screen: The screen, also known as the display assembly, is a critical component of the device that allows you to interact with your phone, view content, and navigate through apps. If your screen is cracked, damaged, or malfunctioning, replacing it can restore functionality and enhance the visual experience of your device.
Device Symptoms: Common symptoms indicating the need for screen replacement include:
- Cracked or shattered screen
- Unresponsive touch functionality
- Display artifacts such as lines, discoloration, or black spots
- Inability to view content clearly due to screen damage
Tips and Warnings:
- Shattered Glass Displays: Handle the device with care, especially if the screen is shattered, to avoid injury from glass shards.
- Proper Device Disposal: Dispose of the old screen responsibly, following local regulations for electronic waste disposal.
- Hard Drive Backups: Before starting the replacement process, ensure you have backed up important data to prevent data loss.
Выберете то, что вам нужно
-
-
Insert an opening pick under the edge of the case and slide it around the edges.
-
Separate the back panel from the rest of the phone.
-
-
-
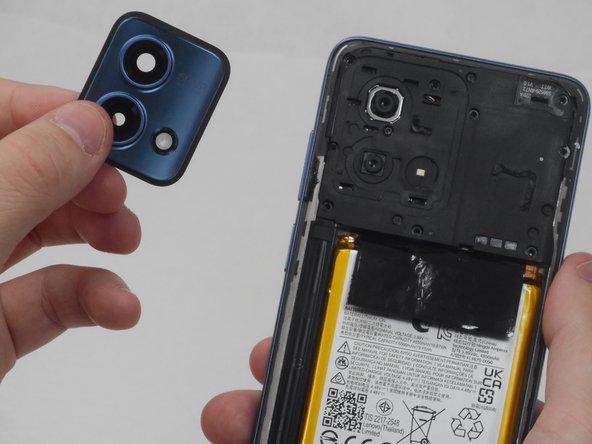
Use the opening pick along the edges to separate the camera lens glass from the board.
-
-
-
-
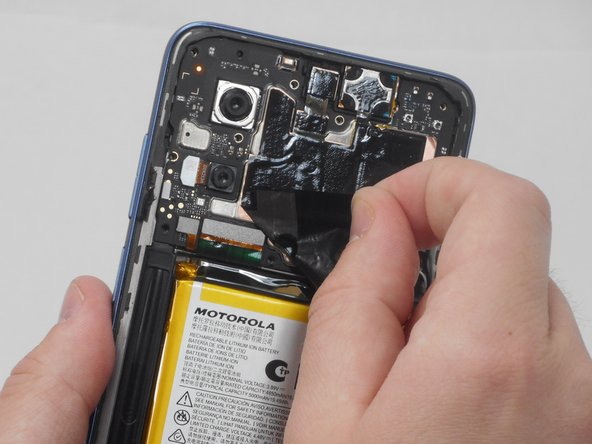
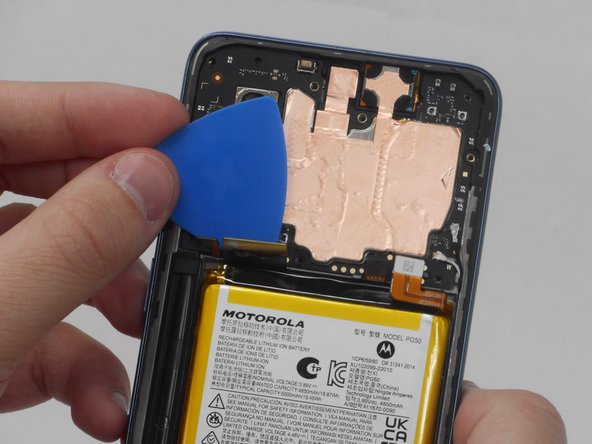
Disconnect the four cables by inserting the opening pick beneath the edge of each.
-
-
-
Apply heat using a heat gun to soften the adhesive around the edges of the screen.
-
-
-
Insert a Jimmy into the crevice between the screen and the rest of the phone.
-
Work around the edges to gently pry the screen away from the phone.
-
-
-
Use a spudger to disconnect the screen connectors from the motherboard.
-
Remove any screws that are holding the screen in place.
-
-
-
Remove the screen from the phone.
-
Clean the frame of any adhesive residue or glass shards.
-


To reassemble your device, follow these instructions in reverse order.
To reassemble your device, follow these instructions in reverse order.

Команда

University of Memphis, Team 3-2, Sneed Spring 2024 Участник University of Memphis, Team 3-2, Sneed Spring 2024
UM-SNEED-S24S3G2
4 членов
Автор 6 руководств