Перейти к основному содержанию

Выберете то, что вам нужно

Это демонтаж а неруководство по ремонту. Чтобы отремонтировать Motorola Moto X 2nd Generation, воспользуйтесь нашим сервисным руководством.

  1. Этот шаг не переведен. Помогите перевести

    : шаг 1, изображение 1 из 3 : шаг 1, изображение 2 из 3 : шаг 1, изображение 3 из 3
    • Remove SIM card tray.

  2. Этот шаг не переведен. Помогите перевести

    : шаг 2, изображение 1 из 3 : шаг 2, изображение 2 из 3 : шаг 2, изображение 3 из 3
    • Insert the eject pin into the hole inside of the port and push to open a gap between back cover and frame.

    • Place the guitar pick into the gap.

  3. Этот шаг не переведен. Помогите перевести

    : шаг 3, изображение 1 из 2 : шаг 3, изображение 2 из 2
    • Slide the guitar pick to cut the adhesive sticker under the cover. It's a little strong. Finally, peel off the soft back cover.

  4. Этот шаг не переведен. Помогите перевести

    : шаг 4, изображение 1 из 2 : шаг 4, изображение 2 из 2
    • Remove those two rubber cover.

  5. Этот шаг не переведен. Помогите перевести

    : шаг 5, изображение 1 из 2 : шаг 5, изображение 2 из 2
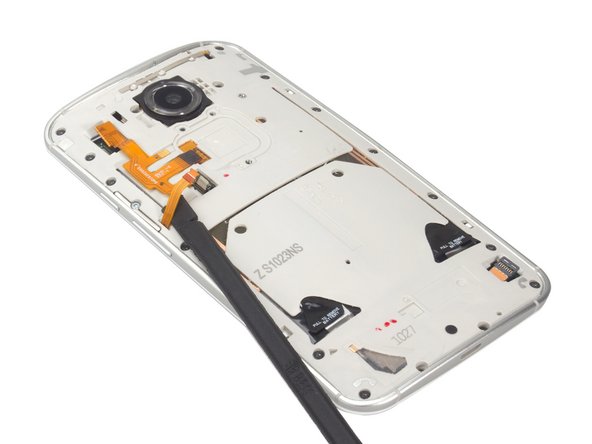
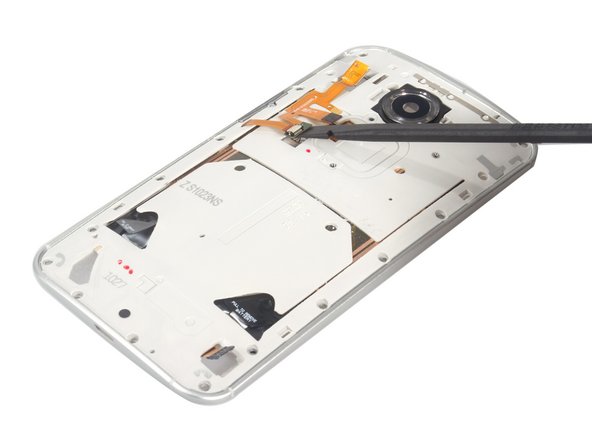
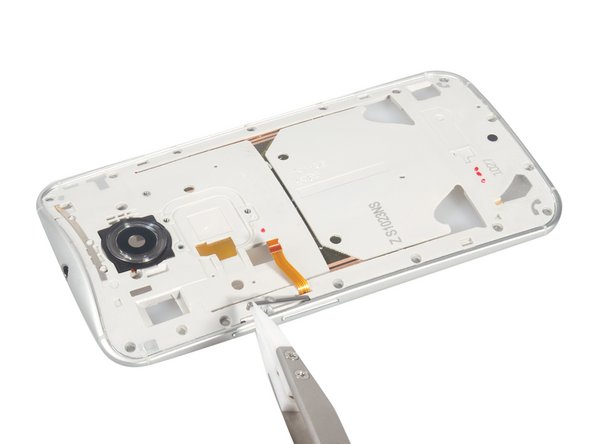
    • Release the side button flex connector and battery connector respectively under the rubber cover.

  6. Этот шаг не переведен. Помогите перевести

    : шаг 6, изображение 1 из 2 : шаг 6, изображение 2 из 2
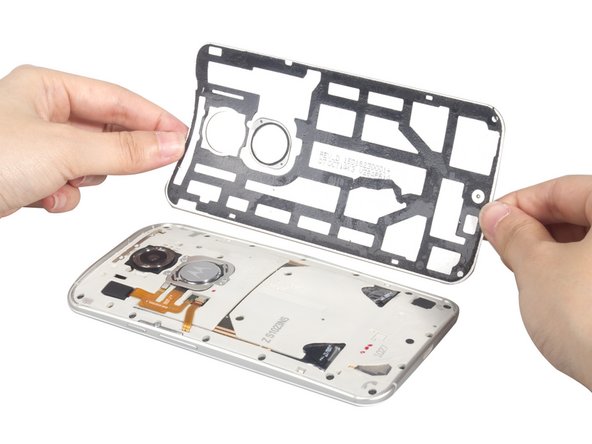
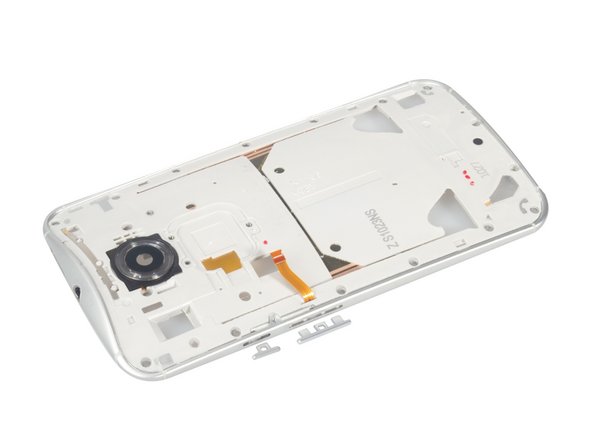
    • Twist off all 18 screws on the middle housing and remove it easily.

  7. Этот шаг не переведен. Помогите перевести

    : шаг 7, изображение 1 из 3 : шаг 7, изображение 2 из 3 : шаг 7, изображение 3 из 3
    • Remove the logo.

  8. Этот шаг не переведен. Помогите перевести

    : шаг 8, изображение 1 из 2 : шаг 8, изображение 2 из 2
    • Get the flex loosen from battery

  9. Этот шаг не переведен. Помогите перевести

    : шаг 9, изображение 1 из 2 : шаг 9, изображение 2 из 2
    • Get the flex loosen from the battery.

  10. Этот шаг не переведен. Помогите перевести

    : шаг 10, изображение 1 из 3 : шаг 10, изображение 2 из 3 : шаг 10, изображение 3 из 3
    • Pull the battery sticker and pry up the battery.

  11. Этот шаг не переведен. Помогите перевести

    : шаг 11, изображение 1 из 3 : шаг 11, изображение 2 из 3 : шаг 11, изображение 3 из 3
    • Twist off the screw and pry up the securing bracket.

  12. Этот шаг не переведен. Помогите перевести

    : шаг 12, изображение 1 из 1
    • Remove the side buttons flex.

  13. Этот шаг не переведен. Помогите перевести

    : шаг 13, изображение 1 из 2 : шаг 13, изображение 2 из 2
    • Release LCD connector.

  14. Этот шаг не переведен. Помогите перевести

    : шаг 14, изображение 1 из 2 : шаг 14, изображение 2 из 2
    • Release digitizer connector.

  15. Этот шаг не переведен. Помогите перевести

    : шаг 15, изображение 1 из 3 : шаг 15, изображение 2 из 3 : шаг 15, изображение 3 из 3
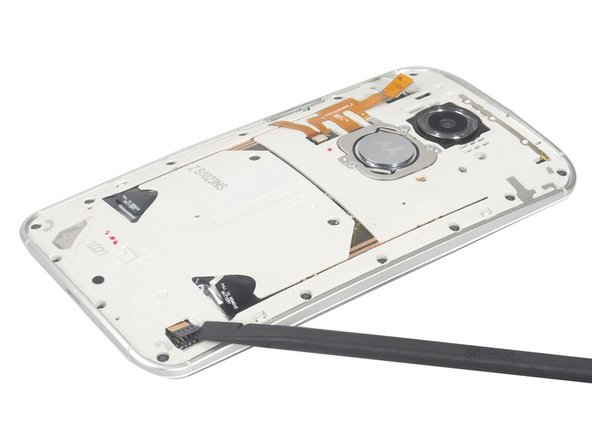
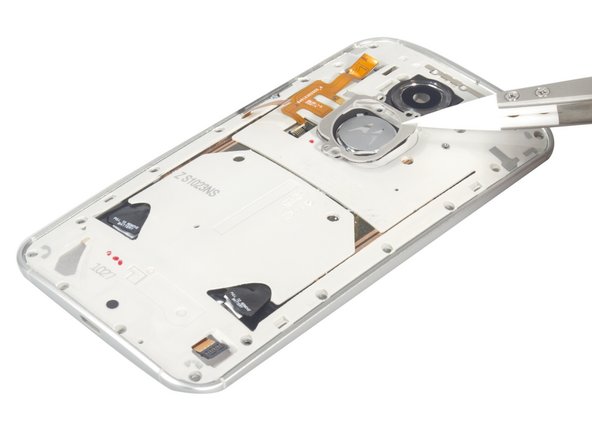
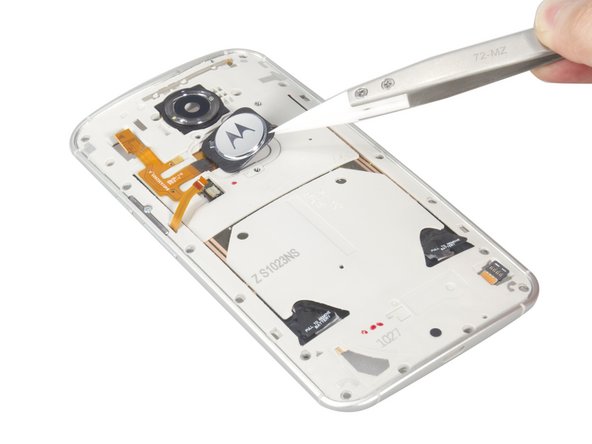
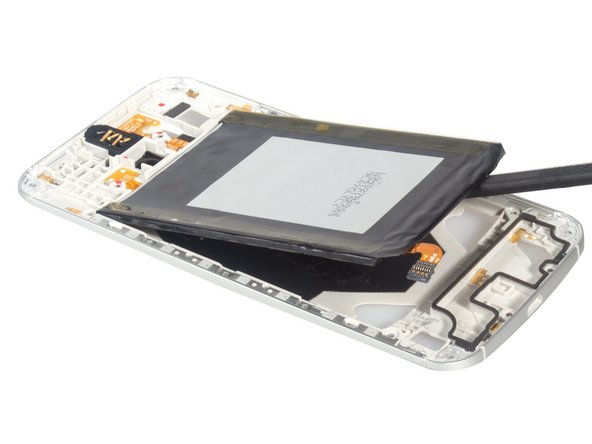
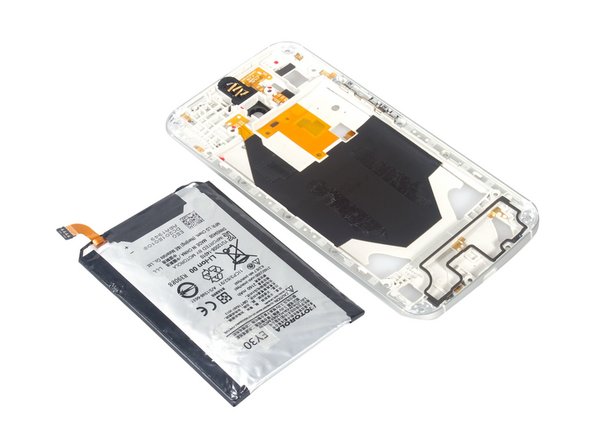
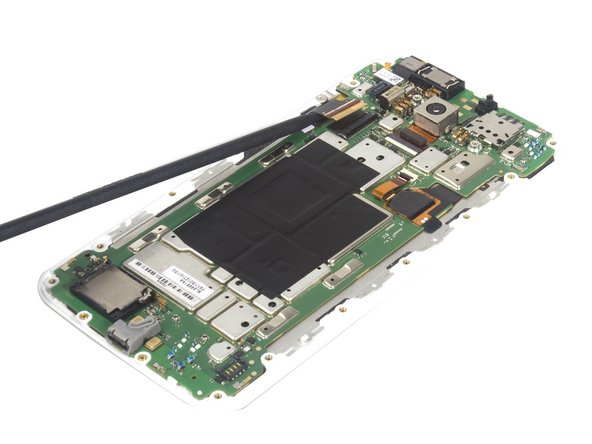
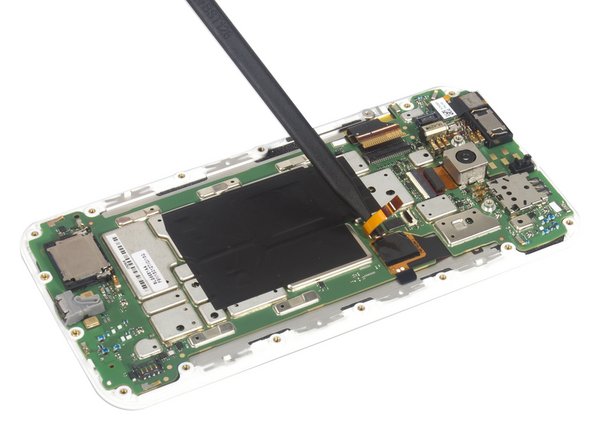
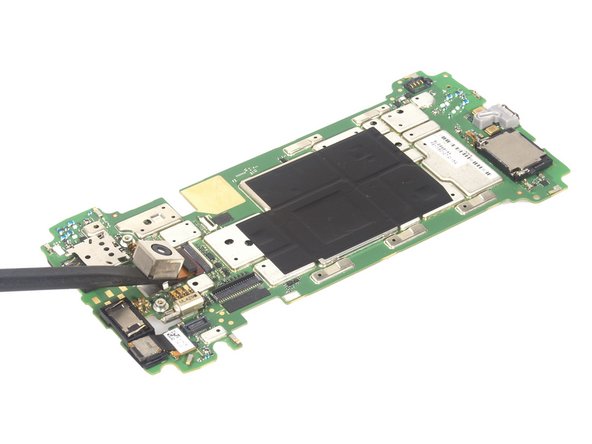
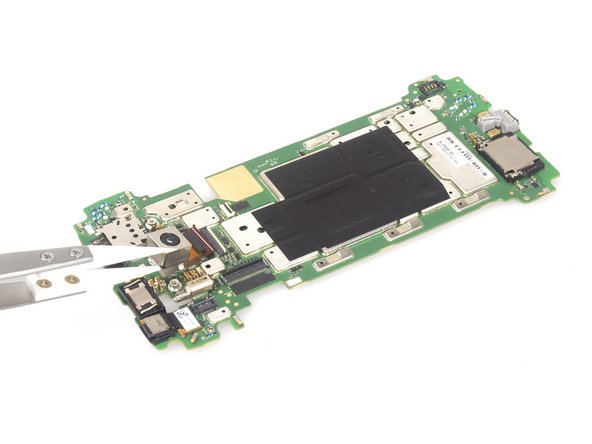
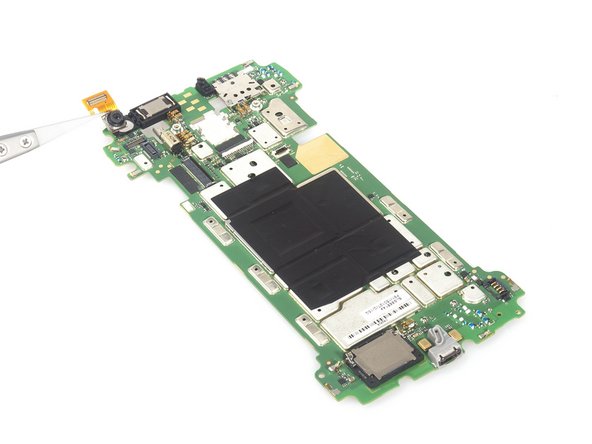
    • Pry up the motherboard and remove it carefully. At that time, we can separate the LCD screen from motherboard and get it alone.

  16. Этот шаг не переведен. Помогите перевести

    : шаг 16, изображение 1 из 3 : шаг 16, изображение 2 из 3 : шаг 16, изображение 3 из 3
    • Release the connector and remove the rear camera.

  17. Этот шаг не переведен. Помогите перевести

    : шаг 17, изображение 1 из 2 : шаг 17, изображение 2 из 2
    • Remove front camera.

  18. Этот шаг не переведен. Помогите перевести

    : шаг 18, изображение 1 из 1
    • Done.

Sophia

Участник с: 03/25/14

43 810 Репутация

Автор 62 руководств

8 Комментариев

Poking out the back cover through the SIM slot does NOT work on the leather backed version. I almost poked a hole through the leather but thankfully it held together. Maybe applying a heat gun to soften the glue would make this work.

tharty416 - Ответить

When I reassembled my Moto X 2nd gen. after a battery change, I lost audio to the speaker. Audio jack works fine. Nothing is torn, but definitely something loose or not connected. I don't know where to look. Could you please help guide me to where it might be? Thanks!

phamtoan - Ответить

I have a solution to the speaker not working after putting the phone back together.

The speaker wasn't connecting with the metal tabs on the phone back panel due to my replacement battery being a little thicker.

I was able to bend the speaker contact pins to connects with the relevant connectors and it started working. Slightly hacky but worked. I have posted pictures https://plus.google.com/+BenSycha/posts/...

Ben Sycha -

@wasrel Where did you purchase a replaccement battery and was it new?

Doug Hellinger -

Same problem. What is the answer?

alekskoptev - Ответить

Добавить комментарий

Просмотр статистики:

За последние 24часов: 0

За последние 7 дней: 6

За последние 30 дней: 21

За всё время: 37,636