Эта версия возможно содержит некорректные исправления. Переключить на последнюю проверенную версию.
Выберете то, что вам нужно
-
Этот шаг не переведен. Помогите перевести
-
Remove the back battery cover by pressing the tab to the left, and lifting.
-
-
Этот шаг не переведен. Помогите перевести
-
Remove the batteries currently in the radio.
-
The orientation of the batteries is specified in the battery compartment.
-
-
Этот шаг не переведен. Помогите перевести
-
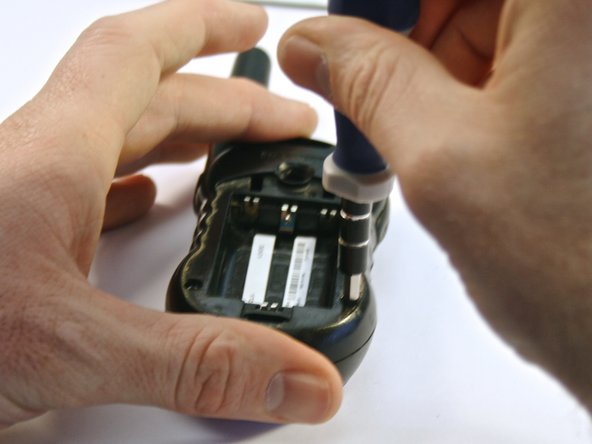
Firmly grasp and pull back on the volume knob. The knob should come off smoothly.
-
-
-
Этот шаг не переведен. Помогите перевести
-
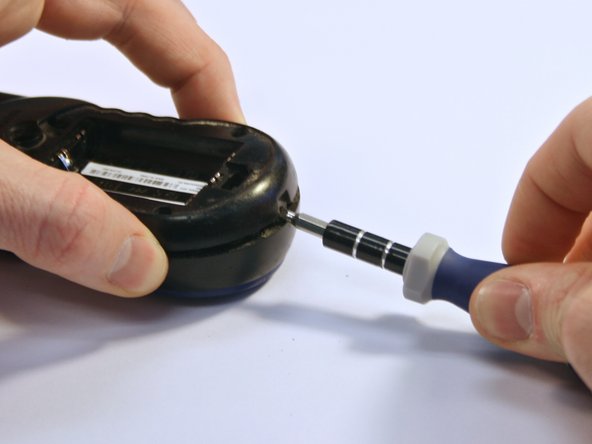
Remove the four 3 millimeter T6 Torx screws from the front of the radio.
-
-
Этот шаг не переведен. Помогите перевести
-
Remove the four 3 millimeter T8 Torx screws from the back of the radio.
-
-
Этот шаг не переведен. Помогите перевести
-
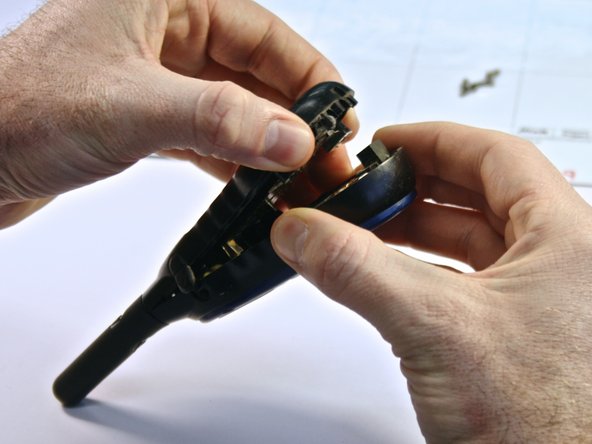
Gently open the backplate of the radio. Use a flathead screwdriver to slowly pry apart the two sides.
-
-
Этот шаг не переведен. Помогите перевести
-
Gently pull the circuit board away from the front faceplate.
-
-
Этот шаг не переведен. Помогите перевести
-
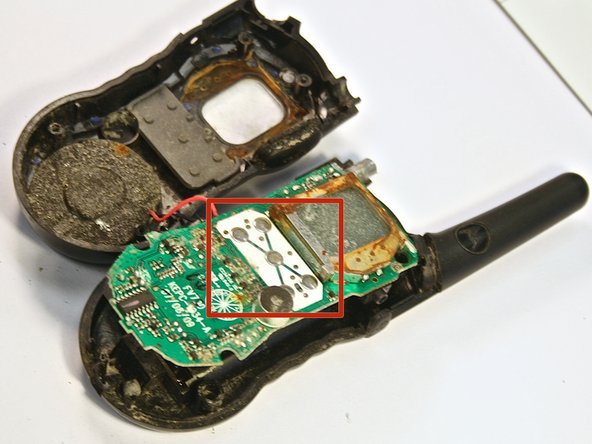
The button contacts can be seen in the red box of the picture.
-
-
Этот шаг не переведен. Помогите перевести
-
Dip q-tip in rubbing isopropyl alcohol, and swab button contacts to clean.
-
Note: Rubbing alcohol will evaporate, and does not need to be wiped off of contacts.
-


Отменить: Я не выполнил это руководство.
Еще один человек закончил это руководство.

Команда

Clemson, Team 6-4, Benson Spring 2014 Участник Clemson, Team 6-4, Benson Spring 2014
CLEM-BENSON-S14S6G4
3 членов
Автор 7 руководств