Введение
Is your device struggling to hold a charge? Is the battery draining quicker than normal? Is your device not turning on? If you experience any of the above symptoms with your Motorola Xoom 2, the battery in your device may need to be replaced. This guide will help you replace the battery.
Note: all steps involving a screwdriver in this guide will be done with a Torx T5 screwdriver.
Выберете то, что вам нужно
-
-
Pry off the silver top back cover (the panel around the camera) with iFixit opening picks or a similar implement.
-
-
-
Using a T5 screwdriver, unscrew the four 1.5mm screws holding the main back cover. These screws are arranged in a line across the top of the back of the device.
-
-
-
Turn the device over and using a pry tool and the opening picks, gently apply pressure between the outside edge of the seal marked with the arrow. Slowly move around the edges of the device, applying even pressure, and separate the back plate from the display.
-
-
-
-
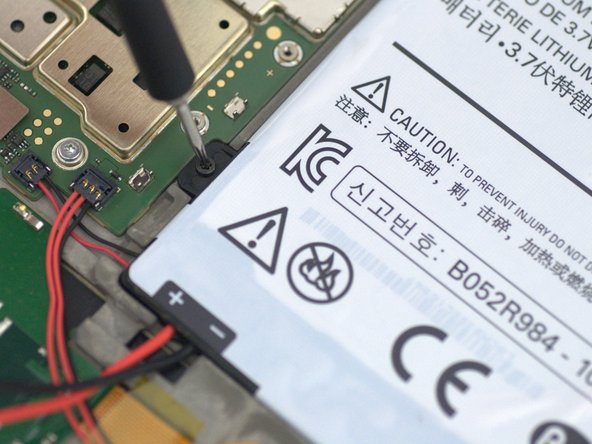
Using a Torx T5 screwdriver, remove the four 1.5mm screws holding down the battery around its perimeter.
-
-
-
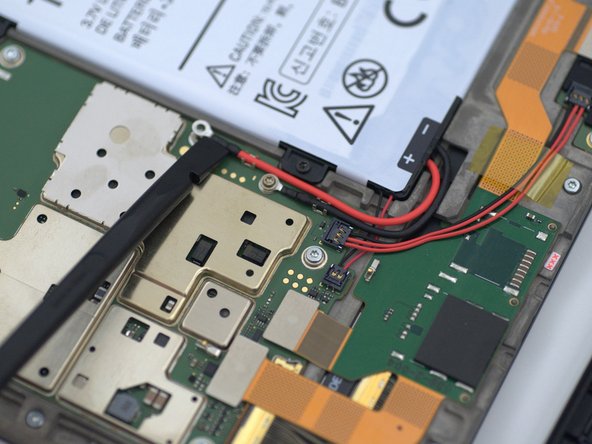
Using a Torx T5 screwdriver remove the two 1.5mm screws holding down the battery leads and carefully pry the battery leads loose from the cable clips with a spudger.
-
-
-
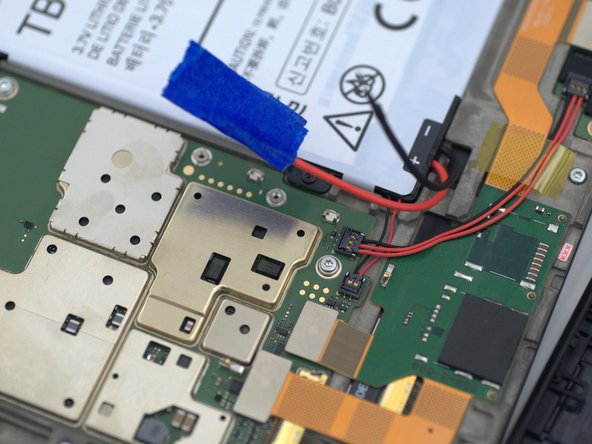
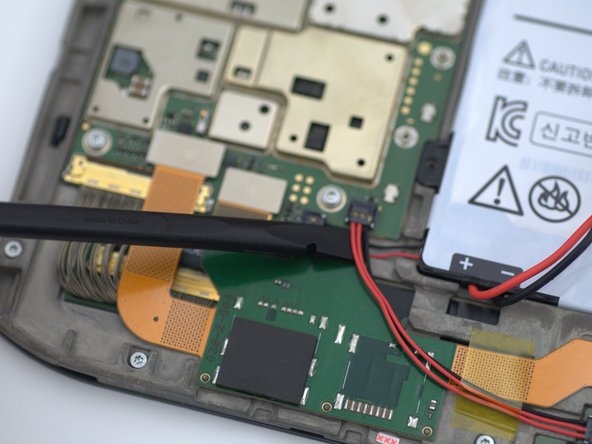
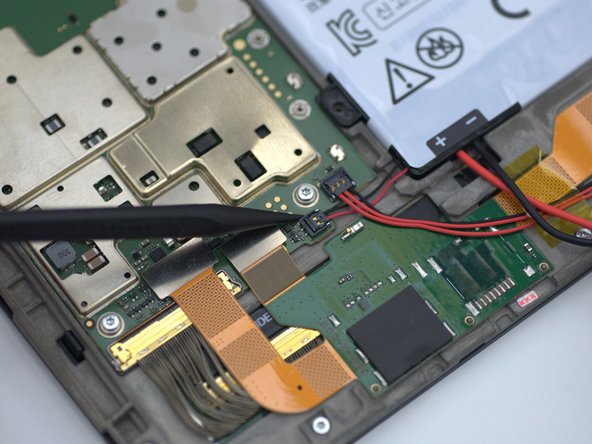
Lifting gently from the bottom with a spudger, first disconnect the three pin connector from the tablet.
-
After disconnecting the three pin connector, remove the two pin battery connector by lifting gently from the bottom with a spudger.
-
-
-
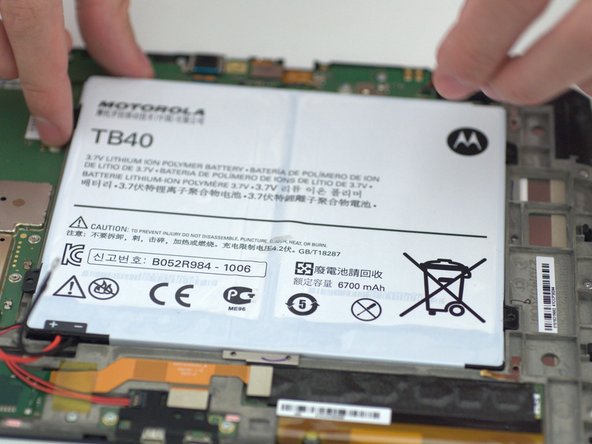
Using the opening picks, carefully lift the battery and remove it from the device.
-
To reassemble your device, follow these instructions in reverse order.
To reassemble your device, follow these instructions in reverse order.
Отменить: Я не выполнил это руководство.
2 участников успешно повторили данное руководство.


