Перейти к основному содержанию

Motorola i560 Screen Replacement

Выберете то, что вам нужно

  1. Motorola i560 Screen Replacement, Battery: шаг 1, изображение 1 из 1
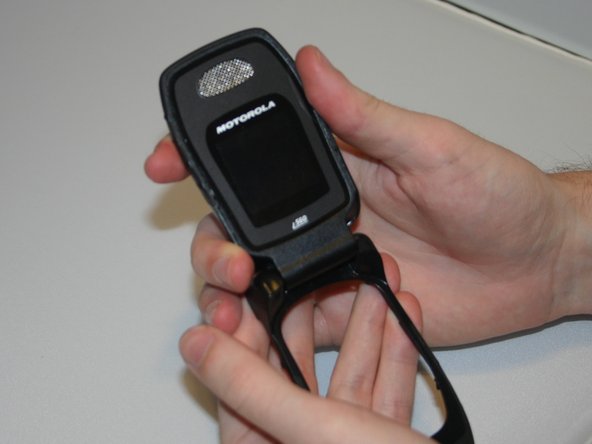
    • Place thumb on the rubber tab on the lower back of the phone.

    • Push away from the phone to release back panel.

  2. Motorola i560 Screen Replacement: шаг 2, изображение 1 из 1
    • Lift the back panel of the phone to expose battery (not shown here).

  3. Motorola i560 Screen Replacement, Motherboard: шаг 3, изображение 1 из 1
    • Pull the antenna up to reveal two of the six screws.

  4. Motorola i560 Screen Replacement: шаг 4, изображение 1 из 1
    • Unscrew all six screws on the back side of the phone using a T-6 bit.

  5. Motorola i560 Screen Replacement: шаг 5, изображение 1 из 2 Motorola i560 Screen Replacement: шаг 5, изображение 2 из 2
    • Gently separate the front and back sides of the phone, as shown in the picture.

    • Be careful not to break or bend the ribbon cables.

  6. Motorola i560 Screen Replacement: шаг 6, изображение 1 из 2 Motorola i560 Screen Replacement: шаг 6, изображение 2 из 2
    • Detach the first ribbon cable by unplugging it from the motherboard.

  7. Motorola i560 Screen Replacement: шаг 7, изображение 1 из 2 Motorola i560 Screen Replacement: шаг 7, изображение 2 из 2
    • Detach the speaker ribbon cable from the motherboard.

  8. Motorola i560 Screen Replacement: шаг 8, изображение 1 из 1
    • Remove the motherboard from the front half of the phone by gently shaking it loose. It should come out with little to no trouble.

  9. Motorola i560 Screen Replacement, Keypad: шаг 9, изображение 1 из 1
    • Push lightly from the front of the keypad to remove it.

  10. Motorola i560 Screen Replacement, Screen: шаг 10, изображение 1 из 2 Motorola i560 Screen Replacement, Screen: шаг 10, изображение 2 из 2
    • By applying force, "pop" the screen out of the connecting hinge frame of the phone.

  11. Motorola i560 Screen Replacement: шаг 11, изображение 1 из 2 Motorola i560 Screen Replacement: шаг 11, изображение 2 из 2
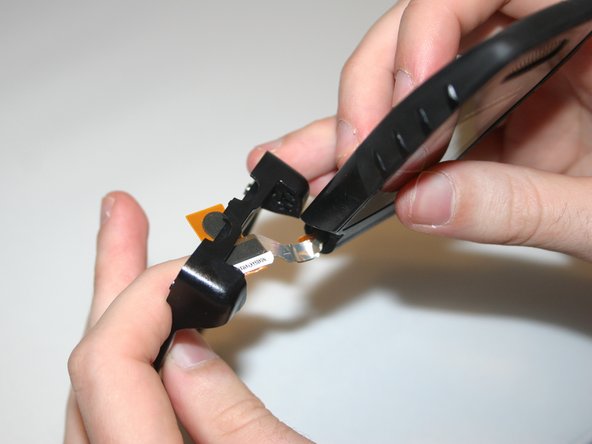
    • Carefully slide the speaker ribbon cable through the slot in the front frame of the phone.

  12. Motorola i560 Screen Replacement: шаг 12, изображение 1 из 1
    • After sliding the ribbon cable through the front frame of the phone, the separated screen and phone frame will appear as shown.

Заключение

To reassemble your device, follow these instructions in reverse order.

Ariel

Участник с: 03/11/13

19 Репутация

Автор 4 руководств

Команда

Clemson, Team 13-6, Benson Spring 2013 Участник Clemson, Team 13-6, Benson Spring 2013

CLEM-BENSON-S13S13G6

3 членов

Автор 10 руководств

0 Комментариев

Добавить комментарий

Просмотр статистики:

За последние 24часов: 0

За последние 7 дней: 1

За последние 30 дней: 1

За всё время: 155